17
12
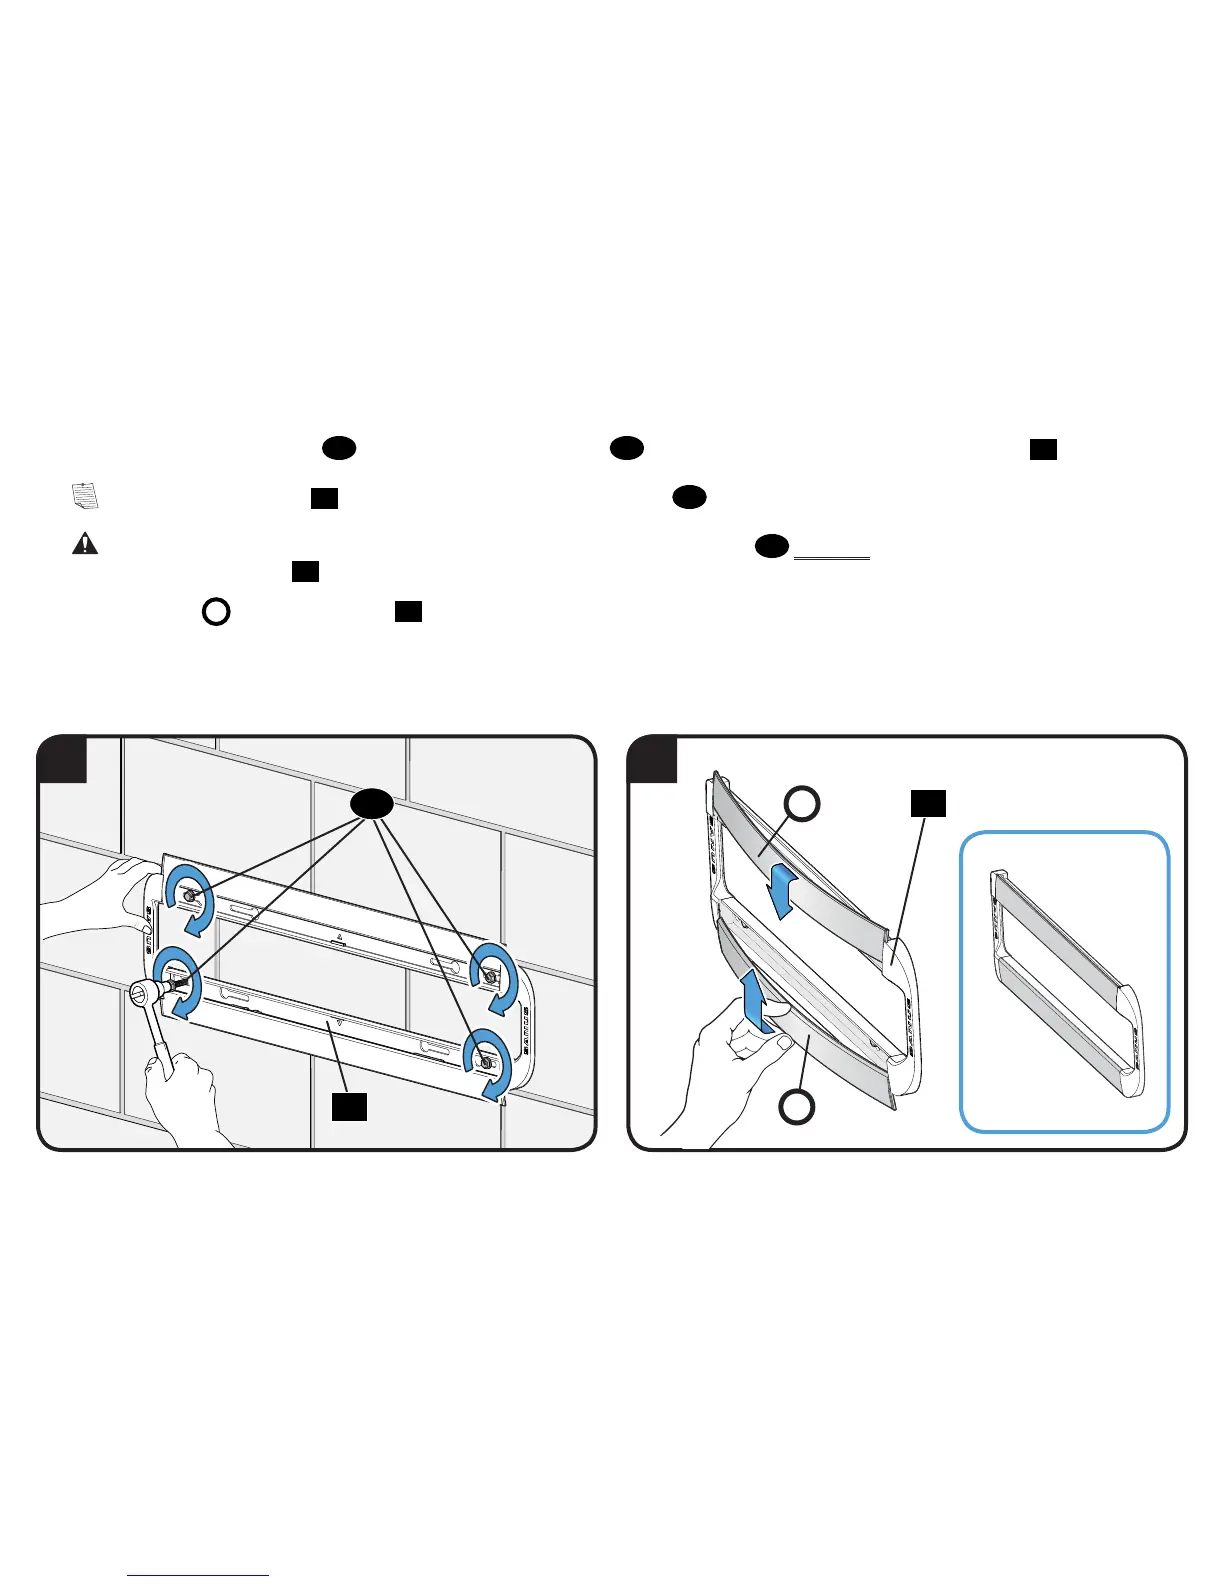
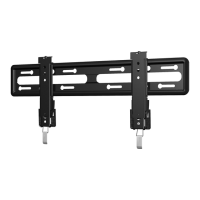
7. Install the bottom two lag bolts
14
. Firmly tighten all four lag bolts
14
until they are pulled flush against the wall plate
12
.
NOTE: Hold the wall plate
12
in place when tightening the first lag bolt
14
to keep the plate from shifting out of place.
CAUTION: Avoid potential personal injury or property damage! All four lag bolts
14
MUST BE firmly tightened to prevent unwanted
movement of the wall plate
12
.
Ensure the wall plate is securely fastened to the wall before continuing on to the next step.
8. Slide the covers
C
closed on wall plate
12
.
14
7
12
C
C
8