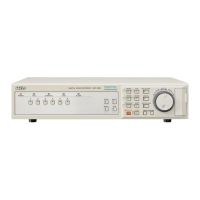
Setting Up the Digital Recorder
1
English
Plug the supplied power cable into the socket.
a The POWER indicator on the front panel turns on, and a
message “PLEASE SET THE CLOCK!” appears on the
monitor screen.
Press the MENU button, and turn the S-dial three
turns clockwise.
Turn the J-dial to select the display language,
and then turn the S-dial clockwise.
Available languages include ENGLISH, FRANÇAIS,
DEUTSCH, and ESPAÑOL.
Turn the S-dial to set the date and time.
J-dial: Turn to select the value.
S-dial: Turn clockwise to save the setting.
2
1
Press the EXIT/OSD button.
a The operation display (status bar) appears on the monitor
screen.
qDate display (Day - Month - Year)
wTime display
eOperation symbols (REC = recording, = playback, etc.)
rRemaining recording area
tImage quality display (BA = Basic, NO = Normal,
EN = Enhanced image quality, FI = Fine image quality,
SF = Super fine image quality)
ySound recording/playback indicator (A)
uAlarm status (ALARM/PRE) and occurrence indicator
iCamera title indicator
oAlarm type indicator
EA = External sensor alarm signal
SA = Motion sensor alarm signal
ES = External and motion sensor alarm signals
¡The operation display (status bar) moves to the bottom when you
press the EXIT/OSD button once; is hidden when you press the
button twice; and returns to the top when you press the button three
times.
 Loading...