15
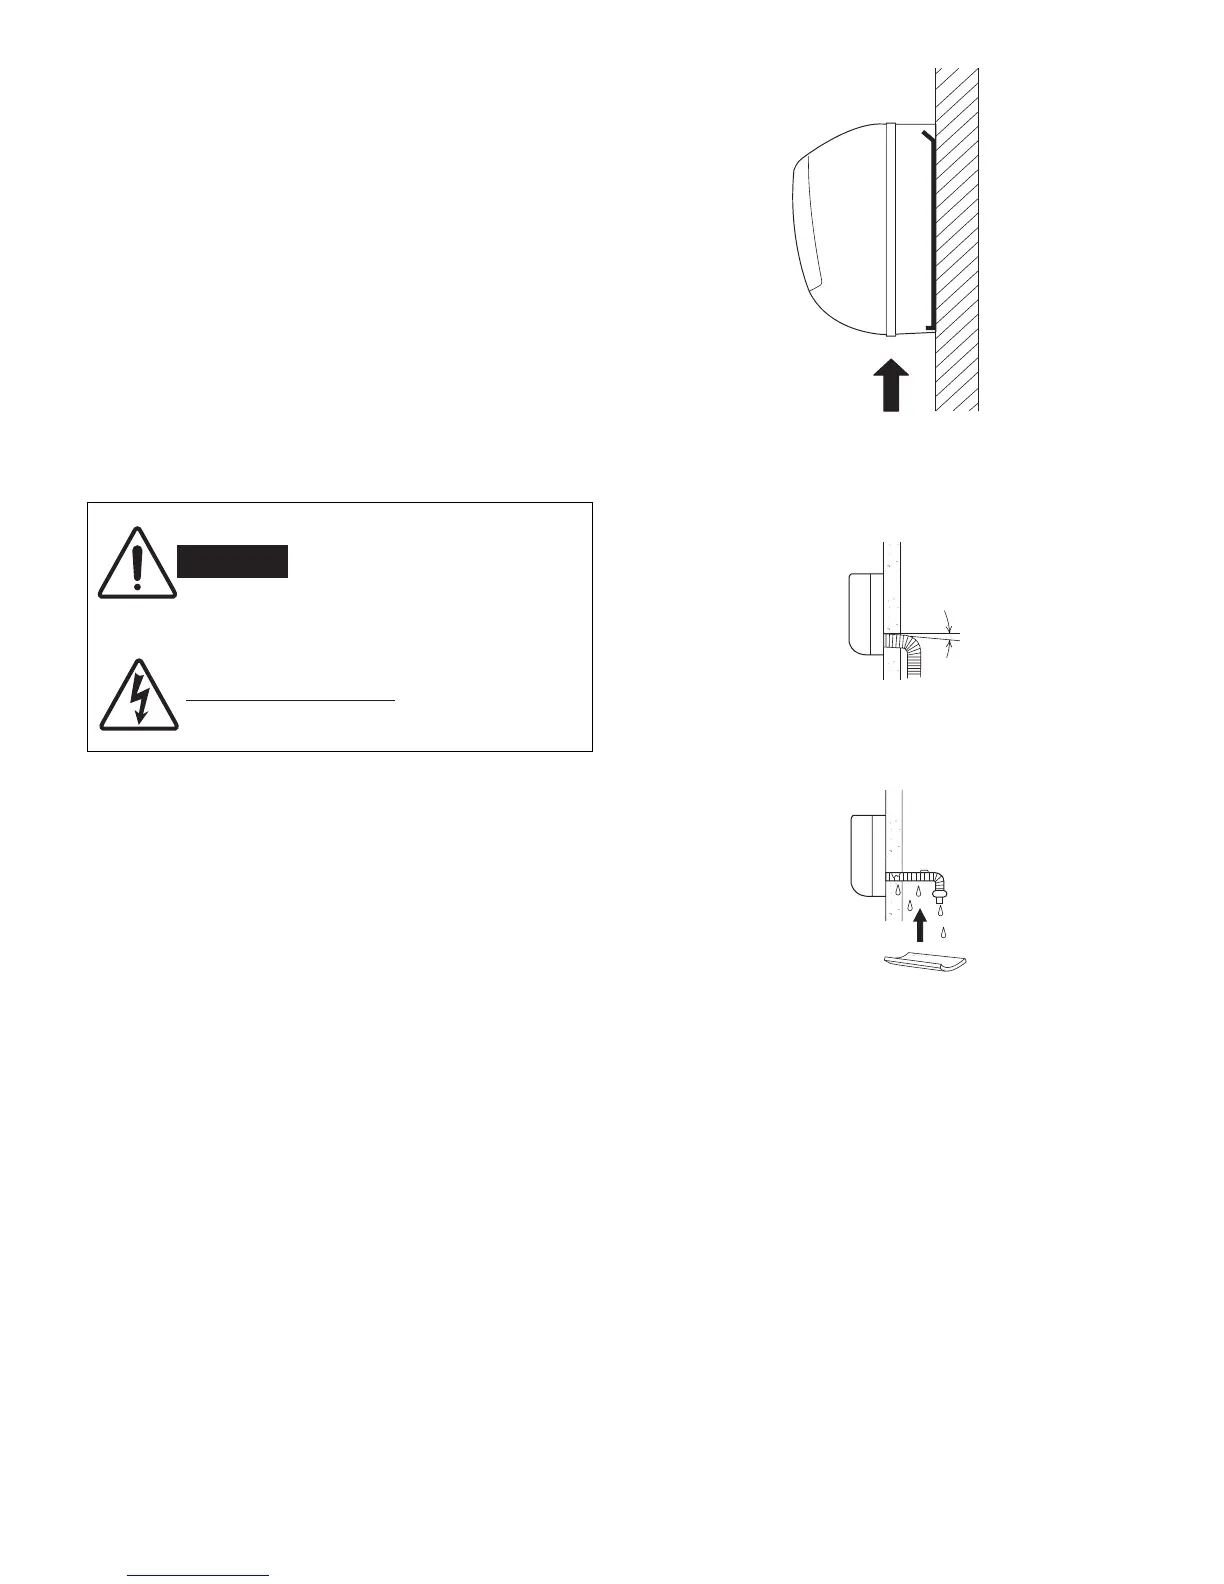
To unmount indoor unit
Press the 2 LL marks on the lower part of the indoor unit
and unlatch the tabs. Then lift the indoor unit and
unmount. (Fig. 42)
3-9. Drain Hose
a) The drain hose should be slanted downward to the
outdoors. (Fig. 43)
b) Never form a trap in the course of the hose.
c) If the drain hose will run in the room, insulate the
hose with insulation* so that chilled condensation
will not damage furniture or floors. (Fig. 44)
* Foamed polyethylene or its equivalent is recom-
mended.
Do not supply power to the
unit or operate it until all
tubing and wiring to the out-
side unit are completed.
Condensation
Insulation material
(Locally purchased)
must be used.
Fig. 44
Push
Fig. 42
Slant
Drain
hose
Indoor
unit
Fig. 43
05-351 KMHS0772_indoor 3/16/06 6:46 PM Page 15
 Loading...