EasyManua.ls Logo

Sanyo KMS1272 User Manual

Sanyo KMS1272
19 pages
To Next Page IconTo Next Page
Page #1 background imageLoading...
Page #1 background image
Model Combinations
Combine indoor and outdoor units only as listed
below.
Indoor Unit Outdoor Unit
KMS0772 CM1972
KMS0972 CM2472
KMS1272 CM3172
KMS1872 CLM1972
KMS2472 CLM2472
CLM3172
Power Source:
60 Hz, single-phase, 230 / 208 VAC
Combinations of indoor and outdoor units
Connect indoor and outdoor units only in the combi-
nations listed in the catalog or installation manual.
Connecting any other model may result in
operation failure and system damage.
85264189996000 © SANYO 2006
In Canada
SANYO FISHER COMPANY SANYO Canada Inc.
A DIVISION OF SANYO NORTH AMERICA CORPORATION 300 Applewood Crescent, Concord
21605 Plummer Street Ontario, L4K 5C7, Canada
Chatsworth, CA 91311 U.S.A.
Contents
Page
IMPORTANT!
Please Read Before Starting .................................. 2
1. GENERAL .......................................................... 3
1-1. Tools Required for Installation (not supplied)
1-2. Accessories Supplied with Unit
1-3. Optional Copper Tubing Kit
1-4. Type of Copper Tube and Insulation Material
1-5. Additional Materials Required for Installation
2. INSTALLATION SITE SELECTION ................... 4
2-1. Indoor Unit
2-2. Embedding the Tubing and Wiring
3. HOW TO INSTALL THE INDOOR UNIT ............. 6
3-1. Remove the Rear Panel from the Unit
3-2. Make a Hole
3-3. Install the Rear Panel on the Wall
3-4. Remove the Grille to Install the Indoor Unit
3-5. Shape the Indoor Side Tubing
3-6. Wiring Instructions
3-7. Wiring Instructions for Inter-unit Connections
3-8. Mounting
3-9. Drain Hose
4. HOW TO TEST RUN THE AIR CONDITIONER ... 16
5. REMOTE CONTROL UNIT INSTALLATION
POSITION ......................................................... 17
5-1. Mounting on a Wall
6. ADDRESS SWITCH .......................................... 18
6-1. Address Setting of the Remote
Control Unit
7. CONNECTING A HOME AUTOMATION
DEVICE.............................................................. 19
8. INSTALLATION CHECK SHEET ...................... 19
INSTALLATION INSTRUCTIONS
– Inverter Split System Air Conditioner –
COOL/ DRY Model
This air conditioner uses the new refrigerant R410A.
Be sure to read the yellow instruction sheet
attached to the outdoor unit for models using the
new refrigerant R410A.
The illustrations are based on the typical appearance of
a standard model. Consequently, the shape may differ
from that of the air conditioner that you are installing.
NOTE
CAUTION
For Indoor Unit
05-355 KMS0772_indoor 3/16/06 5:27 PM Page a
Question and Answer IconNeed help?

Do you have a question about the Sanyo KMS1272 and is the answer not in the manual?

Sanyo KMS1272 Specifications

General IconGeneral
TypeSplit System
Cooling Capacity12000 BTU/h
Power Supply220-240V, 50Hz
Noise Level (Indoor)38 dB(A)
Net Weight (Outdoor Unit)30 kg
Air Flow (High)550 m3/h

Summary

General Installation Information and Materials

Tools Required for Installation

Lists necessary tools not supplied with the unit for installation.

Accessories Supplied with Unit

Details the parts and accessories included with the air conditioning unit.

Optional Copper Tubing Kit

Information on obtaining optional copper tubing kits for connecting units.

Type of Copper Tube and Insulation Material

Specifies the required types and dimensions for copper tubes and insulation.

Additional Materials Required for Installation

Lists extra materials needed beyond the supplied accessories for proper installation.

Installation Site Selection Guidelines

Indoor Unit Site Selection

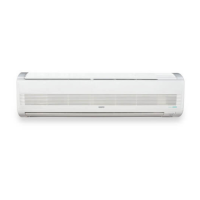
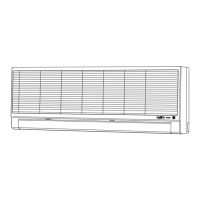
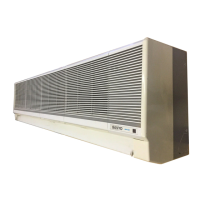
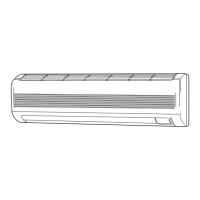
Guidelines for choosing the optimal location and mounting position for the indoor unit.

Embedding the Tubing and Wiring

Instructions and precautions for embedding tubing and wiring during installation.

Indoor Unit Installation Steps

Remove the Rear Panel from the Unit

Steps for safely removing the rear panel of the indoor unit.

Make a Hole for Tubing and Wiring

Guidance on creating a hole in the wall for tubing and wiring.

Install the Rear Panel on the Wall

Instructions for securely mounting the rear panel onto the wall.

Remove the Grille to Install the Indoor Unit

Process for removing and reinstalling the indoor unit's air intake grille.

Shape the Indoor Side Tubing

How to shape the refrigerant tubing for routing from the indoor unit.

Wiring Instructions

General guidelines and precautions for electrical wiring of the unit.

Wiring Instructions for Inter-unit Connections

Specific steps for connecting the wiring between indoor and outdoor units.

Mounting the Indoor Unit

Detailed steps for physically mounting the indoor unit onto the rear panel.

Drain Hose Installation

Proper installation and routing of the drain hose for condensate removal.

Air Conditioner Test Run Procedure

Remote Control Unit Installation and Positioning

Mounting the Remote Control Unit on a Wall

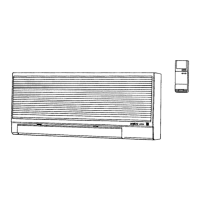
Instructions for wall-mounting the remote control unit for optimal operation.

Remote Control Address Setting

Address Setting of the Remote Control Unit

Procedure for setting the address to prevent interference between multiple units.

Home Automation Device Connectivity

Final Installation Check Sheet

Related product manuals