Setting the RF output channel
If channel 3 is already occupied for broadcasting,
1
Set your TV to channel 4.
2
Insert a pre-recorded tape into this unit.
3
Press [PLAY B] once to start playback.
4
After a few seconds, press [PLAY B] on the unit
for 3 seconds.
• The RF output channel will change to channel 4
from channel 3 and you will see a playback
picture.
• When a picture does not appear on the TV screen,
repeat step 4).
5
Press [C STOP] to stop playback.
Initial Programming
1
Press [POWER] and the
language menu will appear.
2
Press
[
CC
STOP] or [PLAY
BB
]
to
select language for the VCR
on-screen display. Then press
[F.FWD
gg
]
.
3
Press
[F.FWD
gg
]
again to begin
channel programming. “AUTO
SET UP” will flash.
4
Please wait for a few minutes.
After scanning, the tuner stops on the lowest
memorized channel.
• For details, refer to the Instruction Manual.
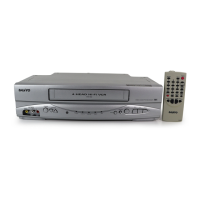
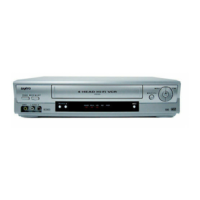
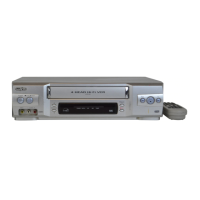
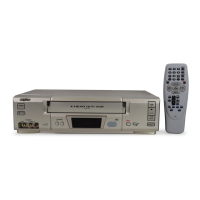
Video Cassette Recorder
VWM-950
Thank you for buying Sanyo.
This guide will enable the quick and easy setup of your new VCR,
simply follow the procedures inside.
For further details of features, please refer to the instruction manual.
Is Everything In The Box?
• Remote control
(NA323)
with two AA batteries
• RF cable • Instruction
manual
1 Connecting
DEW CAUTION
Condensation can form inside the VCR when it is suddenly moved from a cold place to a warm or
humid environment. In any such circumstance do not use this unit approximately 2 hours allowing
complete elimination of any condensation.
2
Setting the RF Output Channel and Initial Programming
3 Setting the Clock
1
Press [MENU] and the MAIN
menu will appear.
• If the clock is not set, the
“CLOCK SET” screen appears
when you press
[MENU]. In this
case, go to step 3).
2
Press
[
CC
STOP] or [PLAY
BB
]
to
select the “CLOCK SET” menu.
Press
[F.FWD
gg
]
and the
“CLOCK SET” menu will appear.
3
Press
[
CC
STOP] or [PLAY
BB
]
to
select the month. Press
[F.FWD
gg
]
.
4
Press
[
CC
STOP] or [PLAY
BB
]
to
select the day. Press
[F.FWD
gg
]
.
5
Press
[
CC
STOP] or [PLAY
BB
]
to
select the year. Press
[F.FWD
gg
]
.
6
Press
[
CC
STOP] or [PLAY
BB
]
to
select the hour. Press
[F.FWD
gg
]
.
7
Press
[
CC
STOP] or [PLAY
BB
]
to select the minute. Press
[F.FWD
gg
]
.
8
Press
[
CC
STOP] or [PLAY
BB
]
to
select the “AM” or “PM”.
9
Press
[F.FWD
gg
]
when finished.
- M E N U -
B TIMER PROGRAMMING
AUTO REPEAT [OFF]
CHANNEL SET UP
CLOCK SET
LANGUAGE SELECT
AUDIO OUT
TV STEREO [ON]
SAP
CLOCK SET
MONTH DAY YEAR
1 0 / – –– – – –
HOUR MINUTE AM/PM
– – : – –– –
- M E N U -
TIMER PROGRAMMING
AUTO REPEAT [OFF]
CHANNEL SET UP
B CLOCK SET
LANGUAGE SELECT
AUDIO OUT
TV STEREO [ON]
SAP
CLOCK SET
MONTH DAY YEAR
1 0 / 0 3 2 0 0 5
HOUR MINUTE AM/PM
– – : – –– –
• •
• • •
CLOCK SET
MONTH DAY YEAR
1 0 / 0 3 MON 2 0 0 5
HOUR MINUTE AM/PM
0 5 : 4 0 P M AM
B PM
Printed in China 81VMN20402--- /
HJ420UD ★★★★★
Need help? Call
1-800-813-3435
Weekdays 7:30 AM – 4:00 PM Central Time
LANGUAGE SELECT
B ENGLISH [ON]
FRANCAIS
ESPAÑOL
CH 01
AUTO SET UP
Inserting the Batteries
Your REMOTE CONTROL
HANDSET is powered by two
AA type batteries.
1
To insert them, push the tab
backwards and lift off the
cover of the handset.
2
Put the two batteries into the compartment mak-
ing sure the + and – are correctly positioned.
3
Replace the cover.