Do you have a question about the Saris Glide EX and is the answer not in the manual?
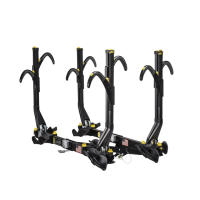
Specifies carrier weight, load capacity, and max bike weight for the 4-bike model.
Specifies carrier weight, load capacity, and max bike weight for the 5-bike model.
Lists necessary tools such as adjustable wrenches and hex keys for the setup process.
Details the parts and hardware provided with the bike rack.
Lists additional accessories that can be purchased to enhance functionality.
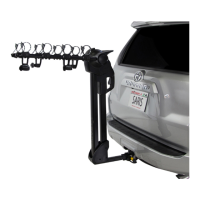
Securely attach the rack's receiver tube into the vehicle hitch using the provided pin and wrench.
Lift the lever and rotate the rack arms upwards until they lock securely.
Load bikes starting with the heaviest, closest to the vehicle, on alternating arms.
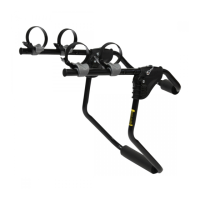
Insert and pull straps tightly around the bike's frame and seat tube for stability.
Pull out the integrated cable lock, loop it over the bikes, and insert into the arm to secure.
Push the trigger to move the rack away from the vehicle, enabling hatch access.
With the rack extended, access to the vehicle's rear hatch is provided.
Pull the handle until an audible click is heard to return the rack to its transport position.
Covers compatibility, speed limits, cleaning procedures, and proper vehicle attachment.
Notes on off-road use, maximum speed, and altered vehicle handling characteristics.
Guidance on vehicle length, width, height changes, and care when reversing.
Emphasizes following the fit guide, correct attachment, and regular inspection of parts.
Disclaims liability for personal injury from incorrect attachment, use, or maintenance.
Details specific conditions and damages, such as impact or improper use, not covered by warranty.
Excludes implied warranties and limits liability to product replacement or refund.
Routine checks include wiping feet, checking straps for wear, and verifying loose bolts.
Includes cleaning with soap and water, lubricating locks, and greasing hitch bolt threads.
Details the lifetime warranty available in North America and contact information.
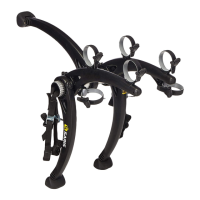
| Integrated Locking Cable | Yes |
|---|---|
| Tilt Feature | Yes |
| Foldable | Yes |
| Color | Black |
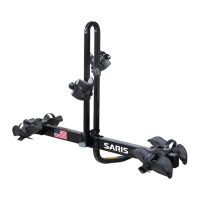
| Bike Capacity | 2 bikes |
| Security Features | Integrated locking cable |
| Material | Steel |