Installation must be carried out properly by trained personnel
and according to commonly accepted technical standards.
The system should only be operated for the first time when
it is certain that the area is not potentially explosive.
If deviations are evident during startup due to transport
damage (e.g., no display, no backlighting), disconnect the
scale from the power supply and contact the Sartorius Service
Center.
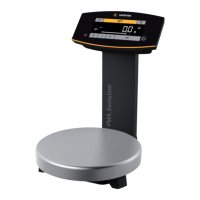
Connect the scale to the
equipotential bonding conductor
using an equipotential bonding
cable with a gauge of at least
4 mm
²
.
t Connect the cable lug of the
equipotential bonding cable to
the grounding terminal of the
scale.
t Connect the equipotential
bonding cable to the customer-
supplied equipotential bonding
conductor.
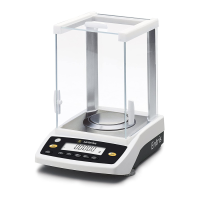
Connect the ex-link converter
to the equipotential bonding
conductor using another
equipotential bonding cable
with a gauge of at least 4 mm
²
.
t Connect the cable lug of the
equipotential bonding cable to
the grounding terminal of the
ex-link converter.
t Connect the equipotential
bonding cable to the customer-
supplied equipotential bonding
conductor.
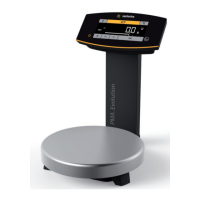
1
Connecting a PC/Notebook
t Insert a USB cable (1) into the
right-hand socket on the
ex-link converter and connect
the cable to a PC or notebook.
2
Connecting an AC Adapter
(Optional)
t Insert an additional USB cable
(2) into the ex-link converter.
t Insert the USB cable into the
YPS06-USB AC adapter.
t Plug the AC adapter into the
wall outlet (supply voltage).
3.5 Anti-theft Locking Device
t If required, secure the scale at
the back.
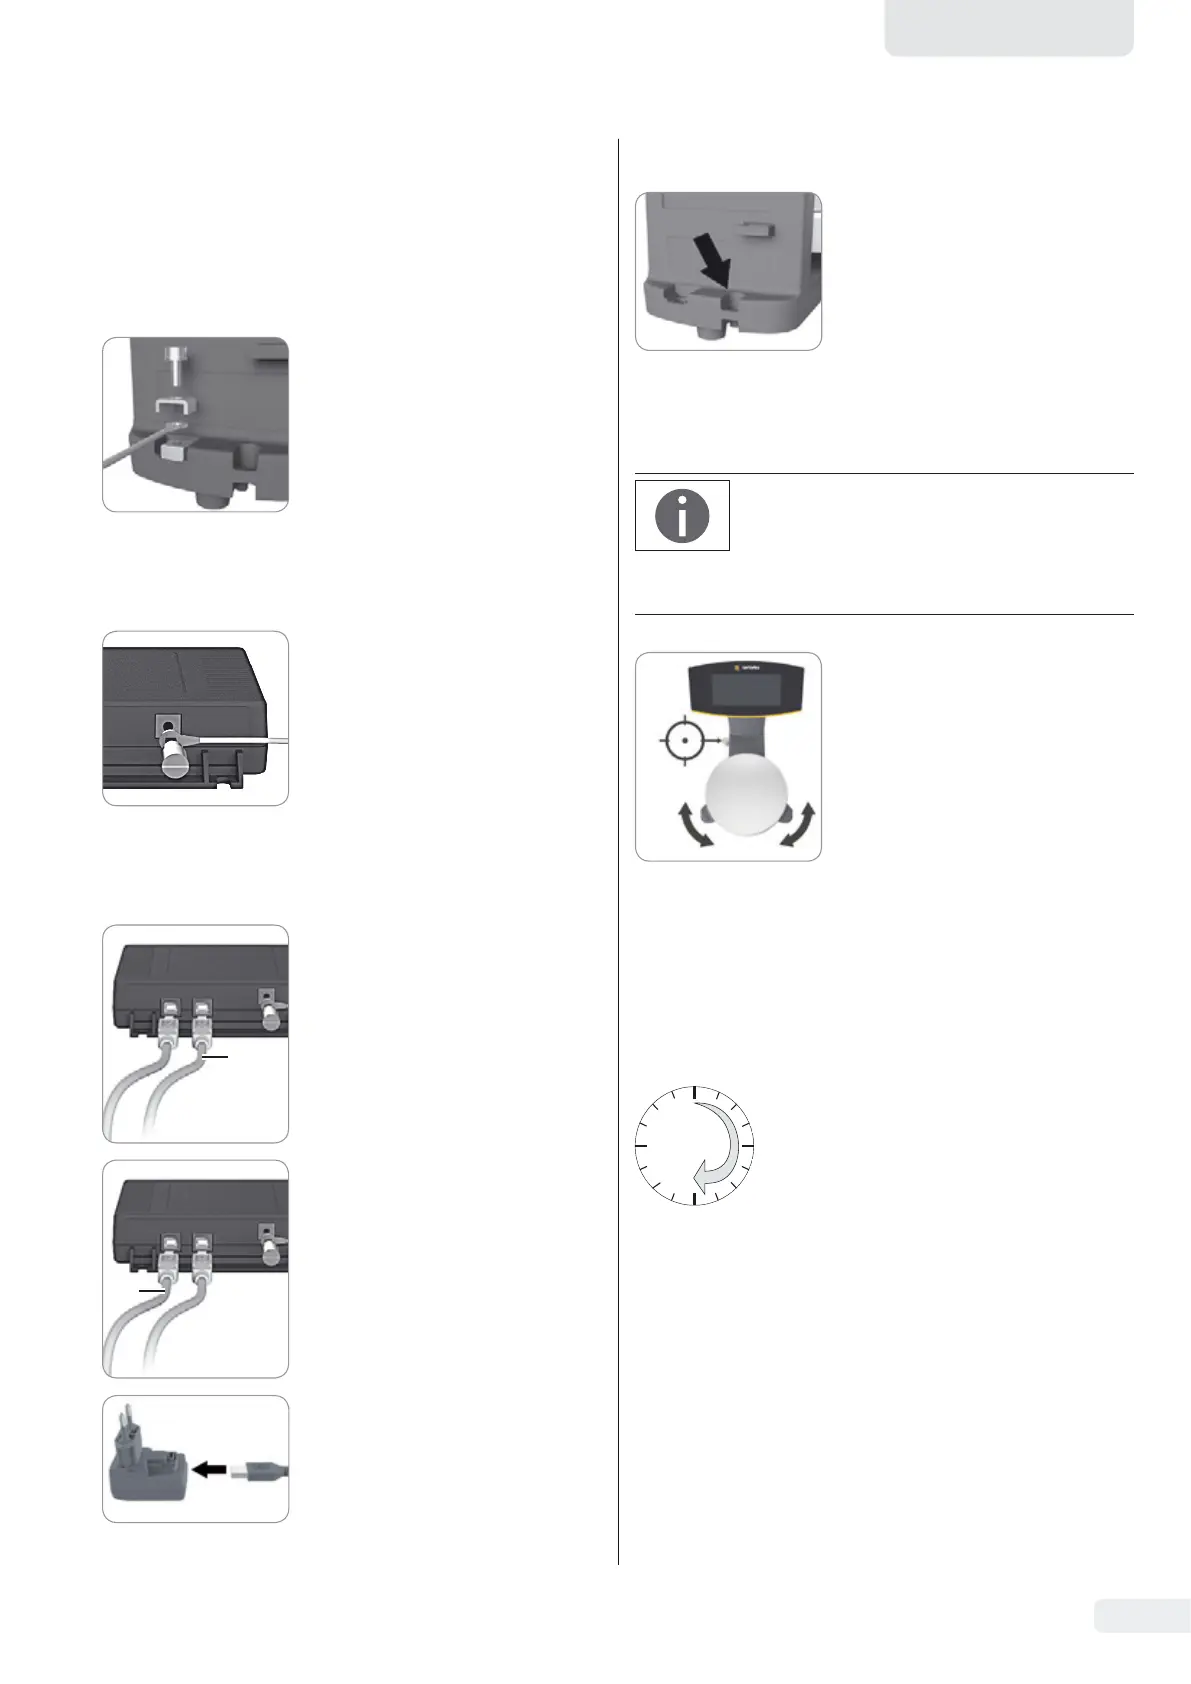
3.6 Leveling
Leveling the HD Model
Leveling the scale compensates for slant
or unevenness at the place of installation.
The scale must be perfectly horizontal to ensure
consistent, reproducible weighing results.
The scale needs to be re-leveled and then
adjusted each time its setup location is changed.
12*
9*
6*
* Clock
t Turn the two leveling feet as
shown in the illustration until
the air bubble is centered within
the circle of the level indicator.
− Air bubble at “12 o’clock”:
Turn both feet clockwise.
− Air bubble at “3 o’clock”:
Turn the left foot clockwise and
the right foot counterclockwise.
− Air bubble at “6 o’clock”:
Turn both feet counterclockwise.
− Air bubble at “9 o’clock”:
Turn the left foot
counterclockwise and the
right foot clockwise.
3.7 Warm-up Time
0
30
To ensure accurate results are
delivered, the scale must warm up
for at least 30 minutes after initial
connection to the power supply.
Only after this time will the scale
have reached the required
operating temperature.
EVO1X | LAB1X Installation Instructions 7
English
 Loading...