Setup
It is possible to personalise settings in
Picus
®
|Picus
®
Nxt. Press the left softkey to
open the menu, and scroll down using the
adjustment wheel to highlight setup, and
press right softkey for OK.
Setup Options
Sound: turns sounds on or o, for example for
the adjustment wheel, messages, and battery
status indicator.
Adjustment: lets the user to adjust the
pipette at 1, 2, or 3 calibration points.
1-point adjustment: calibration at 1 point,
set the calibration volume in µl
2-point adjustment: calibration at 10% and
100% of the nominal volume
3-point adjustment: calibration at 10%,
50% and 100% of the nominal volume
Adjustment is always done in Pipetting mode,
and the adjustment is valid in all modes when
activated.
Backlight: changes the display backlight
colour.
User ID: allows the user to personalise the
pipette with an ID.
GLP Info (only in Picus
®
): for setting and
displaying the previous and next service and
maintenance dates.
Reset: resets pipette to factory settings.
Information: displays the software version
and battery charging level.
Languages: displays available user interface
languages: English, French, German, Chinese
and Russian.
Pipette lock (only in Picus
®
Nxt): locks
the pipette, e.g. in case of contamination. If
password protection is enabled, the admin
password is required to unlock the pipette.
Passwords (only in Picus
®
Nxt): 2-level
passwords - user level, to limit the use of the
pipette to a specic user, and admin level, to
protect stored programs and other settings.
Date & Time (only in Picus
®
Nxt): for setting
date and time.
Reminders (only in Picus
®
Nxt): for setting
service-related reminders.
Tip ejection: for selecting whether the tip
ejector needs to be pressed once or twice to
eject the tip.
Operation
Button Functions
Operating button
Activates aspiration and dispensing
Conrms the selected settings
Adjustment wheel
Enables fast and comfortable navigation in
menu and volume setting
Controls pipetting aspiration and
dispensing operations in manual pipetting
mode
Softkeys
Activate the programming functions
To select the mode:
1. Press the left softkey to open the menu,
then turn the adjustment wheel to scroll
between modes.
2. Press the operating button, or the right
softkey for OK to confirm the mode
selection.
To edit the settings:
1. Turn the adjustment wheel or press the
middle softkey for edit to unlock the
mode for editing.
2. Change the settings by turning the
adjustment wheel.
3. Confirm the setting by pressing
a. the operating button or the right
softkey for OK, which will exit the editing
mode.
or
b. the middle softkey for next, to move on
to edit the next highlighted setting.
4. Repeat steps 2 and 3 for all the settings
you wish to edit.
To activate the advanced functions:
1. Press the right softkey for ADV to choose
the desired advanced function (e.g.
mixing, tracker, counter)
2. Scroll through the list of advanced
functions using the softkey for next
3. Turn the selected advanced function on
by turning the adjustment wheel.
4. Press the operating button or the softkey
for OK to accept the activation.
To use the pipette with the selected mode:
1. Attach the pipette tip(s).
2. Press the operating button as many times
as needed to complete the pipetting
sequence until the liquid is dispensed.
3. Eject the tip by pressing the tip ejector
button.
Press softkey for menu
Choose mode
Change the setting
and press softkey for
OK or next
Start pipetting by pressing
operating button
Press softkey for edit
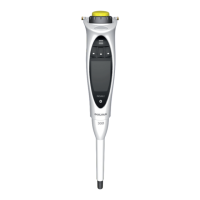
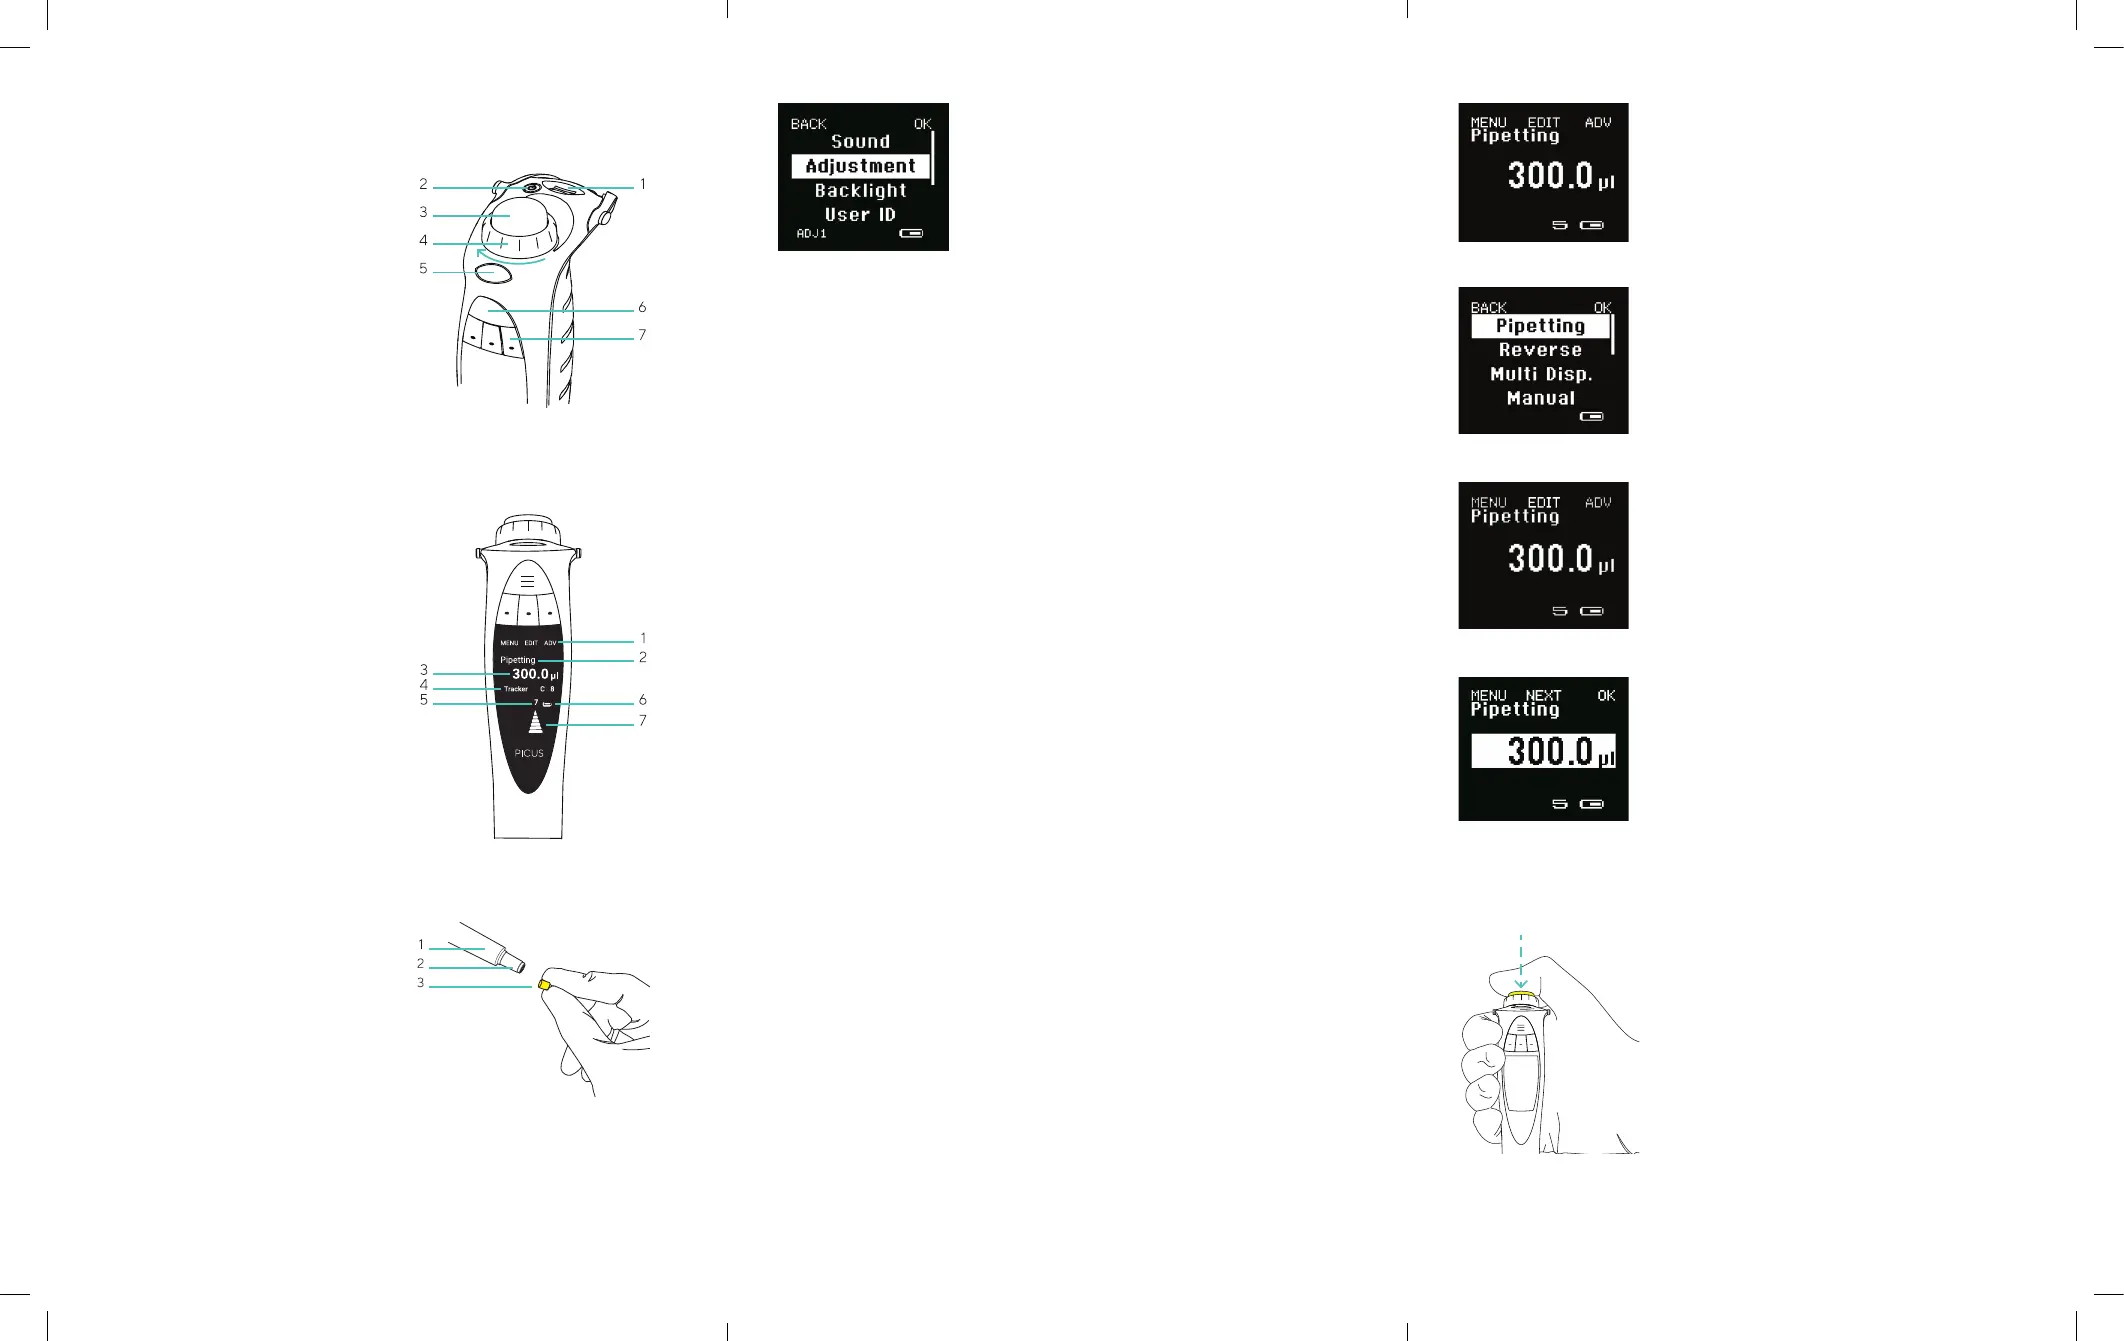
Product Overview
Operating Buttons
1. USB charging socket
2. On|off button
3. Operating button
4. Adjustment wheel
5. Electronic tip ejector
6. Hotkey for memory places
7. Softkeys for programming
Display
1. Softkey functions
2. Current mode
3. Pipetting volume and aliquots in
multi-dispensing mode
4. Advanced Function (ADV),
if selected
5. Speed
6. Battery indicator
7. Arrow indicating pipetting direction
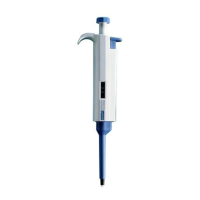
Lower Part
1. Tip ejector collar
2. Tip cone
3. Safe-Cone Filter
 Loading...