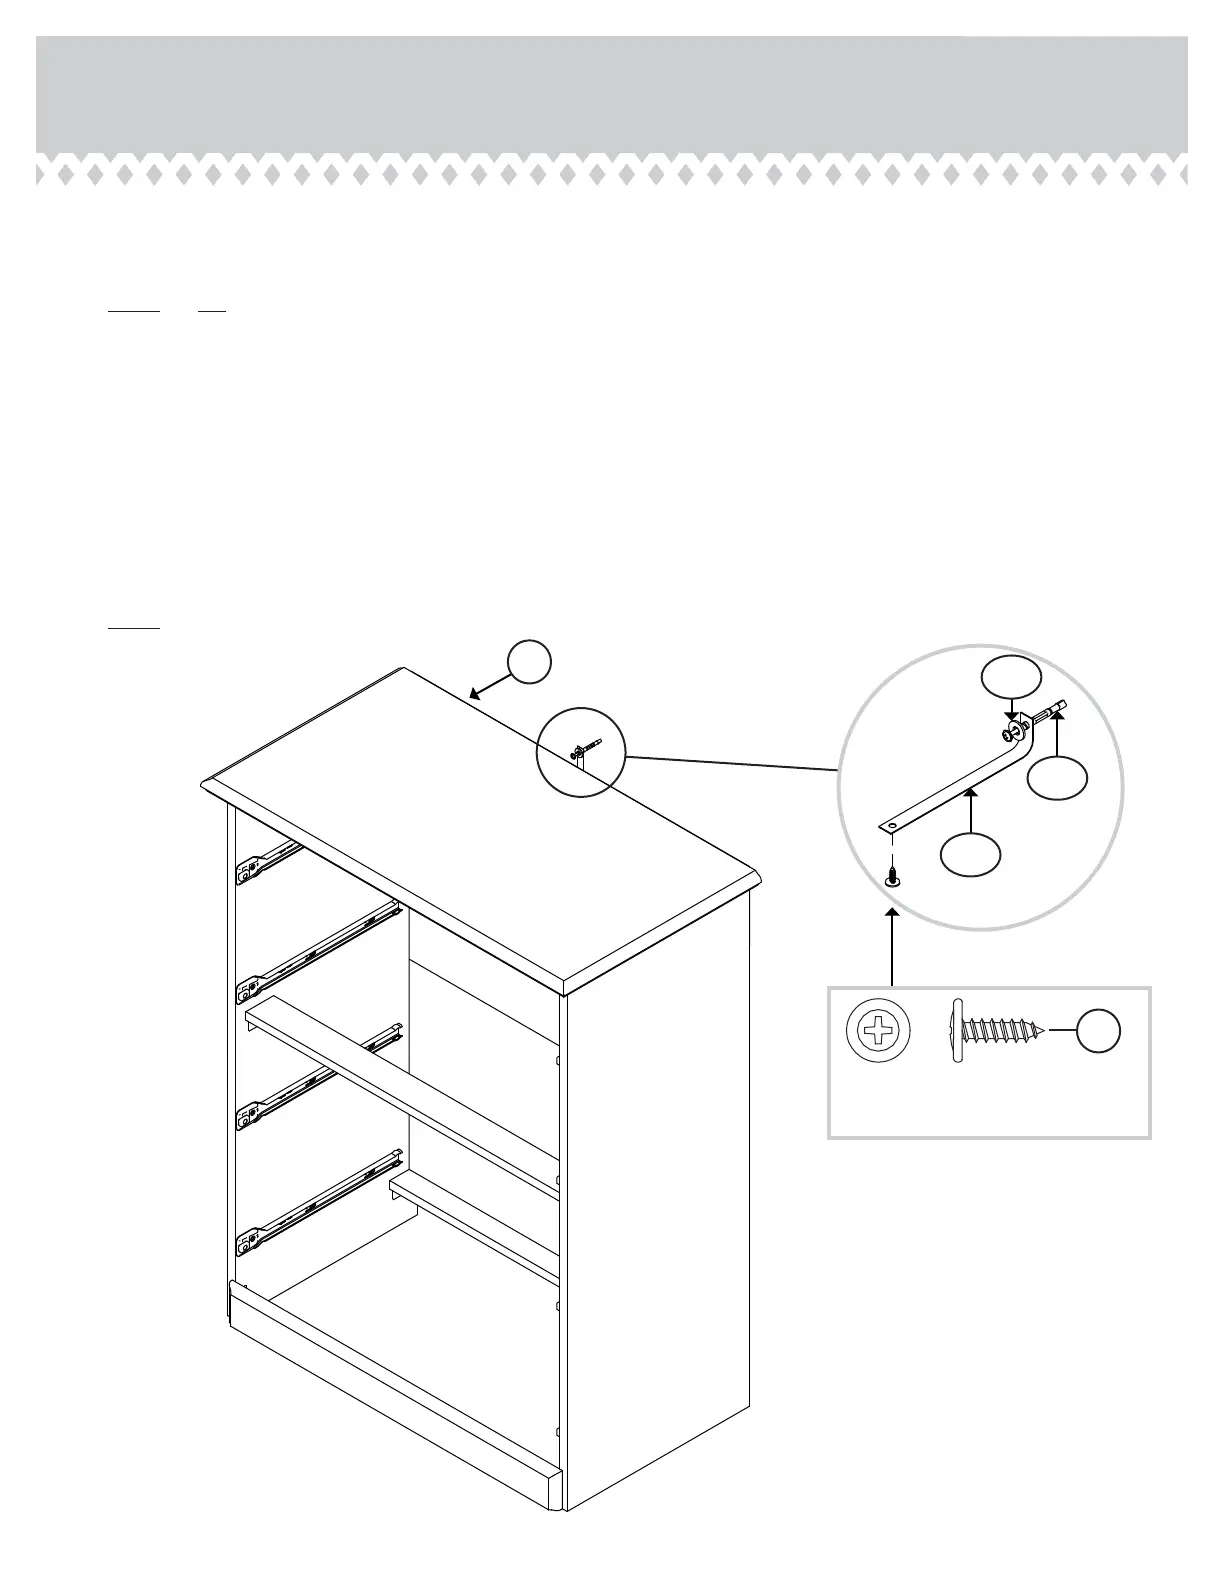
Step 15
401291 www.sauder.com/servicesPae 20
60M
61M
BLACK 9/16" LARGE HEAD SCREW
(1 used in this step)
RR
13M
å
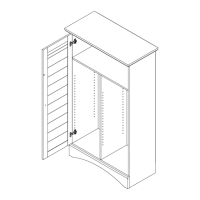
Carefully stand your unit upriht.
å
Position your unit in its fi nal location. We recommend usin the SAFETY STRAP (60M) for added stability.
å
NOTE: Do not turn the SAFETY DRYWALL ANCHOR (61M) into a wall stud. If you prefer to fasten the SAFETY
STRAP (60M) to a wall stud, o to your local hardware store for proper hardware.
å
INSTALLATION INSTRUCTIONS: (Also available at www.yl-anchors.com)
1. Insert the SAFETY DRYWALL ANCHOR (61M) throuh the WASHER (13M) and one end of the SAFETY STRAP (60M).
2. Usin a Phillips screwdriver or a hand drill, press screw slihtly onto the drywall.
3. Apply pressure; turn the screw until a pilot hole is made and the nylon sheath slips throuh.
4. Turn the screw until it is fl ush aainst the wall and you feel a fi rm resistance.
5. Continue to turn until the screw starts spinnin freely.
å
Carefully cut out the perforated hole in the SMALL BACK (D2). Insert the other end of the SAFETY STRAP (60M) throuh
this hole, then use a BLACK 9/16" LARGE HEAD SCREW (RR) throuh the SAFETY STRAP and into the pre-drilled hole in
the underside of the TOP.
å
NOTE: Before movin your unit to a di erent location, unscrew the SAFETY DRYWALL ANCHOR (61M) from your wall.
The nylon sheath will remain behind your wall.
D2



 To Next Page