Do you have a question about the Sauder Executive Desk 408289 and is the answer not in the manual?
Lists the necessary tools for assembling the furniture unit.
Identifies and labels all furniture components for correct assembly.
Identifies all hardware, including screws, cams, and other fasteners.
Insert hidden cams and cam dowels into main structural parts.
Secure bottom moldings using cam screws.
Attach rail brackets and extension blocks to ends and uprights.
Fasten numbered cabinet rails to brackets on ends and uprights.
Connect extension rails to extension blocks on unit components.
Fasten remaining numbered cabinet rails to uprights.
Insert metal pins and fasten braces to ends and uprights.
Connect the main ends and uprights to the desk top panel.
Attach the modesty panel to the top and uprights.
Secure the back panels to the main structural components.
Slide end moldings onto the notched edges of the unit frame.
Attach bottom moldings to the internal braces.
Attach metal brackets and bases to structural components.
Assemble keyboard pull, back, sides, and shelf.
Fasten hinges to the keyboard front and shelf panel.
Attach drawer slides to the keyboard side panels.
Assemble the sides, bottom, and back of the large drawer.
Fasten extension slides to the large drawer sides.
Install file glides and rods onto the large drawer sides.
Assemble small drawer box with slides and pull attachment.
Insert assembled drawers and keyboard shelf into the unit.
Adjust drawer fronts for proper alignment and appearance.
Guidelines for safe usage, avoiding overloading, and proper handling.
Information on warranty coverage for defects in materials and workmanship.
How to register your product and access customer service and tips.
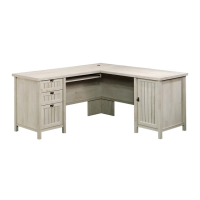
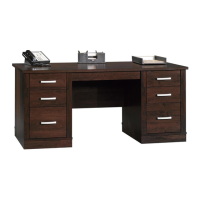
| Product Name | Sauder Executive Desk 408289 |
|---|---|
| Category | Indoor Furnishing |
| Material | Engineered Wood |
| Assembly Required | Yes |
| Style | Traditional |
| Number of Drawers | 3 |
| Features | Grommet hole for cord management |