Do you have a question about the Savic Tasmania 120 and is the answer not in the manual?
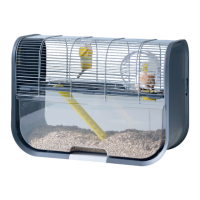
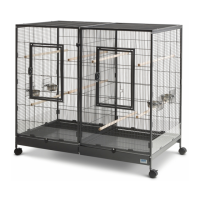
Highlights key features like separation grid, large doors, easy cleaning, and safety systems.
Detailed listing of all cage components, including panels, grids, and accessories.
Assemble side panel (C) to right front panel (E) using hexagon key.
Lists hexagon key, wrench, screws, bolts, wing nuts, and plastic panels.
Assemble right back panel (B) to the side panel using hexagon key.
Slide the left front panel (D) into the right front panel (E).
Slide the left back panel (A) into the right back panel (B).
Assemble slider (H) between front and back panels.
Place supports (G) for metal trays between front and back panels.
Assemble the second side panel (C) to the left front and back panel.
Assemble left roof panel (I) to the left front and back panel.
Assemble the right roof panel (J).
Fix cup holders (N) on inside of small doors with wrench and fasteners.
Place stainless steel bowls (O) and install castors (P).
Slide separation grid (K) and place trays (F) and grids (L).
Place plastic panels (U, V, W) on all sides of the cage.
Install wooden perches (M) for final setup.
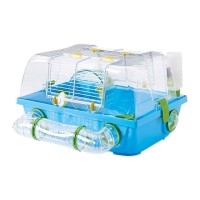
Convert the standard cage into a small animal cage with a wooden kit.
| Brand | Savic |
|---|---|
| Model | Tasmania 120 |
| Category | Pet Care Product |
| Language | English |