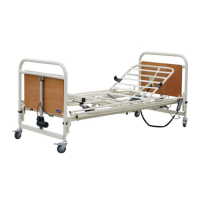
Assembly Guidance for the Scan Bed Alpha
Figure 1
- Place the two inserts in the head end of the top frame. The inserts must be
mounted in such a way that extends further out of the side tube than the
other.
- Loosely screw in the two thumb screws
- Push the foot end of the top frame onto the two inserts.
- Tighten with two thumb screws.
- Retighten the two screws at the head end of the top frame.
- Turn the two mattress handles of the backrest up.
Figure 2
- Turn the locking rings* on the bed ends to the position ’open’.
- Latch the top frame to the bed ends and press firmly into position.
- Turn the locking rings to the position ‘locked’.
*The locking rings ensure that the top frame is not accidentally lifted clear of
the bed ends.
Figure 3
The control is on the backrest motor.
The control is provided with a label with symbol showing where to
connect the motors’ plugs.
-1: Backrest motor
-2: Knee section’s motor
-3: Bed end
-4: Bed end
-HB: Hand control box
-Pull the cable of the bed end motor at the foot end through the holes in the
motor bearing on the head of top frame and insert the bed end motor’s plug
in the control.
- Insert the cable of the bed end motor at the head end directly in to the
control unit.
-Insert the plug of the knee section’s motor in the control unit.
-Insert the hand control box plug in the control.
-Insert the mains cable plug in the control.
-Mount the safety comb on the control.
-Check that all plugs are correctly mounted before connecting the bed to the
mains.
When working with the foot end note that there is a risk of getting squeezed during
transport since the adjustable section is not firmly locked. Remember to remove the
plug from the mains socket when moving the bed.