27
Konserwacja
Przed podjęciem prac naprawczych lub konserwacyjnych
należy zawsze wyłączyć silnik.
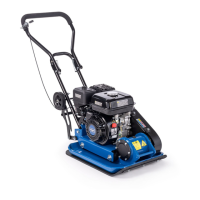
HP1100 / HP1300
Napięcie paska klinowego. Rys. 4.1, 4.2
Naciąg paska klinowego musi być kontrolowany i regulowa-
ny po każdych pięciu godzinach pracy urządzenia.
1 W celu regulacji naciągu paska należy poluzować śruby
A mocujące silnika po obu stronach. Rys. 4.1, 4.2
2 Następnie poluzować dwie nakrętki zabezpieczające B i
naciągnąć piąć pasek klinowy przy pomocy obu śrub C.
3 Po wykonaniu tych czynności mocno dokręcić śruby A i
nakrętki zabezpieczające B. Rys. 4.1
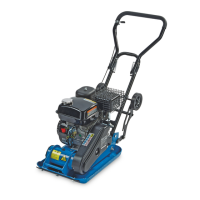
HP800
Naciąganie paska klinowego Rys 4.3, 4.4
Każdorazowo po 5 godzinach pracy należy ponownie nacią-
gnąć pasek klinowy.
1 W celu naciągnięcia paska klinowego należy poluzować
zamocowanie silnika po obu stronach za pomocą śrub
A. ( Rys. 4.3, 4.4 )
2 Następnie należy poluzować nakrętkę zabezpieczającą
B i naciągać pasek klinowy za pomocą nakrętki C.
3 Po naciągnięciu paska klinowego należy dokręcić 4 śru-
by A oraz nakrętkę zabezpieczającą B. Rys. 4.4.
Maintenance
Before starting maintenance or repair work, always shut
down the motor.
HP1100 / HP1300
Tensioning the vee-belt. Fig. 4.1, 4.2
The vee-belt must be re-tensioned after five operating
hours.
1 For tensioning the vee-belt, the bolts A of the motor
fixing must be released on both sides. Fig. 4.1, 4.2
2 Now release the two counternuts B and tension the
vee-belt with both bolts C.
3 After tensioning the vee-belt, firmly retighten the
bolts A and the counternuts B. Fig. 4.1
HP800
Tensioning the vee-belt. Fig. 4.3, 4.4
After 5 hours in use, the fan belt must be tightened.
1 To tighten the fan belt, the screws A on both sides of
the motor housing must be loosened. ( Fig. 4.3, 4.4 )
2 Now loosen the locknut B and tighten the fan belt
with the nut C.
3 After tightening of the fan belt 4, tighten the screws
A and the locknut B again. Fig. 4.4