POSITION SELECTOR-SWITCH DESCRIPTION CONTROL-SWITCH FUNCTIONS
OFF
The „OFF“ position of the red Selector-switch
serves the black Control-switch for browsing
through the menus. The bigger the angle of the
switch is the faster you can browse through the
menu.
+ Browsing up: Status-Info S1 to S6
History-information H1 to H20
- Browsing down: Parameters P1 to P20
The angle respectively the speed of the switches is
being shown by a thin line at left and right border of
the display.
With the red switch you activate the edit-mode and
you save or dismiss the adjustments.
In the edit-mode you change values of parameters
with the black switch.
LOCAL
If the red Selector-switch is engaged in “LOCAL”
the black Control-switch serves as OPEN-STOP-
CLOSE switch.
+ up: actuator opens the valve (left turning)
- down: actuator close the valve (right turning)
REMOTE
If the red Selector-switch is engaged in “REMOTE”
the control system operates the actuator.
With the black Control-switch it is still possible to
browse through the menu to view Status-informa-
tion or parameter adjustments.
Parameters can only be changed when the red
Selector-switch is in „OFF“ position.
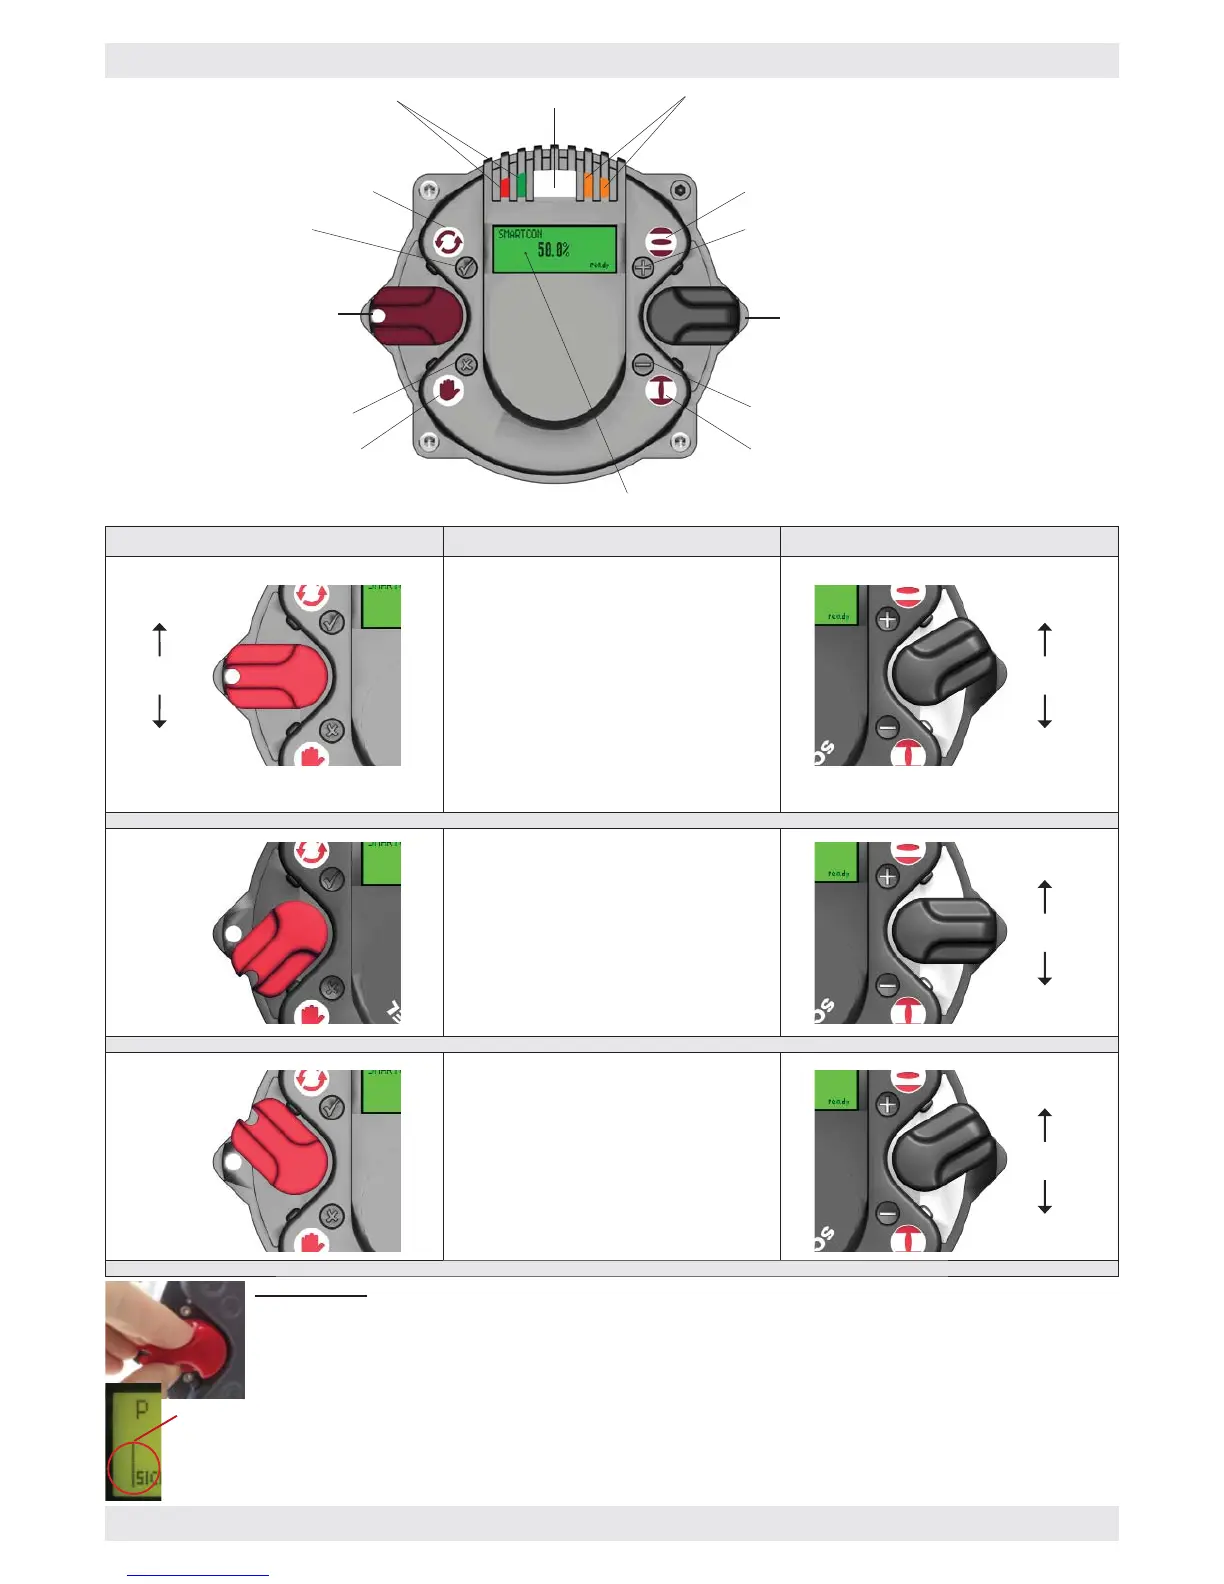
SELECTOR-SWITCH
LOCAL-OFF-REMOTE
Status-info
History data
Parameters
P1 to P20
Open
Close
General overview/functions/handling of control unit SMARTCON ®
LOCAL-control
Dismiss
Infrared-Interface
Confi rm
REMOTE-control
Browsing through the menu (status/History-
information)
Open-valve
Symbols
Symbols
Symbols
Close-valve
Browsing through the menu (parameters)
Symbols
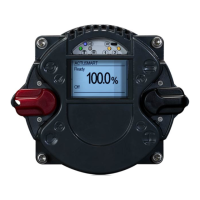
Valve position indication
LED glows: Valve is opened or closed
LED blinks: Valve is being opened or closed
Status indication:
LED’s glows: Actuator is ready
LED’s blinking or not glowing: Failure (actuator is not ready)
Display
Status-info
History data
Parameters
P1 to P20
Confi rm
Save
Dismiss
Main Display
Practice hints:
- Hold and operate the switches always with thumb , middle- and trigger fi nger.
- While browsing through the menu change the angle off the switch slowly and constantly until you reach the parameter, then let the
switch rebound.
- The higher the angle of the switch is the faster you can browse through the menu.
- Pay attention to the lines with the speed indication on both sides of the display. To browse through the menu it is enough to have a short line
( 3 speeds)
- The most important parameters are at the beginning of the parameter menu.
- For the activation of the edit mode respectively to save changed parameters push the red switch up (2-3 barlines) and let it rebound. Wait for
a moment (~1sec) if the value is saved (display changes from „Save?“ to „Edit?“ and vice versa.
- If you browsed too far in the menu , you can get very easy to the main display with a quick push on the black switch.
- In the „Stop“ position oft he black switch and a short push on the red switch you get also to the main display.
CONTROL-SWITCH
OPEN-STOP-CLOSE
Stop
Stop
Stop
Off
page 2
Optical
Indication
of
speed
 Loading...