Removal
1. Before starting to remove the
Pinlock
®
lense, first lay the face
shield on a soft, clean cloth so
that its top edge is facing you.
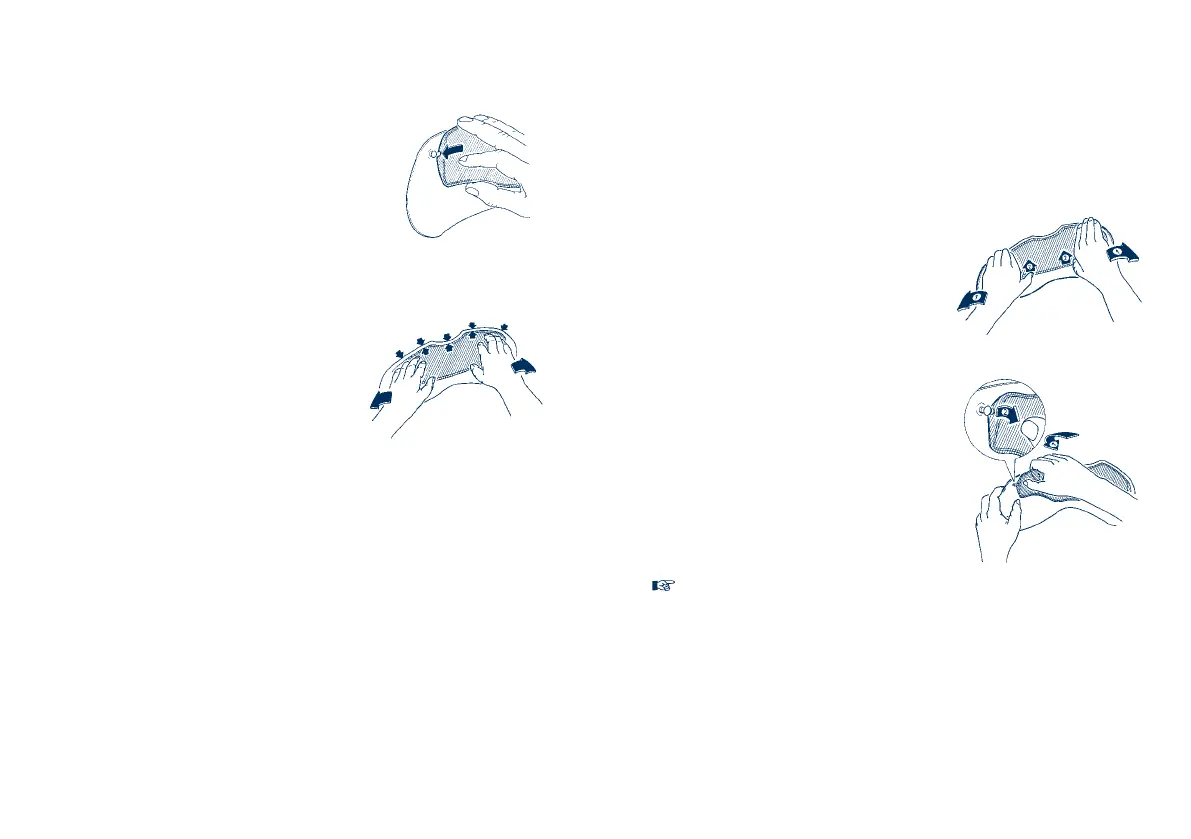
2. To reduce the pretensioning of the
Pinlock
®
lense slightly if necessary,
use the balls of your thumbs to
carefully bend the face shield
sufficiently apart while applying
pressure with your thumbs to
release the Pinlock
®
lense and
move it approx. 2-3 mm forward.
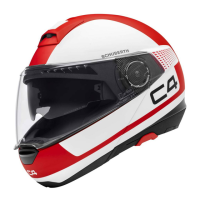
3. Now grip the back of the Pinlock
®
lense with your index and middle
fingers and lift it off the face
shield. In this position you can
easily remove the Pinlock
®
lense
from the locking pin with your
thumb.
4. You can now remove the Pinlock
®
lense from the face shield.
Note:
• toavoidscratchingthefaceschield,neverremoveort
the Pinlock
®
lense unless the visor unit is clean and dry.
• WhenttingthePinlock
®
lense, check that neither dust
nor moisture are able to get between the two surfaces.
• WhenremovingorttingthePinlock
®
lense, it is always
best to lay the face schield unit on a clean, dry cloth.
• Checkregularlytoensurethatthetofthesiliconeseal
between the face shield and the Pinlock
®
lense is tight
and even.
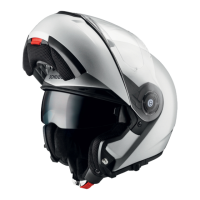
2. Now grasp the other side of the
Pinlock
®
lense by its upper and
lower transverse edges and use
your index finger to gently press
the end of the visor into a slight
"S" shape. Now you can easily
guide the slot over the locking pin
and release the Pinlock
®
lense into
place.
3. The Pinlock
®
lense should now be
positioned in the face shield with
its lower edge parallel to the lower
edge of the face shield. If you
need to change the positioning of
the Pinlock
®
lense, use the balls of
your thumbs to gently bend the
face shield apart until the inner
visor can be adjusted as required.
4. Check all around the Pinlock
®
lense
to make sure that the silicone seal
fits tightly and evenly against the
face shield. Only if this is the case
will the anti-misting properties
function properly.
5. If you have not done so already,
remove the protective film from
the Pinlock
®
lense
D. THE HELMET