
M
Mrs. Sabrina MillerJul 25, 2025
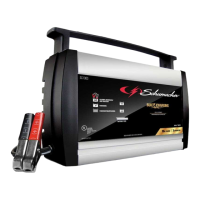
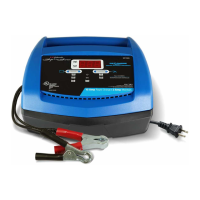
Why doesn't engine start work on my Schumacher Electric SC1307 Battery Charger?
- JJennifer WilkersonJul 25, 2025
If the engine start function isn't working on your Schumacher Electric Battery Charger, consider the following possibilities: 1. **Current Draw:** If the cranking draws more current than the Engine Start rate, the crank time might be less than 5 seconds. 2. **Rest Time:** Ensure you wait the full 3 minutes (180 seconds) between cranking attempts, especially when the Engine Start LED is blinking. 3. **Overheating:** Check that the charger vents aren't blocked, and allow the charger to cool down before trying again. 4. **Battery Condition:** If the battery is severely discharged, use the Boost rate for 10 to 15 minutes to assist with cranking.