WIRING
INSTRUCTIONS
TIPS:
For
easier
installation,
connections
can
be
made
at
the
rear
speakers
in
many
vehicles
without
the
need
to
remove
the
stereo! The
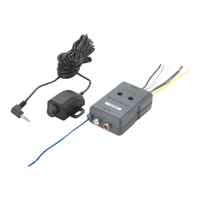
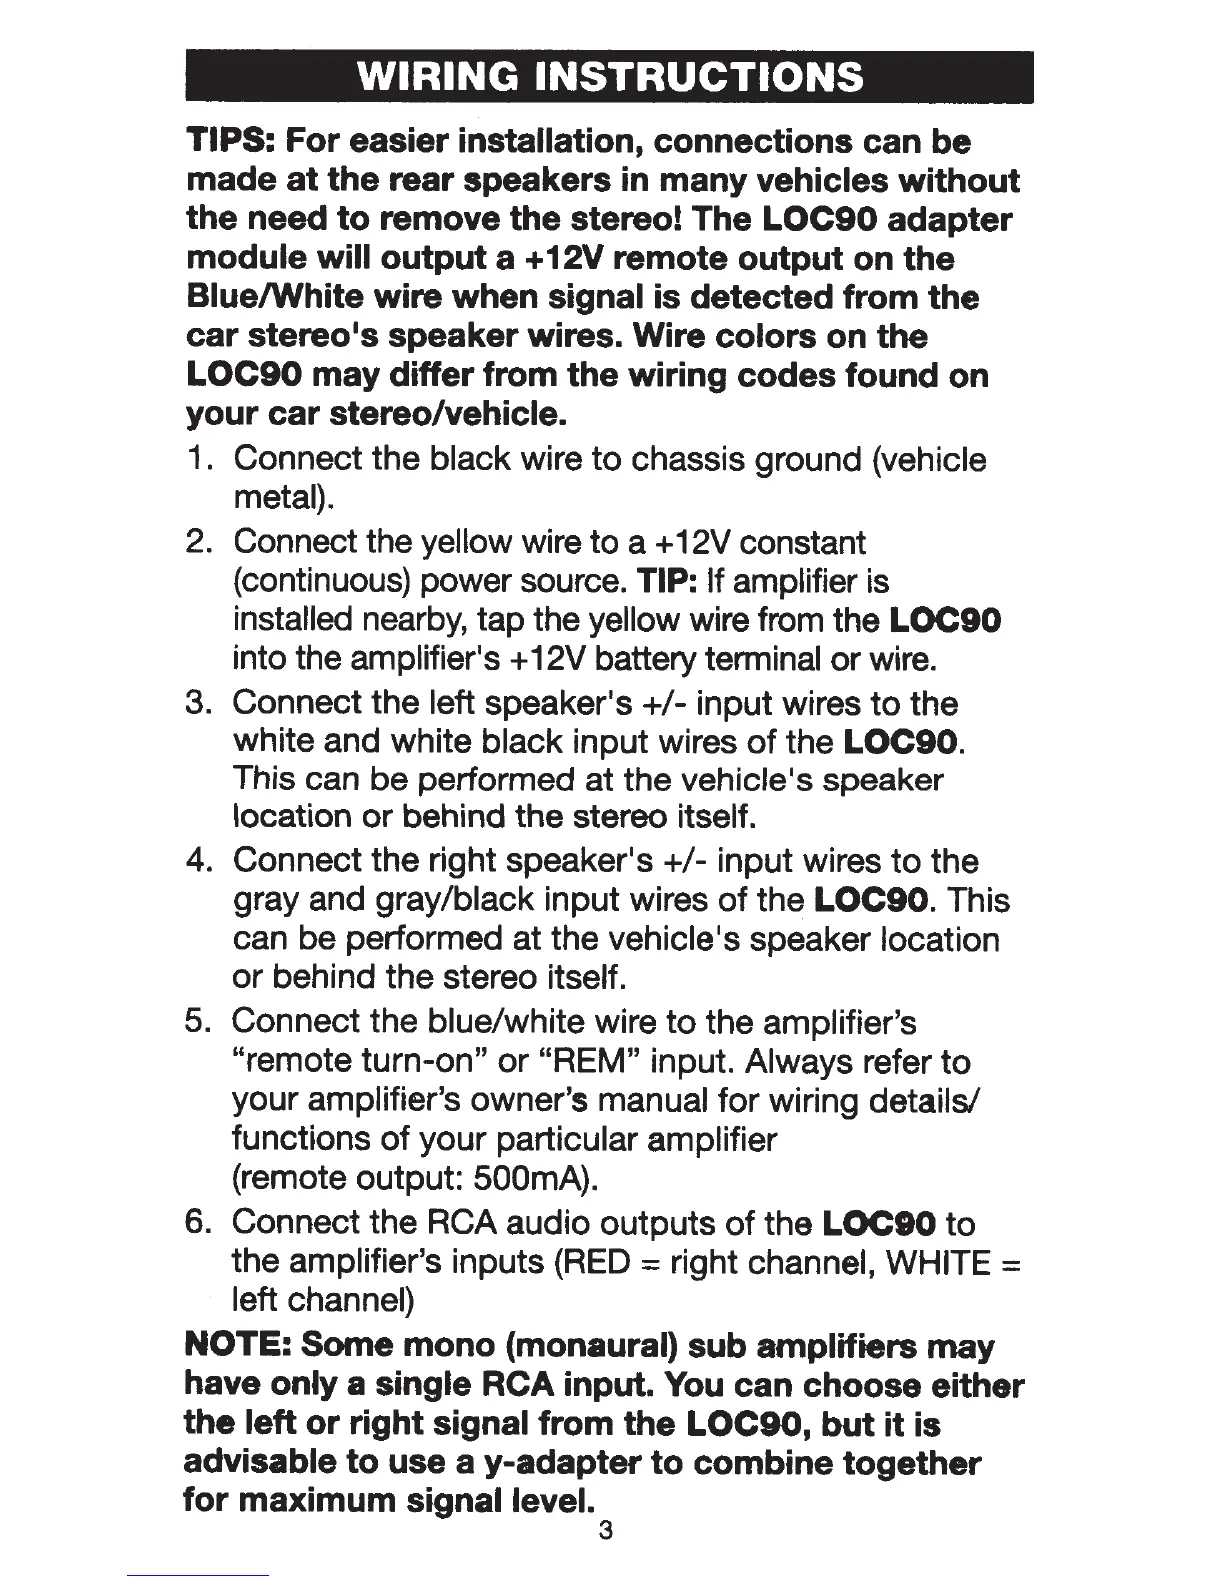
LOC90
adapter
module
will
output
a +12V
remote
output
on
the
Blue/White
wire
when
signal
is
detected
from
the
car
stereo•s speaker wires. Wire
colors
on
the
LOC90
may
differ
from
the
wiring
codes
found
on
your
car
stereo/vehicle.
1. Connect the
black
wire
to
chassis ground (vehicle
metal).
2. Connect the yellow
wire to a +12V constant
(continuous) power source.
TIP:
If
amplifier is
installed
nearby, tap the
yellow
wire from the
LOC90
into the
amplifier•s
+ 12V battery terminal
or
wire.
3. Connect the
left speaker•s
+1-
input wires
to
the
white and white black
input wires
of
the
LOC90.
This can be performed at the vehicle •
s
speaker
location
or
behind the stereo itself.
4. Connect the right speaker•s
+1-
input wires
to
the
gray and
gray/black input wires
of
the
LOC90.
This
can be performed at the
vehicle•s
speaker
location
or
behind the stereo itself.
5.
Connect the blue/white wire
to
the
amplifier's
"remote turn-on"
or
"REM"
input.
Always refer
to
your amplifier's owner's manual for wiring details/
functions
of
your particular amplifier
(remote output:
500mA).
6. Connect the
RCA audio outputs
of
the
LOCIO
to
the amplifier's inputs
{RED
=
right channel,
WHITE
=
left
channel)
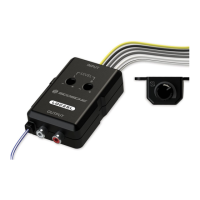
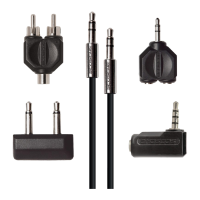
NOTE:
Some
mono
(monaural)
sub
amplifiers
may
have
only
a single
RCA input. You can
choose
either
the
left
or
right
signal
from
the
LOC90,
but
it
is
advisable
to
use a
y-adapter
to
combine
together
for
maximum
signal level.
3