18
Bike tires are fitted with tubes.
Remove the wheel from the bike and deflate it. Unhook
the tire from one side of the rim, using tire tools, not
screwdrivers.
Remove the tube from the tire casing, repair or replace
it. Install the new or repaired tire. Fill the tube lightly
with air in order to let it take its shape. Put the valve
stem through the hole, and fit the inside tire. Put the tire
bead in the rim starting at the valve and finishing at the
opposite end, working on both sides. Push the valve
stem into the tire and pull it back down to seat. Make
sure the tube is not pinched under the tire bead. Inflate
with hand or foot-pump.
Scott bikes of Racing Concept, Racing, Endurance,
Progressive, Road, Roadster and Kids Series are not
intended for the use of baby seats.
Please note that Scott will not take any warranty or
responsibility when using a baby seat on bikes mentio-
ned above.
There are too many different baby seat and baby seat
fixation systems on the market to give a detailed table
of systems that might fit without technical problems or
endangering the passengers.
In general Scott bikes are delivered and preassembled
with the right lever matching the rear brake and the left
lever matching the front brake.
Due to national laws this could have been changed by
your Scott dealer to fulfil the national laws.
Please ask your dealer to explain to you the assignment
of the brakes and brake levers when handing over the
bike.
Scott bikes are not intended for the use of haulers (load-
haulers, kids-haulers, Trailer bikes).
Please note that Scott will not take any warranty or
responsibility when using a hauler.
There are too many different haulers and hauler fixation
systems on the market to give a detailed table of sys-
tems that might fit without technical problems or
endangering the passengers.
FIX A FLAT TIRE
USE OF A BICYCLE HAULER
USE OF A BABY SEAT
ASSIGNMENT OF BRAKE LEVERS
TO FRONT AND REAR BRAKE
open position
closed position
Removing a Quick Release Front Wheel
(1) If your bike has rim brakes, disengage the brake’s
quick-release mechanism to open the clearance bet-
ween the tire and the brake pads (See Section 4.C fig. 11
through 15).
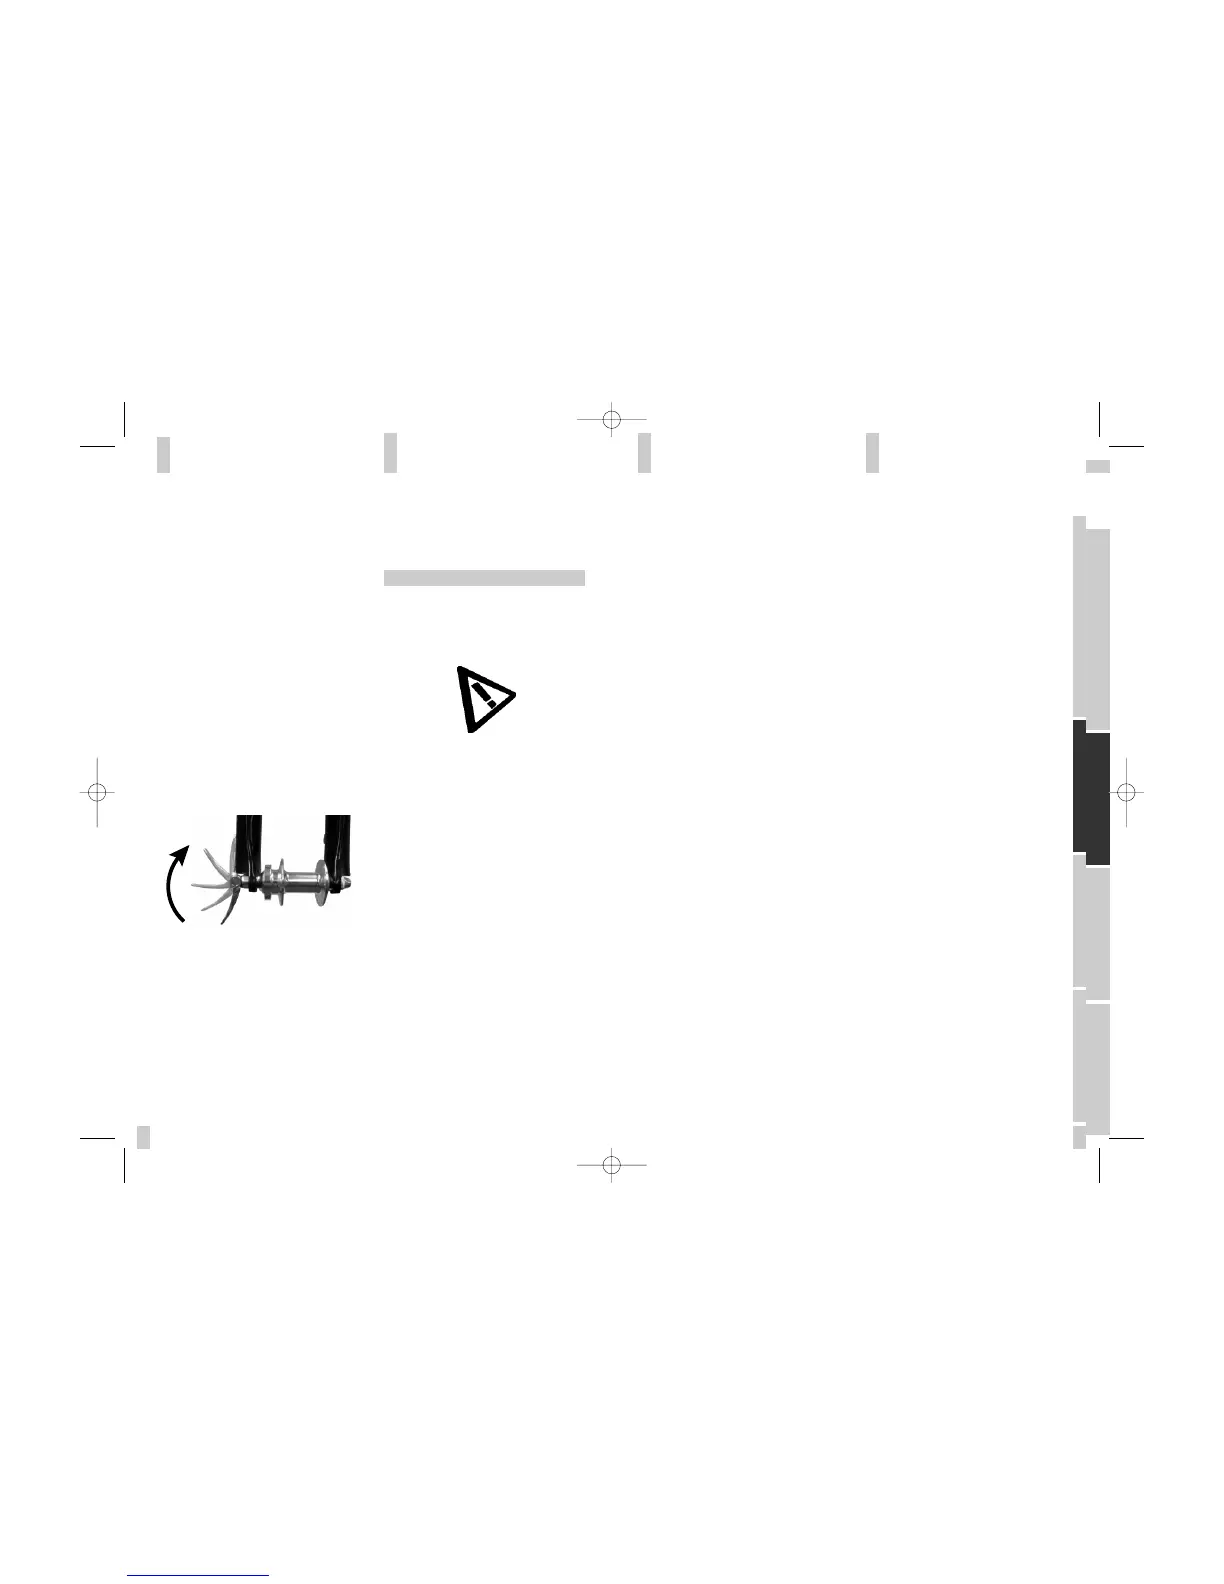
(2) Move the wheel’s quick-release lever from the locked
or CLOSED position to the OPEN position (figs. 7a & b).
(3) If your front fork does not have a secondary retention
device go to step (5).
(4) If your front fork has a clip-on type secondary reten-
tion device, disengage it and go to step (5). If your front
fork has an integral secondary retention device, loosen
the tension adjusting nut enough to allow removing the
wheel; then go to the next step.
(5) Raise the front wheel a few inches off the ground and
tap the top of the wheel with the palm of your hand to
knock the wheel out of the front fork.
Installing a Quick Release Front Wheel
CAUTION!
If your bike is equipped with disk brakes, be careful not
to damage the disk, caliper or brake pads when re-inser-
ting the disk into the caliper. Never activate a disk bra-
ke’s control lever unless the disk is correctly inserted in
the caliper. See also Section 4.C.
(1) Move the quick-release lever so that it curves away
from the wheel (fig. 7b). This is the OPEN position.
(2) With the steering fork facing forward, insert the
wheel between the fork blades so that the axle seats
firmly at the top of the slots which are at the tips of the
fork blades — the fork dropouts. The quick-release lever
should be on the left side of the bicycle (fig.7a & b). If
your bike has a clip-on type secondary retention device,
engage it.
(3) Holding the quick-release lever in the OPEN position
with your right hand, tighten the tension adjusting nut
with your left hand until it is finger tight against the fork
dropout (fig. 6).
(4) While pushing the wheel firmly to the top of the slots
in the fork dropouts, and at the same time centering the
wheel rim in the fork, move the quick-release lever
upwards and swing it into the CLOSED position (fig. 6 &
7a). The lever should now be parallel to the fork blade
and curved toward the wheel. To apply enough clamping
force, you should have to wrap your fingers around the
fork blade for leverage, and the lever should leave a
clear imprint in the palm of your hand.
ENGLISH
19
DEUTSCH
FRANÇAIS
OWNER MANUAL 2005