GardenShed
2.3 x 2.3 x 2.4m
A
26I
26H
26C
26D
9F
9F
9F
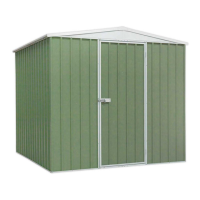
Step 2:
Assemble the rear wall panels (continued)
Now fit parts 26I, 26H (top channels) and parts 26C, 26D (bottom channels) to the sheeting by tapping it in (diagram A) or sliding it
in (diagram B). Make sure the small lip on the channel is always facing out. This ensures rain water cannot build up inside your shed.
Make sure part 26I and 26H are used as top side channels.
RIDGES FACING UP
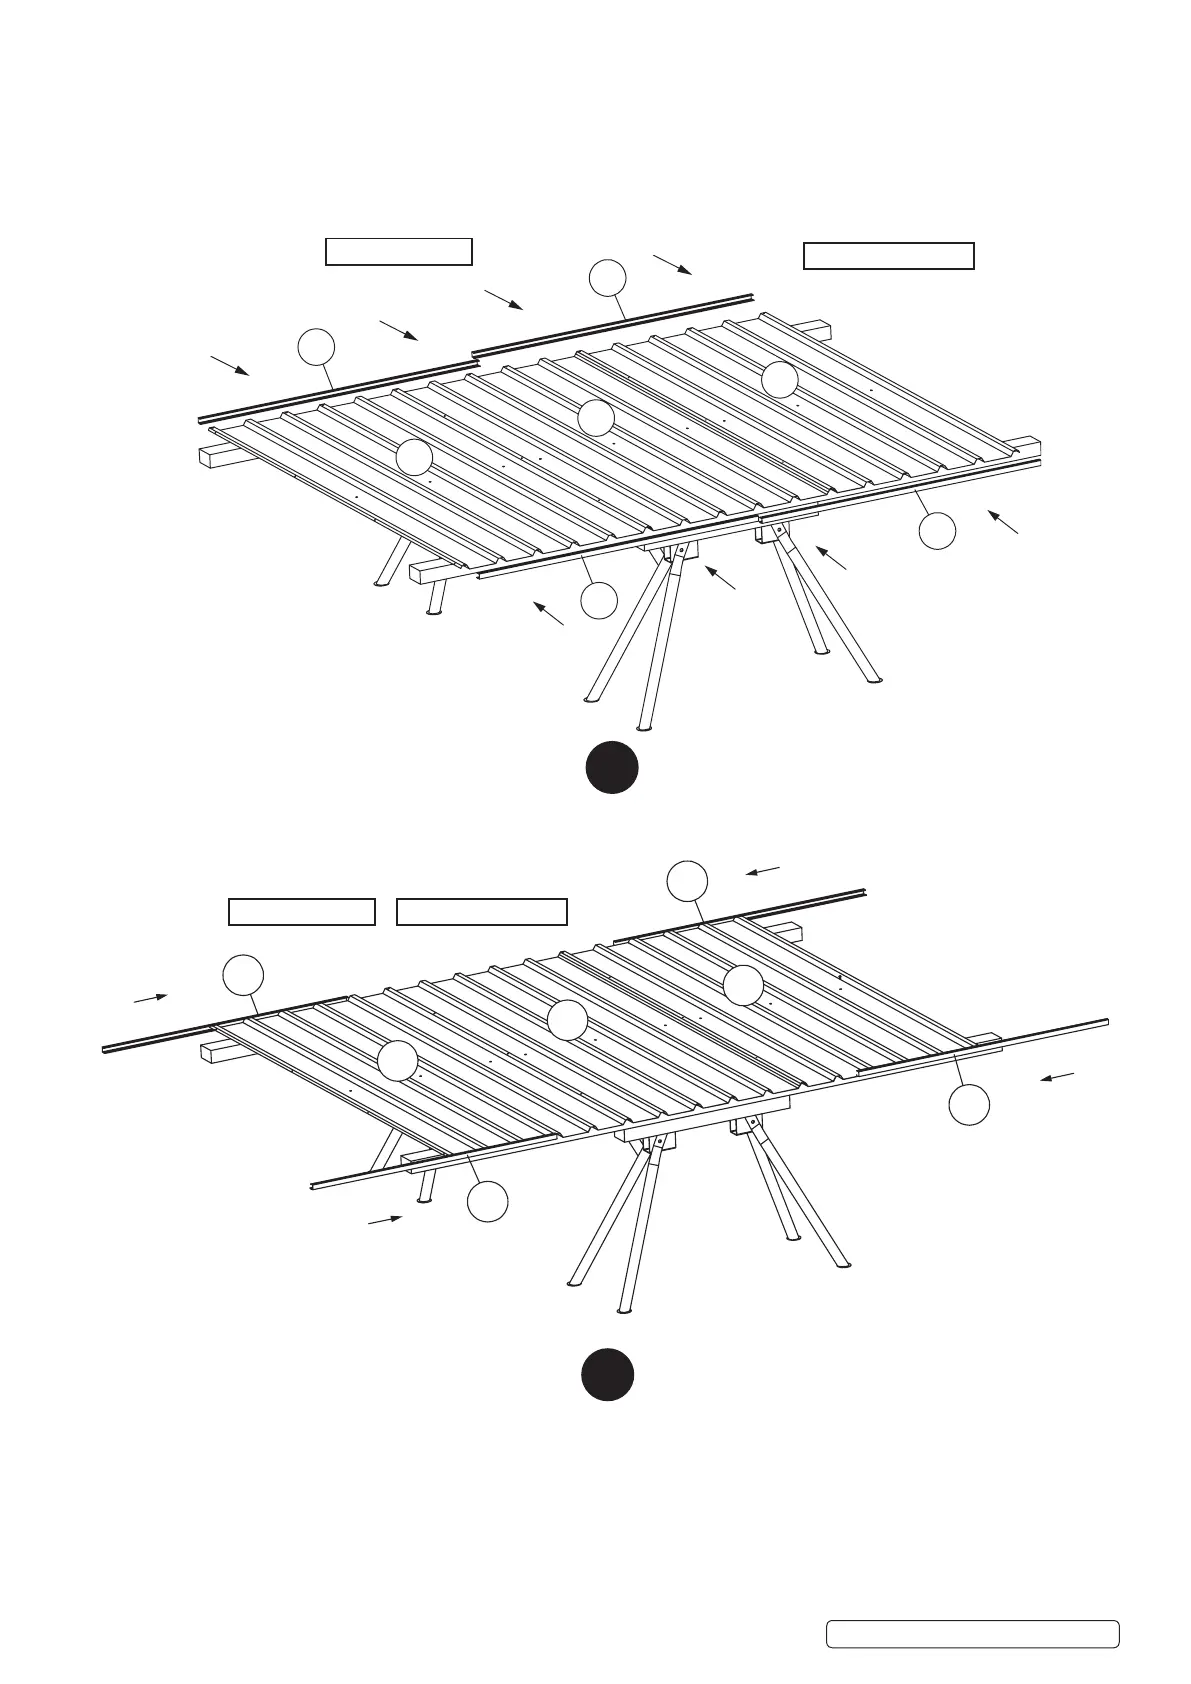
B
26I
26H
26C
26D
9F
9F
9F
ROOF TOP EDGE
A
ROOF TOP EDGE
RIDGES FACING UP
B
Step 2: Assemble the rear wall panels (continued)
Now t parts 26I, 26H (top channels) and parts 26C, 26D (bottom channels) to the sheeting by tapping it in (diagram A) or sliding it in (diagram
B). Make sure the small lip on the channel is always facing out. This ensures rain water cannot build up inside the shed. Make sure part 26I and
26H are used as top side channels.
GSS2323/G | Issue:2(SP) 13/04/17
Original Language Version
© Jack Sealey Limited
 Loading...