, TOPASSEMBLY I
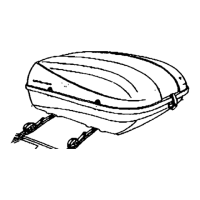
1. Attachfoam,wea_'_r'sld_ng (A) toinsideofCarriertop;as shown
infigure1 and detail DO NOT CUTTR_ _Jt In one pieseandtrim
I ASSEMBUNG TOP TO BoTroM I
While someone_ thetop,ar_n the slot inthe hinges(L) sn the
Carrier bottomwithbheCarriertop and attachmedium screws(E),
medum ffatweshem (H) and large plasticinsert nuts(J). Do not
mUyt_hten at this time. Turn carde_[_side down andpos_on top
to _ bottom _ the same spacingin front and rear of carder
T_htan screws.
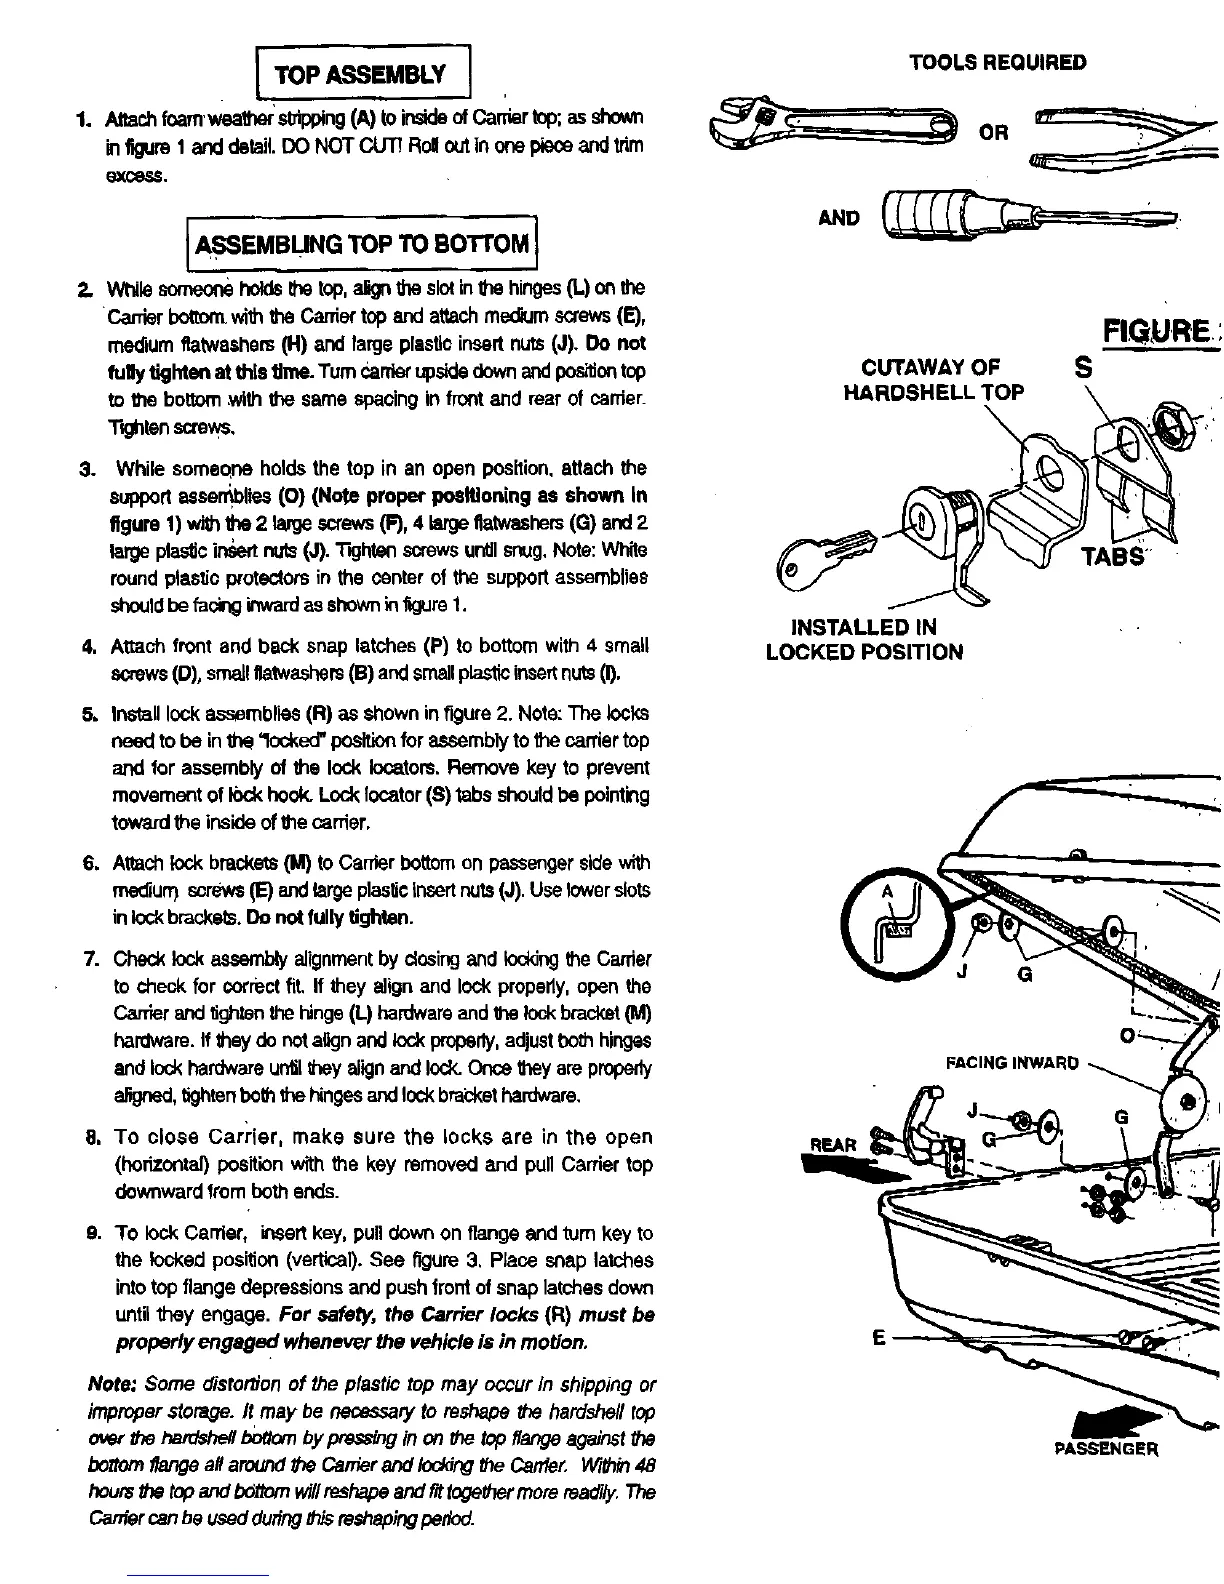
. While someone holds the top in an open position,attach the
support esserr_blies(O) (Note proper Ix_ltioning as shown In
figure 1) with_ 2 largescrews(F), 4 largeflatwashem(G) and 2
largeplas_cin_ nuts(J). 1-_jhlanscrewsuntilsnug,Note:White
roundplasticprotectorsin the center of the supportassemblies
shouldbe rasinginwardassbownin_gum 1.
4, Attach front and back snap latches (P) to bottom with 4 small
screws(D), small_tweshers (B) andsmallplasticinsertnuts(I).
5. Installlockassemblies(R) as shown inf'_ure 2. Note:The locks
need to be in_ "locked"positionfor assemblyto thecarriertop
and for assembly of the lock Iocatom. Remove key to prevent
movement of lockhook.Lock locator(S) tabs shouldbe pointing
towardthe inside of the carrier,
6. Attachlock brackets(M) to Carder bottomon passengersidewith
medium s_rews_E)andlarge plasticinsertnuts (J). Use lowerslots
in lockbrackets.Do not fully tighten.
7. Check lockassemblyalignmentby closingand locking the Carder
to check for correct fit, If they align and lock properly, open the
Carrierandtightenthe hinge (L) hardwareand _ lock brecht (M)
hardware. If theydo nota_n and lock properly,adjustbothhinges
and Io_khardware untilthey alignand lock.Once they are properly
aF_ned,tightenboth thehingesand lockbrai::kethardware.
8, To close Carrier, make sure the locks are in the open
(horizontal) pos'Rionwith the key removed and pull Carrier top
downwardfrom both ends
g. To lock Can'lar, insertkey, pull down on flange and turn key to
the locked position(vertical).See figure 3. Place snap latches
intotop flange depressionsand pushfront of snap latchesdown
untilthey engage. For safety, the Carrier locks (R) must be
properly engaged whenever the vehicle is in motion.
Note: Some distortionof the plastic top may occur/n shippingor
improperstorage./t may be ne_ssary to reshape_e hardshelltop
over_e ham_hellbotlombypre._'inginon thetopflangeagalnstthe
botom flangeallaround_ Cartier and Ioddng _e Carffer, Wi_ 48
hours_ top andbottomwill reshapeand fittogs#let more readily. The
Cartiercanbe usedduring _ m_aping period.
TOOLS REQUIRED
FIGURE:
CUTAWAY OF S
HARDSHELL TOP \ _
INSTALLED IN
LOCKED POSITION
REAR
PASSENGER
 Loading...