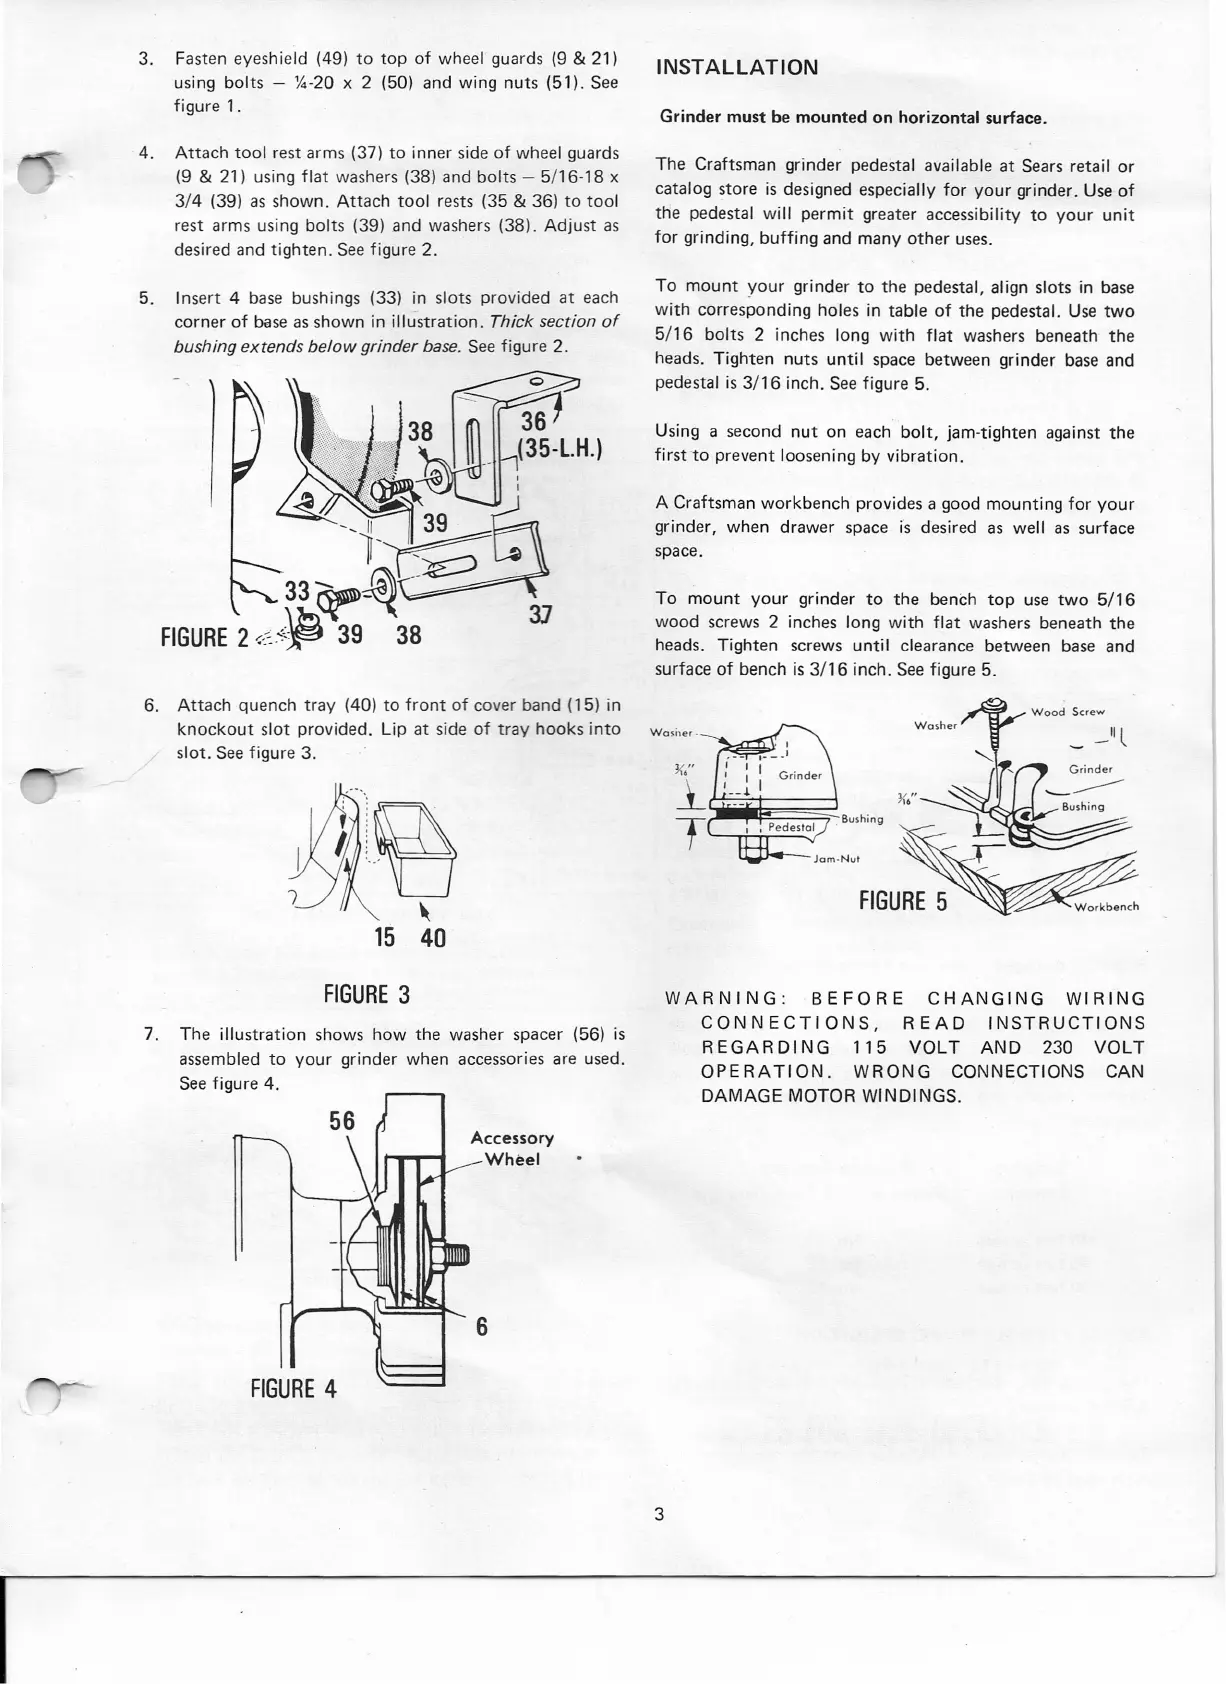
To mount your grinder to the bench top use two 5/16
3J wood screws 2 inches long with flat washers beneath the
heads. Tighten screws until clearance between base and
surface of bench is 3/16 inch. See figure
5.
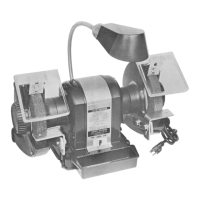
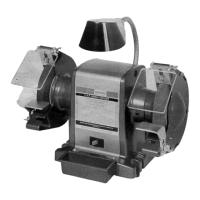
3. Fasten eyeshield (49) to top of wheel guards (9 & 21)
using bolts - '1.·20 x 2 (50) and wing nuts (51). See
figure
1.
4.
Attach tool rest arms
(37)
to inner side of wheel guards
(9
&
21) using flat washers (38) and bolts - 5/16·18
x
3/4 (39) as shown. Attach tool rests (35
&
36) to tool
rest arms using bolts (39) and washers (38). Adjust as
desired and tighten. See figure
2.
5.
Insert
4
base bushings (33) in slots provided at each
corner of base as shown in illustration.
Thick section of
bushing extends below grinder base.
See figure
2.
INSTALLATION
Grinder must be mounted on horizontal surface.
The Craftsman grinder pedestal available at Sears retail or
catalog store is designed especially for your grinder. Use of
the pedestal will permit greater accessibility to your unit
for grinding, buffing and many other uses.
To mount your grinder to the pedestal, align slots in base
with corresponding holes in table of the pedestal. Use two
5/16 bolts
2
inches long with flat washers beneath the
heads. Tighten nuts until space between grinder base and
pedestal is 3/16 inch. See figure
5.
Using a second nut on each bolt, jam-tighten against the
firstto prevent loosening by vibration.
A Craftsman workbench provides a good mounting for your
grinder, when drawer space is desired as well as surface
space.
6. Attach quench tray (40) to front of cover band (15) in
knockout slot provided. Lip at side of tray hooks into
Was; re
r ,
slot. See figure
3.
i~
"
15 40
FIGURE 3
7.
The illustration shows how the washer spacer (56) is
assembled to your grinder when accessories are used.
See figure
4.
6
Accessory
Wheel
FIGURE 4
WARNING: BEFORE CHANGING WIRING
CONNECTIONS, READ INSTRUCTIONS
REGARDING 115 VOLT AND 230 VOLT
OPERATION. WRONG CONNECTIONS CAN
DAMAGE MOTOR WINDINGS.
3
 Loading...