9
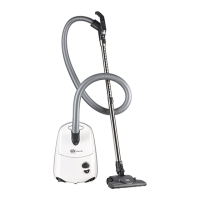
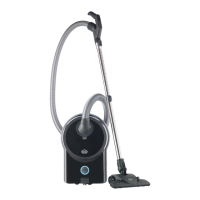
Using the Cleaning Wand, Hose & Attachments -
Figures 4, 5 & 6
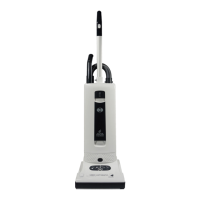
The cleaning wand (15) is useful for vacuuming corners and hard-to-reach
areas. The handle grip (1) should be in the upright, locked position (as shown in
figure 4). Grip the cleaning wand handle (11), pull it up and away from the
machine and stretch out the hose (12) until it locks to the back of the tube (this
locking action will prevent the hose from retracting back into the cleaning wand
while it is in use). Various attachments may be inserted onto the end of the tube.
After use, remove attachment and re-insert the cleaning wand into the back of
the machine. Be sure that the cleaning wand handle (11) is inserted over the
projection tab (see #23, page 6). If the cleaning wand handle is properly seated
over the projection tab, the hose will automatically retract and you may resume
vacuuming. There is no need to turn off the vacuum while switching from upright
vacuuming to using the cleaning wand or hose.
To use the hose without the cleaning wand (as shown in figur e 5),pullthehoseout
of the cleaning wand whil e the tube is still attached to the machine and securely
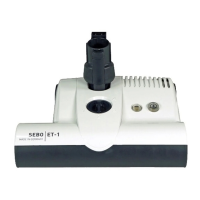
seated over the projection tab (23). Insert an attachment tool, if desired, onto the
end of the flexible hose. You may also release the hose whil e the cleaning wand is
disengaged from the machine by pres sing the release button (27) at the base of the
handle (11).
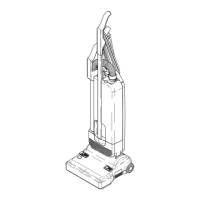
While using attachment tools, you may keep the brush roller off the carpet by
placing the handle (1) in its upright locked position and lowering the handle with
one hand to raise the brush roller off of the floor. Operate attachment accessories
with the other hand. Or, with the handle in the upright locked position, the
machine may be tipped backward so that it rests on the back side of the bag hous-
ing, and the power head is locked in a perpendicular position to the floor. Ensure
that no children or pets can come into contact with the spinning brush roller.
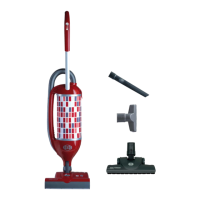
To vacuum walls, under beds, or higher-reach areas, etc., the SEBO ESSENTIAL G
can be fitted with an additional straight tube (45) and the wall and floor brush (41).
The machine will then perf orm as a canister vacuum (as shown in figur e 6).
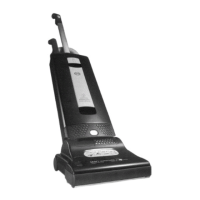
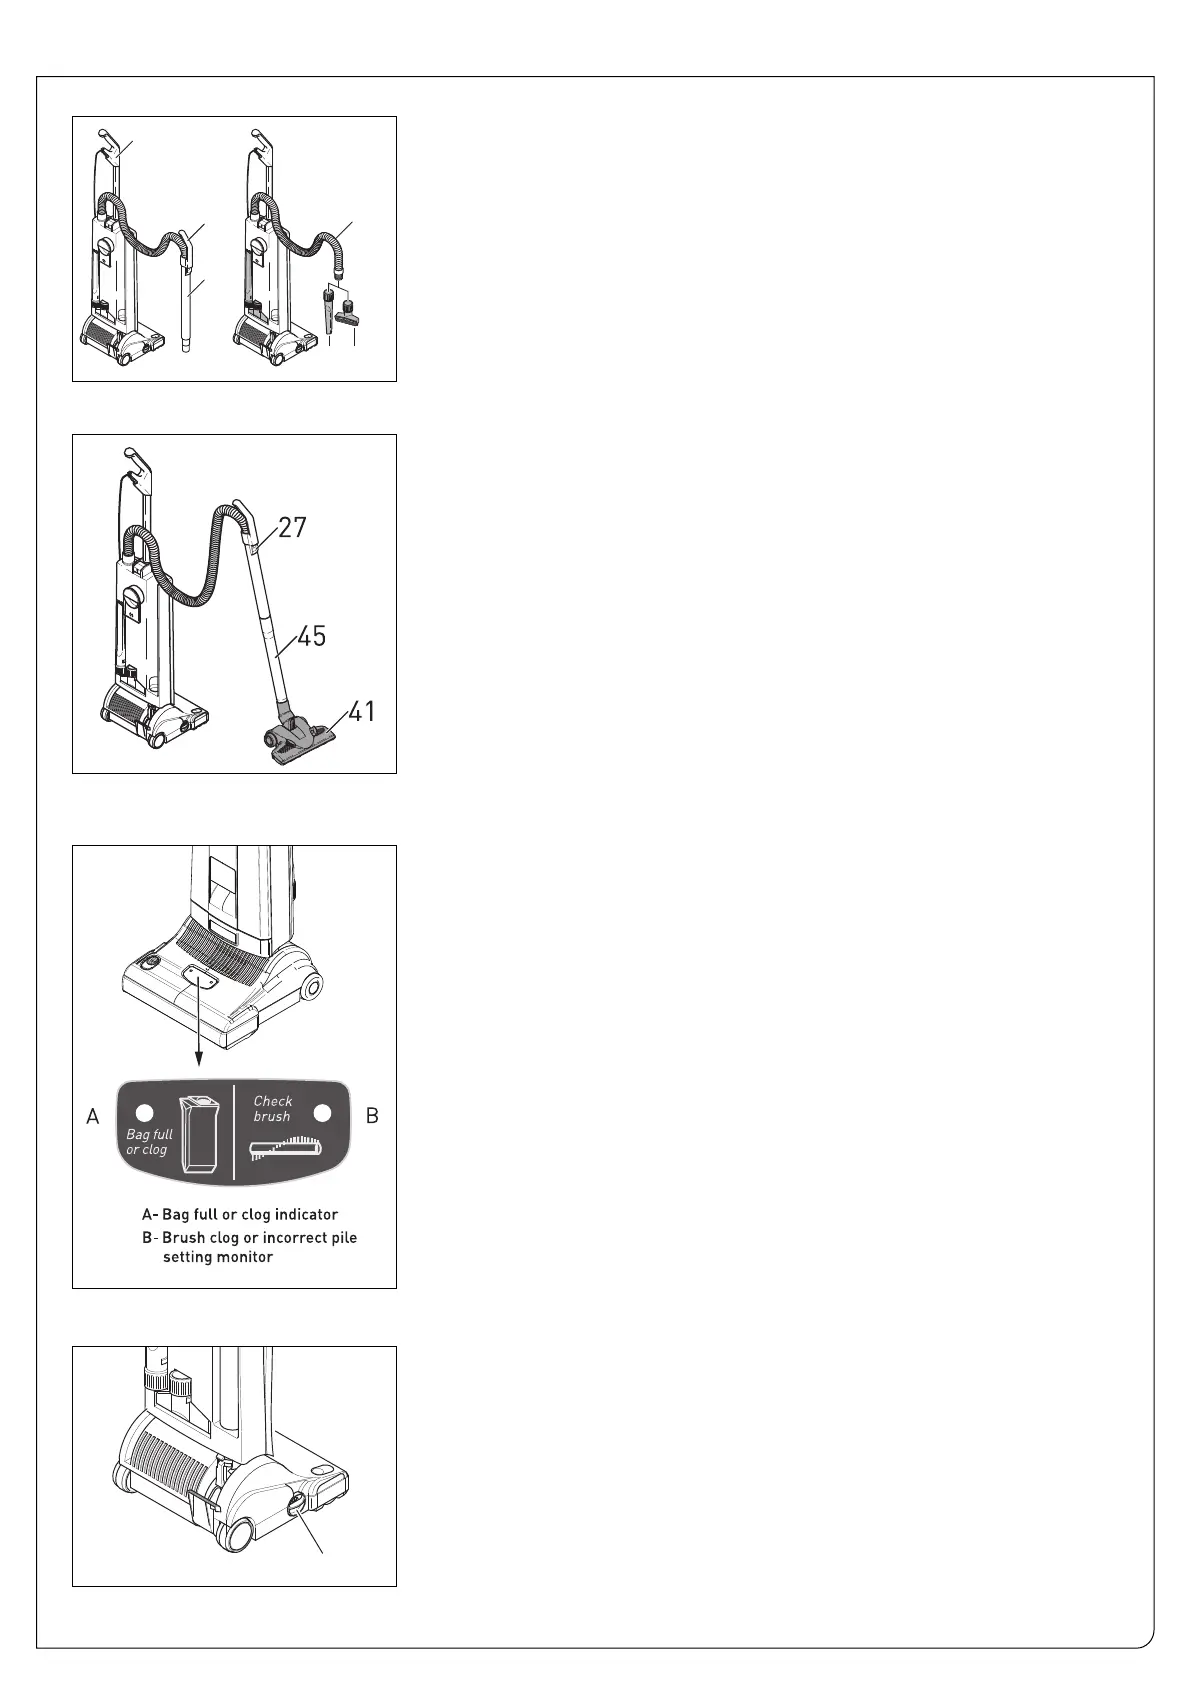
The Height Adjustment Wheel - Figure 8
The pil e adjustment wheel (18) has 4 brush height settings. Setting 1 is the lowes t
brush setting and setting 4 is the highest brush setting. When starting the vacu-
um, always start with the knob set at 4, then lower knob settings until the brush
reaches the proper height. The red brush light on the display panel will light after
6secondsifthebrushistoohigh.Adjusttheknobdown.Ifafter6seconds,the
brush light stays unlit, the brush is at the pr oper setting for the pile. The red
brush light will also illuminate if the setting is too low. Adjust the knob up until the
light stays unlit after 6 seconds.
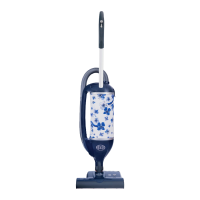
Red light (A): Off – Operation of machine is normal
Red light (A): Continuous – change bag or clear clog in the hose or power
head.
Red light (A): Flashing and motor off – filter bag is full, or clog in the hose or
power head due to ignoring the continuous red warning light for
full bag or clog (see above)
Red light (B): Off – Operation of brush is normal
Red light (B): Flashing while in position 1 on the pile adjus t ment knob (18) –
brush is worn - change brush roller
Red light (B): Continuous whi le in positions 1-4 – incorrect brush set ting-
adjust the brush by turning the pil e adjustment knob (18) to a
higher or lower position
Red light (B): Flashing and motor switched off – clogged brush
Red light (B): Flashing and motor switched off with no blockage – raise brush
to a higher position
For additional information on the display panel, see page 4
The Display Panel - Figure 7
Figure 4 Figure 5
Figure 6
Figure 7
Figure 8
 Loading...