16
45
23
5. Handhabung
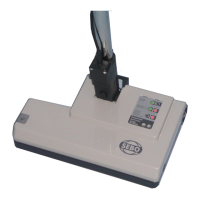
Stellen Sie sicher, dass der Schalt-
knopf (10) ausgeschaltet ist. Danach
die Anschlussleitung abwickeln und
den Netzstecker einstecken.
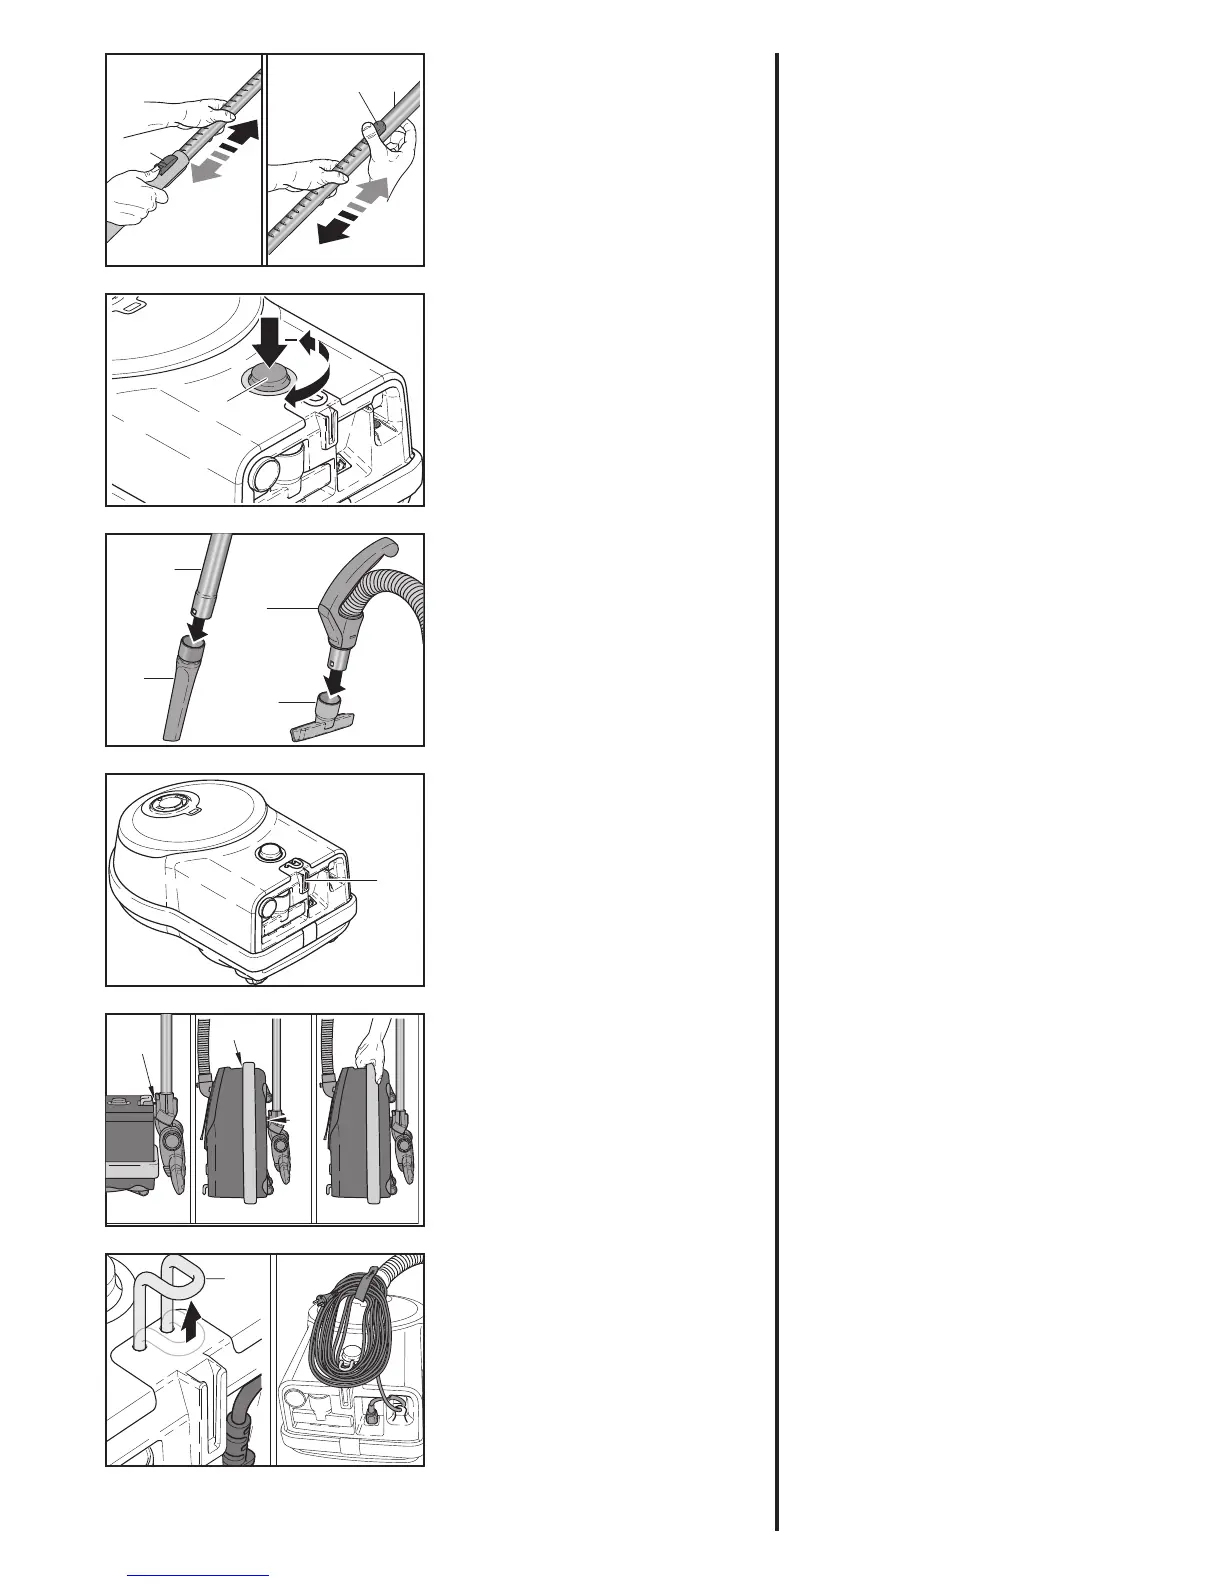
Das Teleskoprohr* (5a) sollte vor
Ar beitsbeginn auf die gewünsch-
te Ar beitshöhe eingestellt werden.
Betäti gen Sie dazu die Schiebeta-
ste* (22).
Schalten Sie nun das Gerät durch
Drücken des Schaltknopfes (10) ein.
Die gewünschte Saugkraft können
Sie durch Drehen des Schaltknopfes
(10) am Gerät von min. bis max. re-
gulieren.
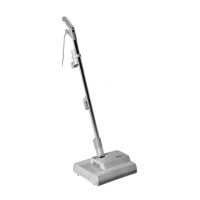
Ihr SEBO PROFESSIONAL D ist mit
einer Fu gendüse und einer Polster-
düse aus gestattet. Das Zubehör ist
hinten am Gerät eingesteckt und
passt sowohl auf das Teleskoprohr
(5a), das Steckrohr(5b), als auch auf
den Handgriff (6a/b).
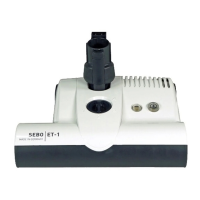
Für kurze Saugpausen können Sie
das Saugrohr mit der Bodendüse
in der Parkhilfe (16) am Heck des
Staubsau gers oder nach beendeter
Arbeit in die Abstellhilfe (23) an der
Unterseite des Gerätes einstecken.
Der praktische Tragegriff (45) er-
möglicht Ihnen je derzeit ein kom-
fortables Tragen des Gerätes.
Nach Ende des Gebrauchs, das
Ge rät durch Drücken des Schalt-
knopfes (10) ausschalten. Zie-
hen Sie dann den Netzstecker aus
der Steckdose und wickeln Sie
die Anschlussleitung wieder auf.
Ziehen Sie nun die aufgewickelte
Anschlussleitung über den Kabelha-
ken (35) und fixieren Sie das andere
Ende der Anschlussleitung mit der
Lasche am Schlauchstutzen.
* je nach Modell
5. Operating Instructions
Please ensure that the on / off
knob (10) is in the off position, un-
wind the mains cable und plug
the cable into the mains socket.
Before you start working ad-
just the telescopic tube (5a)*. Use
the slide button (22)* to adjust
the height of the telescopic tube.
Start the machine by pressing the
on/ off knob (10). To adjust the suc-
tion po wer, rotate the on / off power
control knob (10).
The upholstery and crevice uphol-
stery nozzles are located in the rear
of the machine, and fit on to the hose
handle (6a/b) as well as on to the
telescopic tube (5a) or the insertion
tube (5b).
When the vacuum cleaner is not in
use, the telescopic tube with floor
attachment can be parked in the
parking groove (16) on the rear of the
machine. For carrying the machine,
the telescopic tube with floor attach-
ment can be fitted into the carrying
groove (23) on the underside. Push
the on / off knob (10) to switch off the
machine after use. Pull the plug out
of the socket, wind the mains cable
between the metal cable hook (35)
and the cable strap fitted to the hose
end and close the strap.
* Depending on model.
7