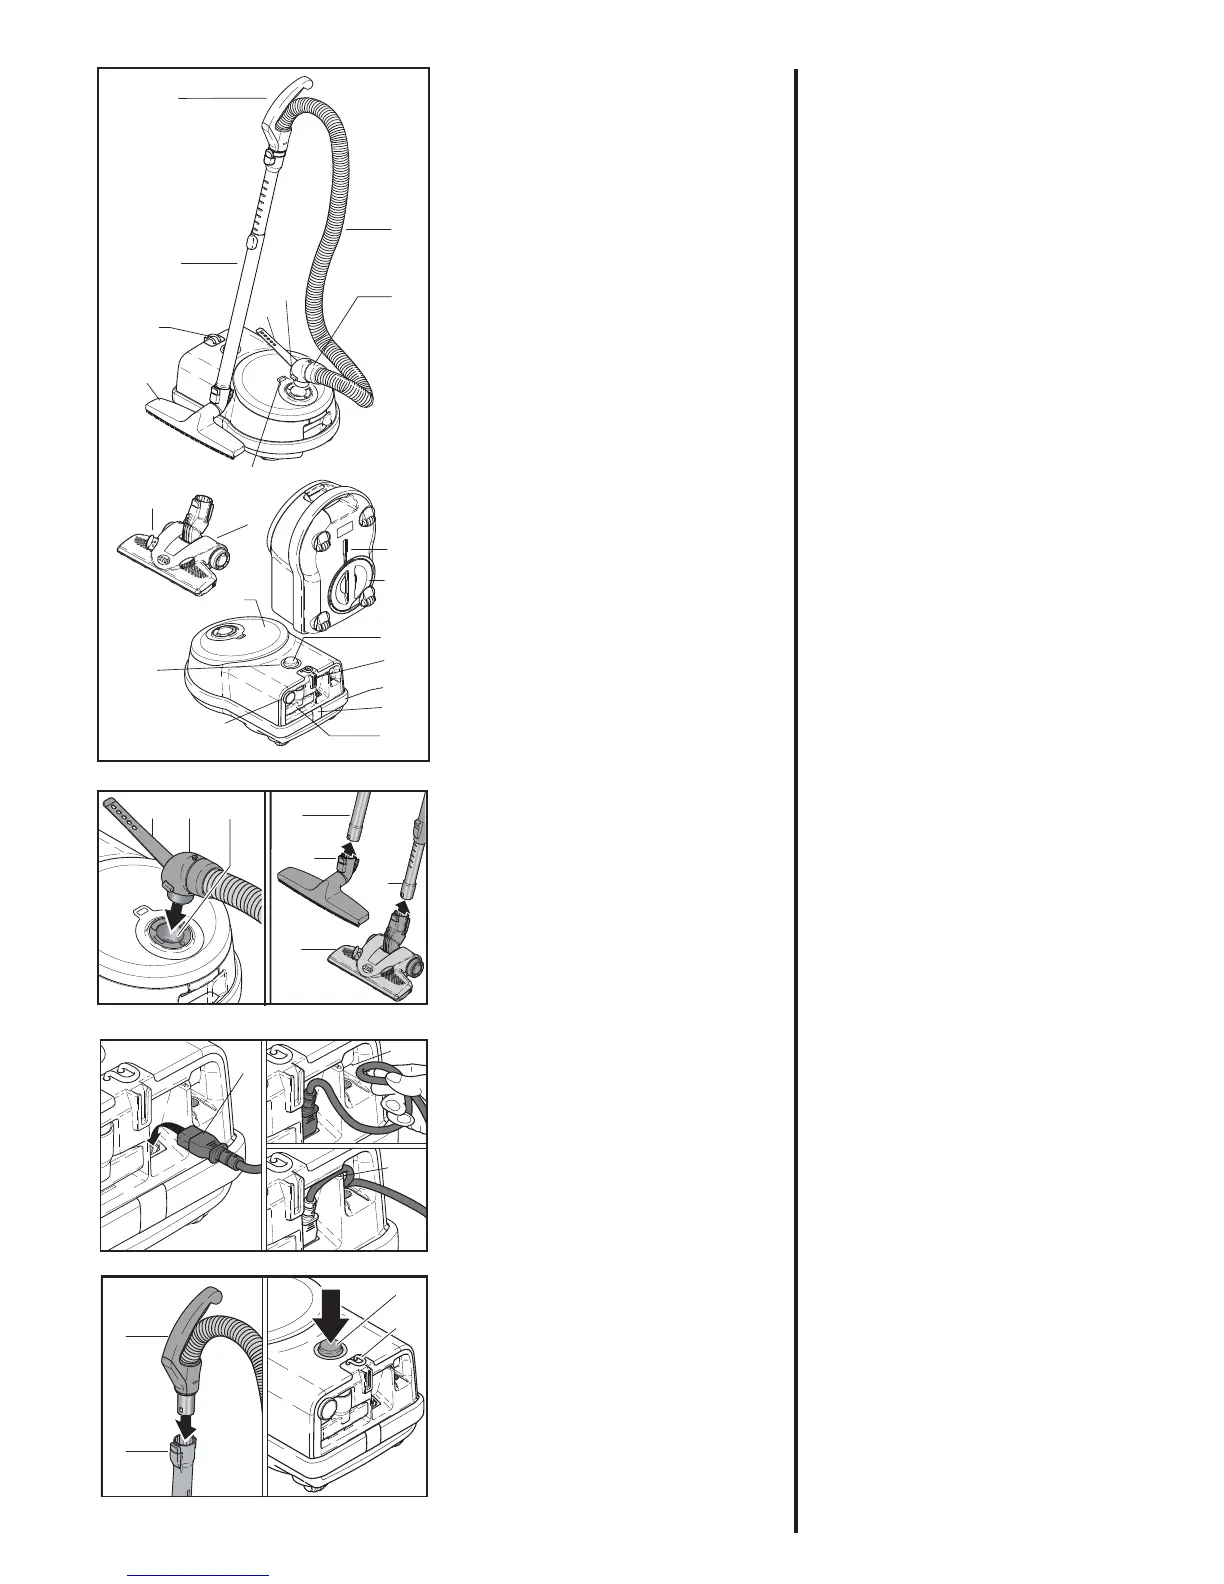
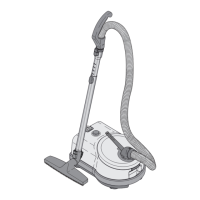
3. Gerätebeschreibung
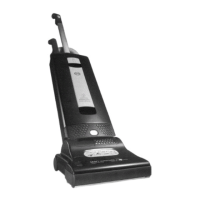
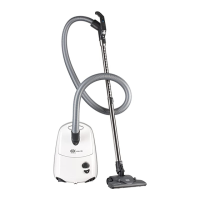
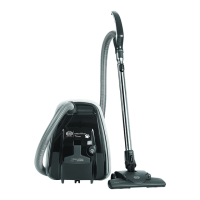
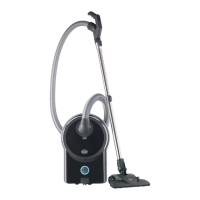
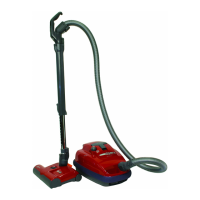
1 SEBO KOMBI*
2 Fußschieber*
5 Edelstahl-Teleskoprohr
6 Handgriff
7 Schlauch
8 Schlauchstutzen
8a Lasche
9 Knopf
10 Schaltknopf mit
Leistungsregulierung
11 Betriebsanzeige
12 Filteranzeige
13 Polsterdüse
14 Fugendüse
16 Parkhilfe
17 Airbelt Stoßschutz
18 Clip
20 Filterdeckel
23 Abstellhilfe
32 Filterhalter
35 Kabelhaken
36 Standarddüse*
* je nach Modell
4. Inbetriebnahme
Stecken Sie den Schlauchstutzen
(8) in den Sauganschluss (21) bis
er ein rastet. Schieben Sie eine
SEBO Bo dendüse bis zur Rastung
auf das untere Ende des Telesko-
prohres (5a). Stecken Sie nun den
Handgriff (6) in die andere Seite
des Teleskoprohres (5) ein.
Zur Montage der Anschlussleitung
setzen Sie den Kaltstecker (46)
in die Buchse ein. Führen Sie die
Anschlussleitung anschließend in
die Zugentlastung (47) ein, bis es
hörbar einrastet. Drücken Sie die
Anschlussleitung nun in die Füh-
rungsschiene (48) zwischen der
Buchse und der Zugentlastung
ein.
3. Machine Description
1 SEBO Kombi*
2 Hard floor/carpet Slider*
5 Telescopic Tube
6 Hose handle
7 Hose
8 Hose end
8a Cable strap
9 Catch
10 On/Off knob with
power control
11 LED light
12 Bag full indicator
13 Upholstery Nozzle
14 Crevice Nozzle
16 Parking groove
17 Airbelt bumper
18 Clip
20 Filter bag cover
23 Carrying /Parking groove
32 Filter holder
35 Cable hook
36 Standard Brush*
* Depending on model.
4. Assembly
Push the hose end (8) into the neck
(21). Push a SEBO floor head onto
the lower end of the telescopic tube
(5a) until it locks. Insert the tele-
scopic tube (5) onto the hose handle
(6) until it locks into place.
To assemble the mains cable to the
machine, push the rubber plug (46)
of the cable into the socket of the
machine. Once the plug is fully con-
nected to the socket, please insert
the mains cable into the cable cleat
(47). You can hear a „click“ when
the mains cable is fully inserted.
Finally insert the mains cable into
the channel (48) which you will find
between the machine socket and
cable cleat.
88a 21


 To Next Page