1 System Startup
1.1 System Startup
Powering the DVR On
Connect the HDMI, VGA, or BNC output of the DVR to a TV or monitor. Make sure your TV or
Monitor is plugged in, powered on, and on the right input. Plug the included power plug in to
an AC outlet and in to the power port on the back of the DVR. The DVR will automatically run a
system check, and will start loading after few seconds. You will see the Setup Wizard after the
system has finished loading.
2 Setup Wizard
The Setup Wizard will guide you through configuring the basic settings for your DVR such
as; the administrator password, time settings, record settings, hard drive settings, etc… This
wizard can be turned off by checking the box labeled “Do not display this wizard on startup”. It
can also be enabled or disabled from the Basic Menu. Once completed the wizard will close and
your cameras will be displayed on the screen.
2.1 Setup Wizard Interface
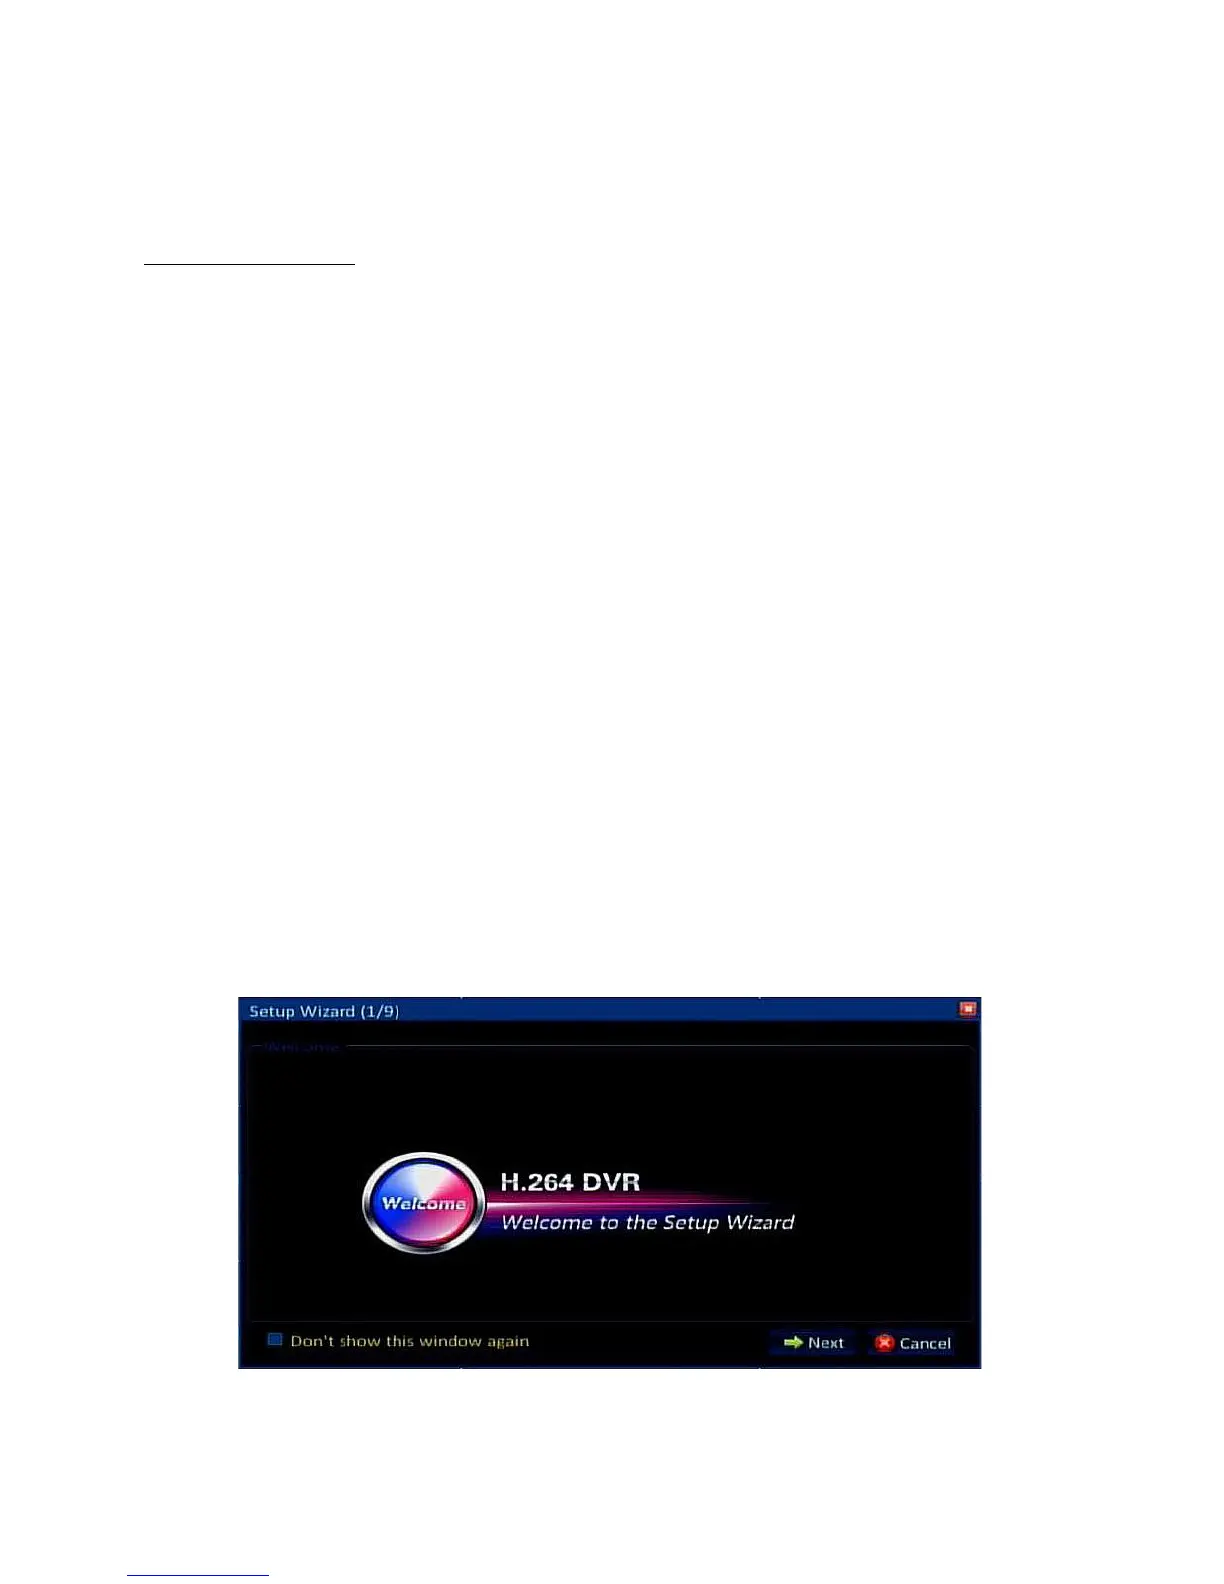
The Setup Wizard’s Graphical User Interface (GUI) welcome screen is shown below. We
recommend completing each step of the setup wizard before configuring any additional
settings in the DVR. Begin configuring your DVR by clicking the “Next” button near the bottom
right.


 To Next Page