search and it will display which days have recorded events on them in red. Select a day to
update the time bar with the recorded events for that date.
5.4.2.2 Channel and Time Selection
This is your channel and start time selection. Here you can select which channels will be
displayed for playback as well as the start and end time for the playback period. You can click
the search button, and then click “Record list” to see the recorded events and back them up.
To backup and event, simply put a checkbox in the white box to the left of the event, and then
click “backup”
5.4.2.3 Timeline Search Bar
This is your Timeline Search bar. This bar displays continuous (Green) and alarm (red)
recording events on a 24hr timeline. You can visually see the recorded events and click the
timeline to play a specific time period
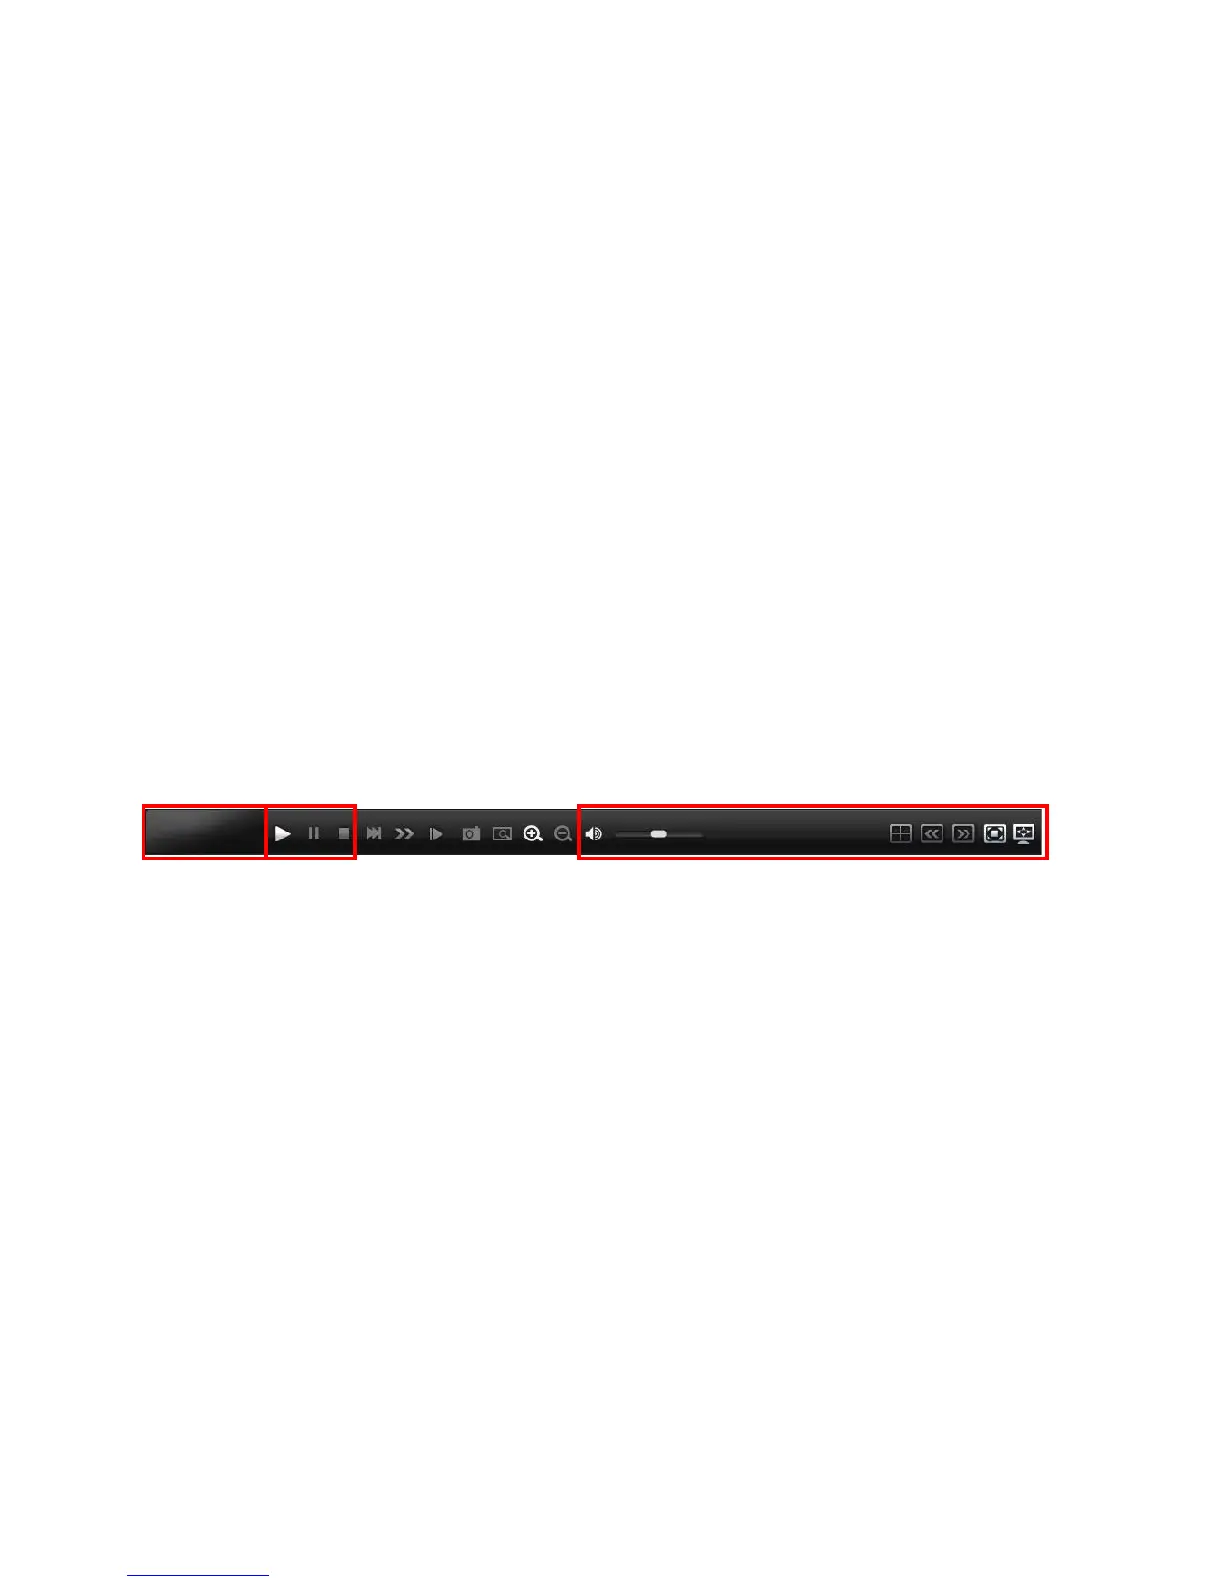
5.4.2.4 Playback and Display Controls
This is your playback controls, as well as your timeline zoom, digital zoom, audio and
display controls for playback.
1. This is the status window, it will display
information about your current play
mode, as well as any necessary network
information (ex. Buffering).
2. This is your standard playback controls.
You can Play, Pause, Stop video.
3. This allows you to Fast Forward up to
16x speed.
4. This allows you to play back in slow
motion, by hitting this button multiple
times you can go all the way down to
1/32 playback.
5. This button allows you to playback video
frame-by-frame, giving you the ability to
interrogate your video in greater detail.
6. This button allows you to take a
snapshot of the currently selected video,
and save it to your PC.
7. This button allows you to digitally zoom
into the camera image. Simply click this
button, and then using the left click of
your mouse, draw a box on the camera
image to enhance the video. To exit
simply click the button again, or right
click on the camera image.
8. This button allows you to increase the
resolution of the Timeline Search Bar,
down to 10 seconds per indicator


 To Next Page