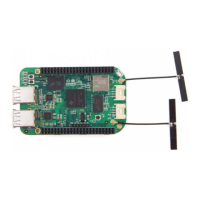
Use the provided micro USB cable to plug your BBGW into your computer. This will both
power the board and provide a development interface. BBGW will boot Linux from the on-
board 2GB or 4GB eMMC.
BBGW will operate as a flash drive providing you with a local copy of the documentation and
drivers. Note that this interface may not be used to re-configure the microSD card with a new
image, but may be used to update the boot parameters using the uEnv.txt file.
You’ll see the PWR LED lit steadily. Within 10 seconds, you should see the other LEDs blinking
in their default configurations.
D2 is configured at boot to blink in a heartbeat pattern
D3 is configured at boot to light during microSD card accesses
D4 is configured at boot to light during CPU activity
D5 is configured at boot to light during eMMC accesses
STEP2. Install Drivers
Install the drivers for your operating system to give you network-over-USB access to your
Beagle. Additional drivers give you serial access to your board.
Operati
ng
System
USB Drivers Comments
Windows
(64-bit)
64-bit installer
http://beagleboard.org/static/Drivers/Windows/BONE_D64.exe
Windows
(32-bit)
32-bit installer
http://beagleboard.org/static/Drivers/Windows/BONE_DRV.exe
Mac OS
X
Network Serial
http://beagleboard.org/static/Drivers/MacOSX/FTDI/EnergiaFTD
IDrivers2.2.18.pkg
Install both sets of
drivers.
Linux
mkudevrule.sh
http://beagleboard.org/static/Drivers/Linux/FTDI/mkudevrule.sh
Driver installation
isn’t required, but
you might find a
few udev rules
helpful.