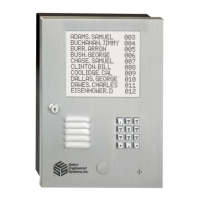
TEC Series v 3.2X
Page 50
It is occasionally necessary to directly program TEC units’
memory. The following example uses SES’s Program SELCOM 7 or newer as an example. To use
other terminal programs, consult their manual for setup and use. Using Selcom 7 or newer , proceed
with the following.
1) Select the desired site.
2) Click on Options.
3) Click on Terminal.
4) Click on File, then Place Call or click on the telephone icon.
If connecting with a serial connection, you must press the [ESC] key for the unit to prompt you for the
password. If you do not press [ESC], the unit will send transaction data to the terminal as it occurs.
If connecting with a modem, Selcom 7 or newer will call the TEC unit and prompt you for the
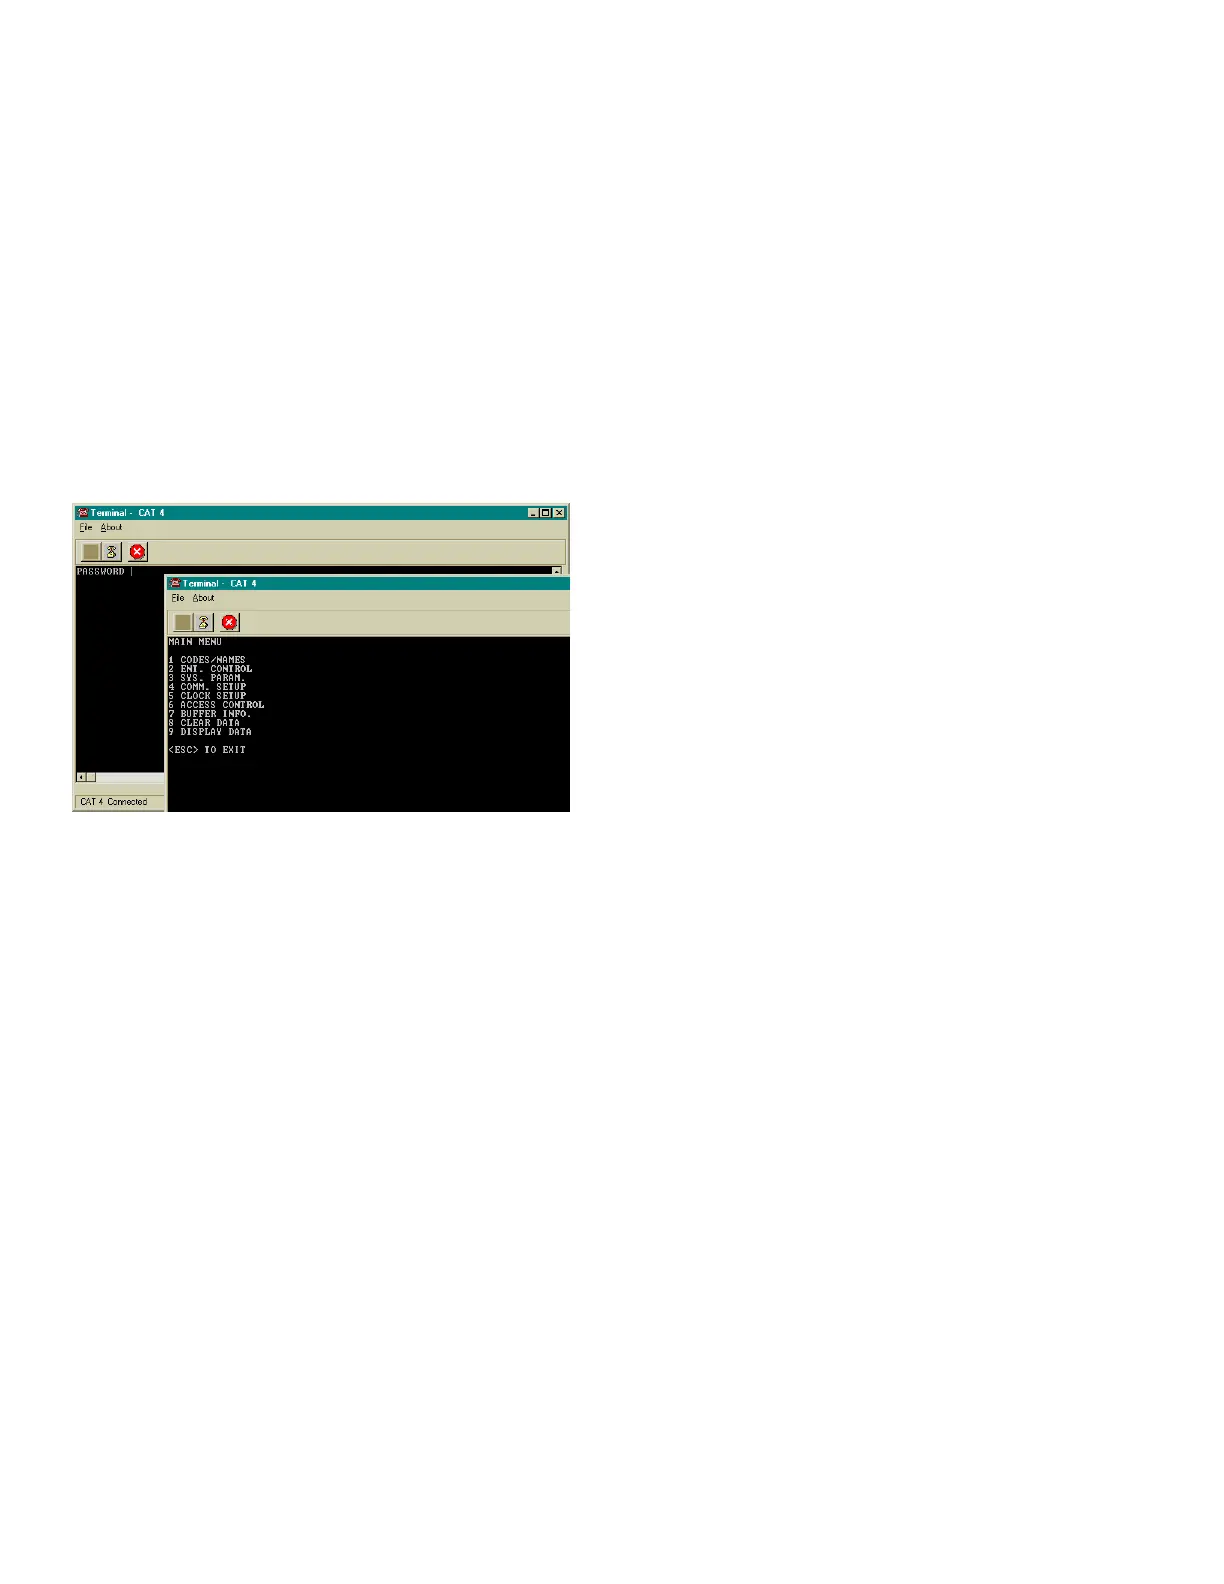
password by changing the screen from white to black and prompting with the word PASSWORD_ This
is the programming password found in your System CFG menu. Key in the 6 digit password and
press “Enter” You should get a selection that says Main Menu and has 9 selections available.
USING A TERMINAL TO PROGRAM
After you see this in the window, you have six seconds to start to press the six digit pass code. The
factory default pass code is 777777. Each time you press a key, a “*” will appear in the window to
keep the pass code confidential. After entering the sixth key, press the <Enter> key. This should
bring you to the main menu. If you don't press a key in any 6 second period, the TEC automatically
reverts to operational mode. If during programming, you don't press any key for 60 seconds, the TEC
automatically reverts to operational mode.
The choices for the main menu are:
1. CODES / NAMES Change Directory items (Codes, Names, Card #’s, Phone #’s)
2. ENT. CONTROL Setup Entrance Timing, Open Tones, Latch Tones, etc.
3. SYSTEM PARAMETERS Change Title Page Text, Talk Time, PIN Length, Unit ID, etc.
4. COMMUNICATIONS SETUP Modify Baud Rate, Site Code, Password, PIN Entrance, etc..
5. CLOCK SETUP Check Internal Clock Time/Date, Holidays, Time Zones, etc..
6. ACCESS CONTROL Setup Access Groups, Levels, External Readers
7. BUFFER INFO View and Erase Transaction Log Buffer
8. CLEAR DATA Erase Holidays, Time Zones, Reset Entrance Timing, etc...
9. DISPLAY DATA Examine System, Access Control and Entrance Parameters,
etc.
The nine choices above may have from 1 to 9 additional choices in a particular category. After
you make a menu selection and completed the task or want to return, pressing the <Enter> key
will return to the main menu.
To examine the complete Menu structure continue to the next page.
To see how to use the Codes/Names (Directory) Menu go to page 54.
To use the terminal to change operating parameters, go to page 57.
<< This shows on the display window first with a
modem or after pressing <Esc> using a serial
connection.
<<This shows after entering the correct
password window
Enter the correct
Password to get to this
screen
If you make a mistake at any time, before pressing
the <Enter> key you can correct it by using the
<Backspace> or <BkSpc> key. This will depend
on what it is called on your keyboard.
 Loading...