semshred.com | 508.366.1488
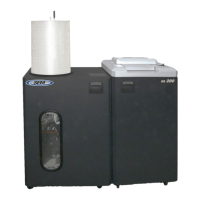
Figure 6.2: Removing top cover and hopper
3. Remove the hopper.
4. Loosen the four bolts securing the base of the motor.
5. Use the two adjusting bolts to evenly adjust the motor (see below).
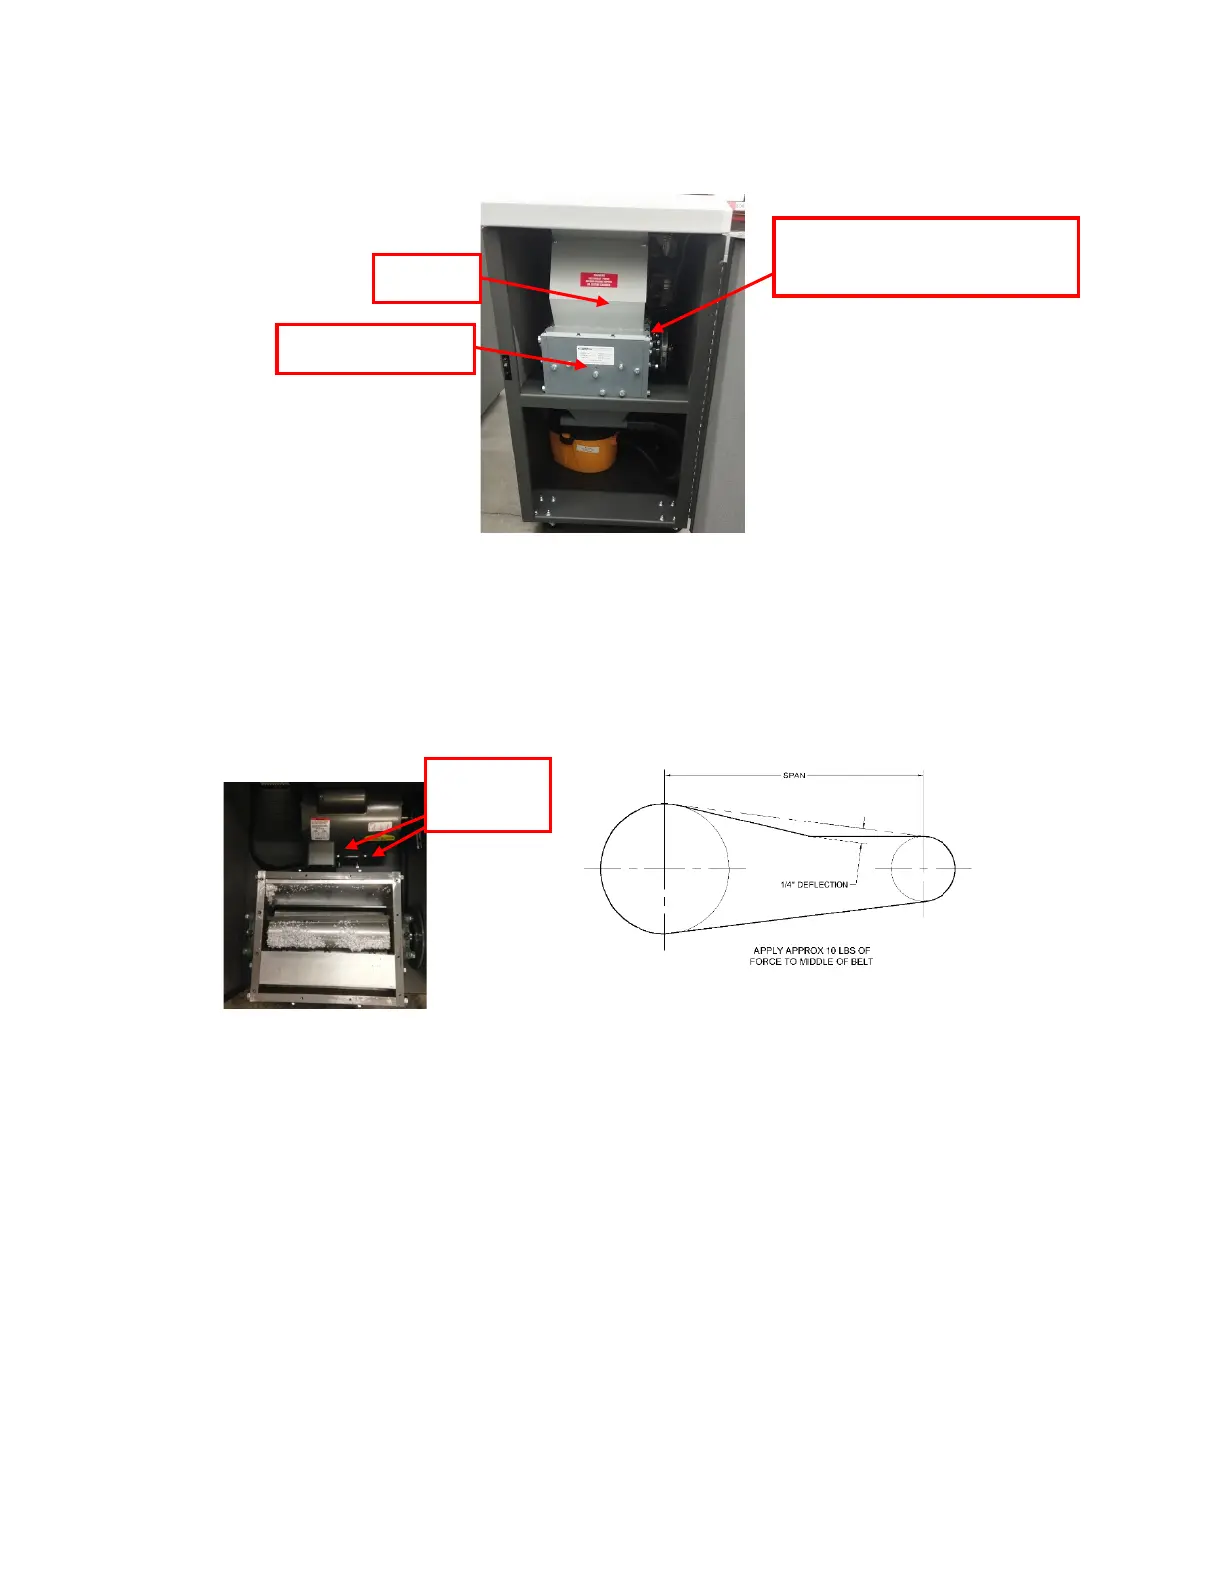
6. Check the tension of the drive belt.
7. After the tension is satisfactory, tighten the locking nuts on the adjusting bolts.
8. Tighten the four bolts holding the motor to the cabinet.
9. Reinstall hopper and top cover in reverse order.
Figure 6.3 Removing top
cover
12 Bolts securing hopper to
cutting chamber
Figure 6.4 Checking belt tension