EN – 4
4.1 Main Unit:
• Plug in adapter or remove rear compartment and insert batteries
• When connecting with the adaptor on the premise that AA batteries
have been installed correctly, this product will switch to the external
power supply automatically
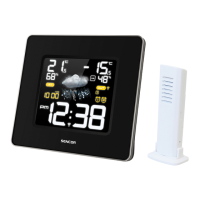
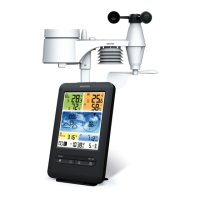
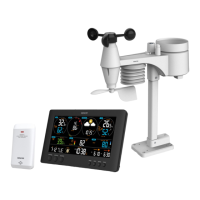
4.2 Outdoor Thermo Sensor
• Batteries compartment of thermo sensor is locating behind the back
cover.
• Insert 2 x AAA batteries observing polarity [ “+” and “–“ marks]
5. INSTALLATION
5.1 Main Unit
The main unit can be placed onto any fl at surface (C3), or wall
mounted by the hanging hole (C1) at the back of the unit.
5.2 Outdoor Thermo sensor
The remote sensor should be securely mounted onto a horizontal
surface.
Note: Transmissions between receiver and transmitter can reach up
to 30m in open area. Open Area: there are no interfering obstacles
such as buildings, trees, vehicles, high voltage lines, etc.
6. WEATHER FORECAST FUNCTION
6.1 Operation
• After the main unit is fi rst plugged, or holding “WEATHER” button
(B7) for 3 seconds, weather icon fl ash (A1) on the LCD. Enter
the current weather by pressing “+” (B3) or “- “(B4) button. Press
“WEATHER” (B7) button to confi rm the setting. The weather forecast
may not be accurate if the current weather entered is not correct.
• The current weather status should be entered again if the altitude of
the Main Unit is changed. The weather station will forecast weather
6 -8 hours ahead after the weather forecast is accurate. (Barometric
pressure is lower at higher altitude location. Therefore, altitude
change will affect the weather forecast).