light will turn from off to green, and there will be a tiny tick mark in the transmitter’s
display next to the frequency. Use the up- or down-arrow on the receiver to scroll to Exit
and press SET to exit.
11. If the receiver displays an X, it couldn’t tune the transmitter. Try the sync procedure
again, holding the units closer together. Alternately, go back to Easy Setup on the
receiver, choose Current List, and choose a different bank and channel, then go to the
transmitter menu, choose Frequency Preset, and use the up and down arrow buttons
and Set button to choose that frequency.
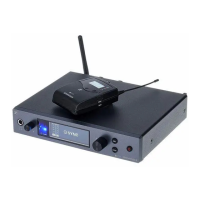
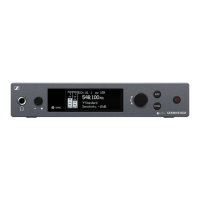
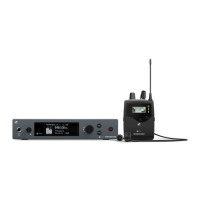
How do I tune a transmitter to a rack-mounted receiver in the studio cart?
The procedure to tune a transmitter to a receiver is exactly the same, just the physical interface
is slightly different. Pushing the big knob on the front panel of the rack-mounted receiver is
equivalent to pressing the set button on the camera-mounted receiver, turning the knob
clockwise or counter-clockwise is equivalent to using the up or down arrow button, and the Sync
function has its own button on the front panel of the rack-mounted receiver.
What if I’m working with more than one transmitter-receiver pair?
It’s good practice to choose a different bank for each transmitter-receiver pair.
Battery levels
According to Sennheiser, this is what its G4 wireless battery indicators mean:
Actual performance varies. Batteries don’t last as long when they’re cold as when they’re at
room temperature. The gear draws a tiny amount of current even when switched off.
Setting levels in the field
The wireless audio receiver and transmitter each has its own audio level you need to check and
set, in addition to the record level on your camera or outboard audio recorder, so that 0 db on
the transmitter and receiver are as close as possible to 0 db on the camera.
1. If your recording device is a camera, mount the receiver to the slot on top of camera
called a shoe.
2. Use the ⅛”-to-XLR cable provided in the kit to connect the receiver’s AF OUT to the
recording device’s XLR input.
3. Set the recording device to Mic level input. Leave phantom power (+48V) off.
4. Set the recording device’s record level to the middle of its range (5 on a scale from 1 to
10).
9/18/2018 rev. 10/11/2024 p. 5