GETTING STARTED
If this is the rst time using the FL650x, you will need to do the
following.
1. Install the battery pack. The FL650X uses a rechargeable Li-
Ion battery pack. The battery compartment is accessed from
the back of the handheld as shown in the diagram on page 1.
• Loosen the four (4) captive screws that hold the
battery compartment door in place using a #1
Phillips-head screwdriver and remove the door.
Note: The FL650X is not sealed against water and dust
when the battery door is not installed.
• Place the battery in the compartment, ensuring that the
+ and - symbols are aligned.
• Replace the door and tighten the screws.
2. Install the optional SD/SIM cards if using. Ask your Sensus
representative for detailed instructions if required.
3. The FL650X comes with a power charger. Plug the AC
charger into a wall socket and the DC end into the FL650x
power jack to start the battery charging. Charge the battery
pack at room temperature (68°F or 20°C) for 4 to 5 hours.
There is a red LED on the front of the handheld that blinks
while the battery is charging. The red LED will turn solid
once the battery is fully charged.
4. The FL650x includes a hand strap, stylus, and tether.
• If the hand strap is not attached or you want it on the
opposite side you will need to attach it via the points as
shown in the diagram on page 1.
• The stylus is attached to one end of the stylus tether. If
you want the tether attached to the handheld, push the
free tether loop through one of the attachment points on
the back of the handheld as shown in the diagram on
page 1. Insert the stylus through the loop and tighten,
then place the stylus into the provided holder.
POWER UP
1. Press the power button. The FL650X will power on and
begin the startup process. A splash screen will appear that
indicates the progress of the startup.
2. A Microsoft® Windows Embedded Handheld screen will
appear, then an Update Time screen appears. If needed,
adjust the time zone, date and time and tap OK. You may
need to restart the handheld.
3. To suspend the handheld at any point, press the power
button.
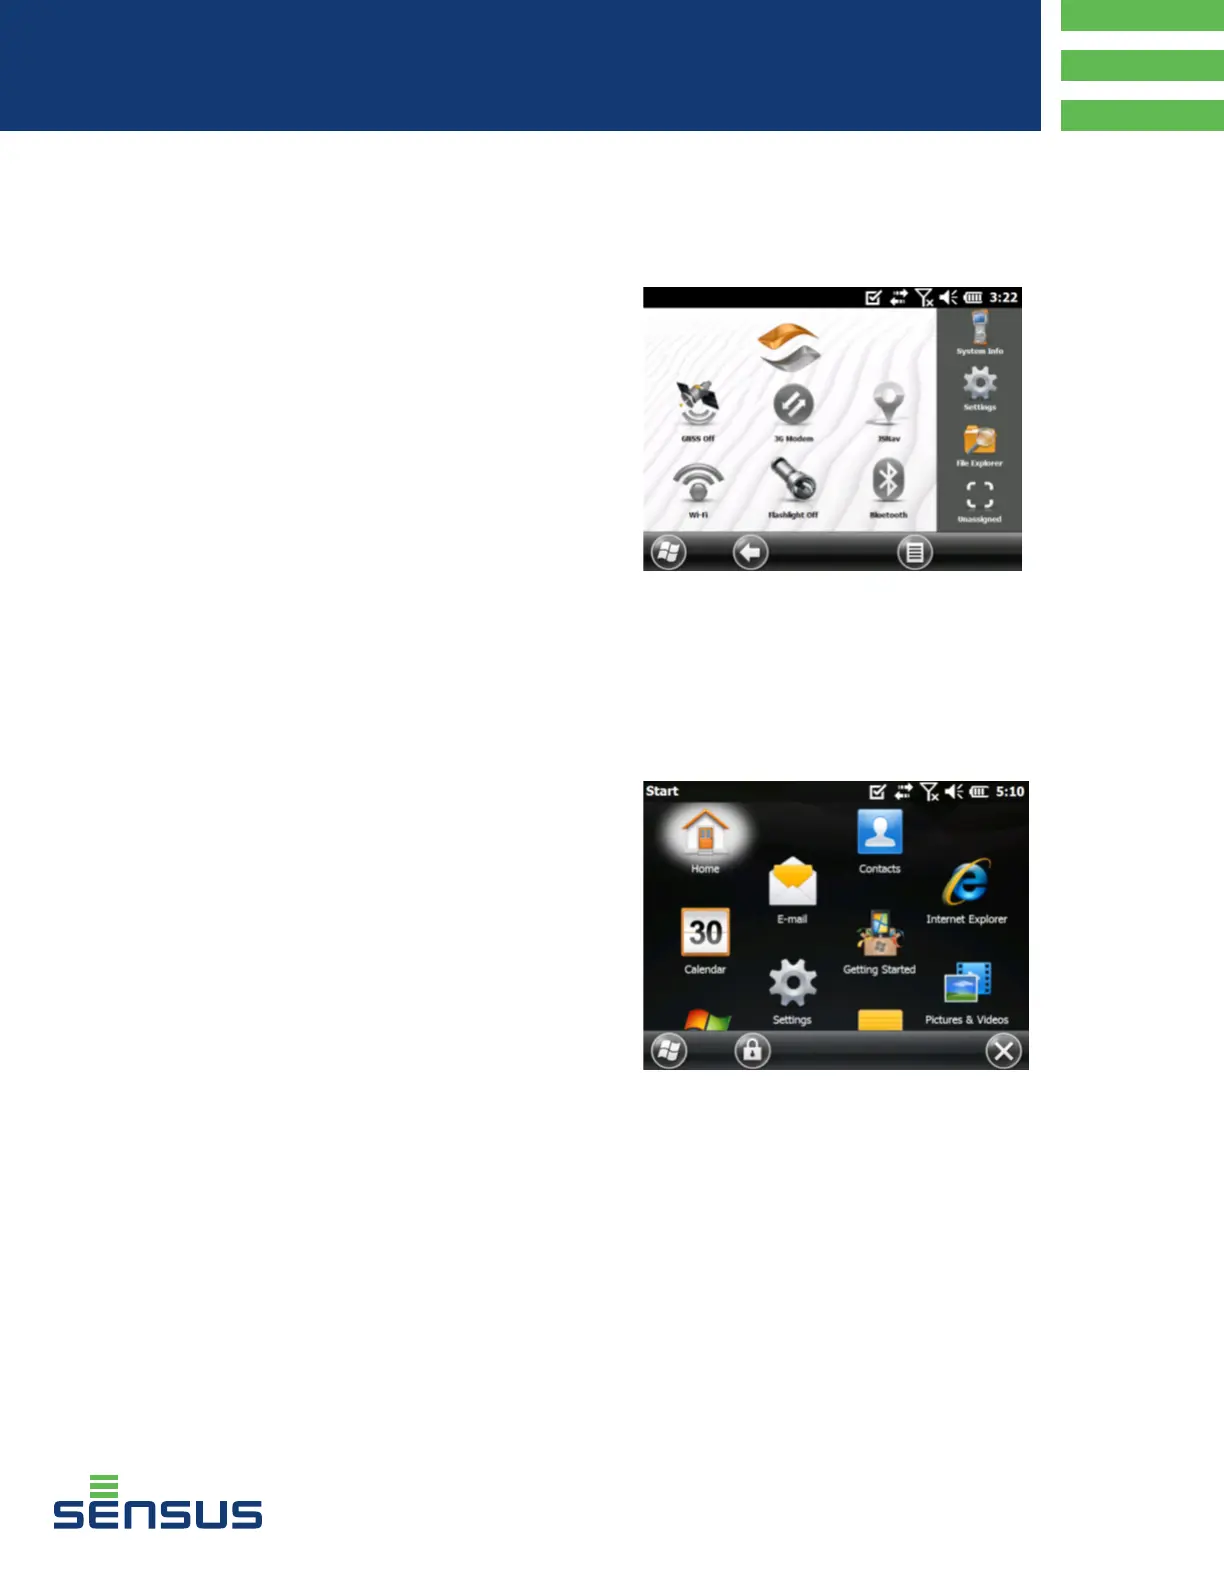
HOME SCREEN/WINDOWS START MENU
Once you have powered on the FL650X, a Home screen will
appear similar to the one seen here.
The Home screen is the main control center for the FL650X
and will appear any time the FL650X is turned on. The content
varies based on which model you have and can be custom-
ized. In addition, you can access the Home screen from any
other screen by pressing and releasing the Home screen key
on the keyboard.
The Windows Start menu gives you access to all of the appli-
cations on the FL650X.
You can access the Windows Start menu from any screen by
tapping the Windows tile (soft key) on the display or pressing
the orange key + Home keys on the keyboard.
Note: The orange key then home key sequence toggles back
and forth between the Home screen and Windows Start menu.
The home key takes you to the Home screen. The Windows
soft key toggles between the Windows Start menu and the last
screen shown.
AQG-10072-01
FL6500 Series
Quick Guide
 Loading...