Large C-Clamp
Clamp
Short Bolt
Short Bolt
Short Bolt
STEP 1
STEP 3
STEP 2
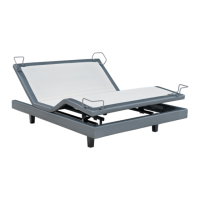
Always use two people when setting up the base.
Push and align the head and foot sections together, making sure to
align both brackets for each side properly as seen here:
See Owner’s Manual for complete operating instructions.
PART LIST
Before discarding the packing materials- ensure all the
parts are accounted for.
Some parts may be attached to the base or inside boxes,
please inspect carefully.
(1) 6mm Hex Wrench
(1) 13mm Wrench
(4) Cotter Pin
(4) Clevis Pin
(4) Bushing
Once aligned, locate the Large
C-Clamps provided and use 1
per side. The large clamp goes
on outer edge of base, Secure
clamps with provided Long bolts,
washers and nuts. Refer to Fig. A
(repeat for opposite side)
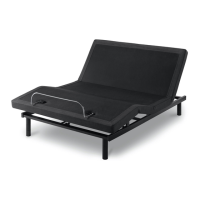
Align Clamp with the
holes on the frame as
seen in Fig. B.
Secure the Clamp
to each rail using
(3) Short Bolts,
washers and nuts.
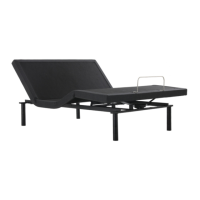
Secure head and
foot sections together
by fastening halves
with (2) Short Bolts,
washers and nuts.
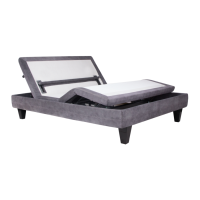
Divided King
Quick Installation Guide
Large Clamp
Fig. A
Fig. B
Head Motor
Foot Motor
(2) Large C-clamp
(2) Clamp
(4) Long Bolt
(8) Short Bolt
(12) Washer
(12) Nut
Unpack head and foot motors from base (head motor is larger
of the two). Remove the cotter pin and pull out the clevis pin.
Place both ends of the motor into the appropriate bracket and
make sure the Green Bushings go outside of the metal mouting
bracket (Fig. C). Slide the clevis pin through the bracket and
motor. Secure by reinserting cotter pin(Fig.D).