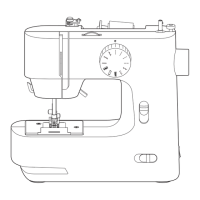
20
29
3
1
3
2
4
2
4
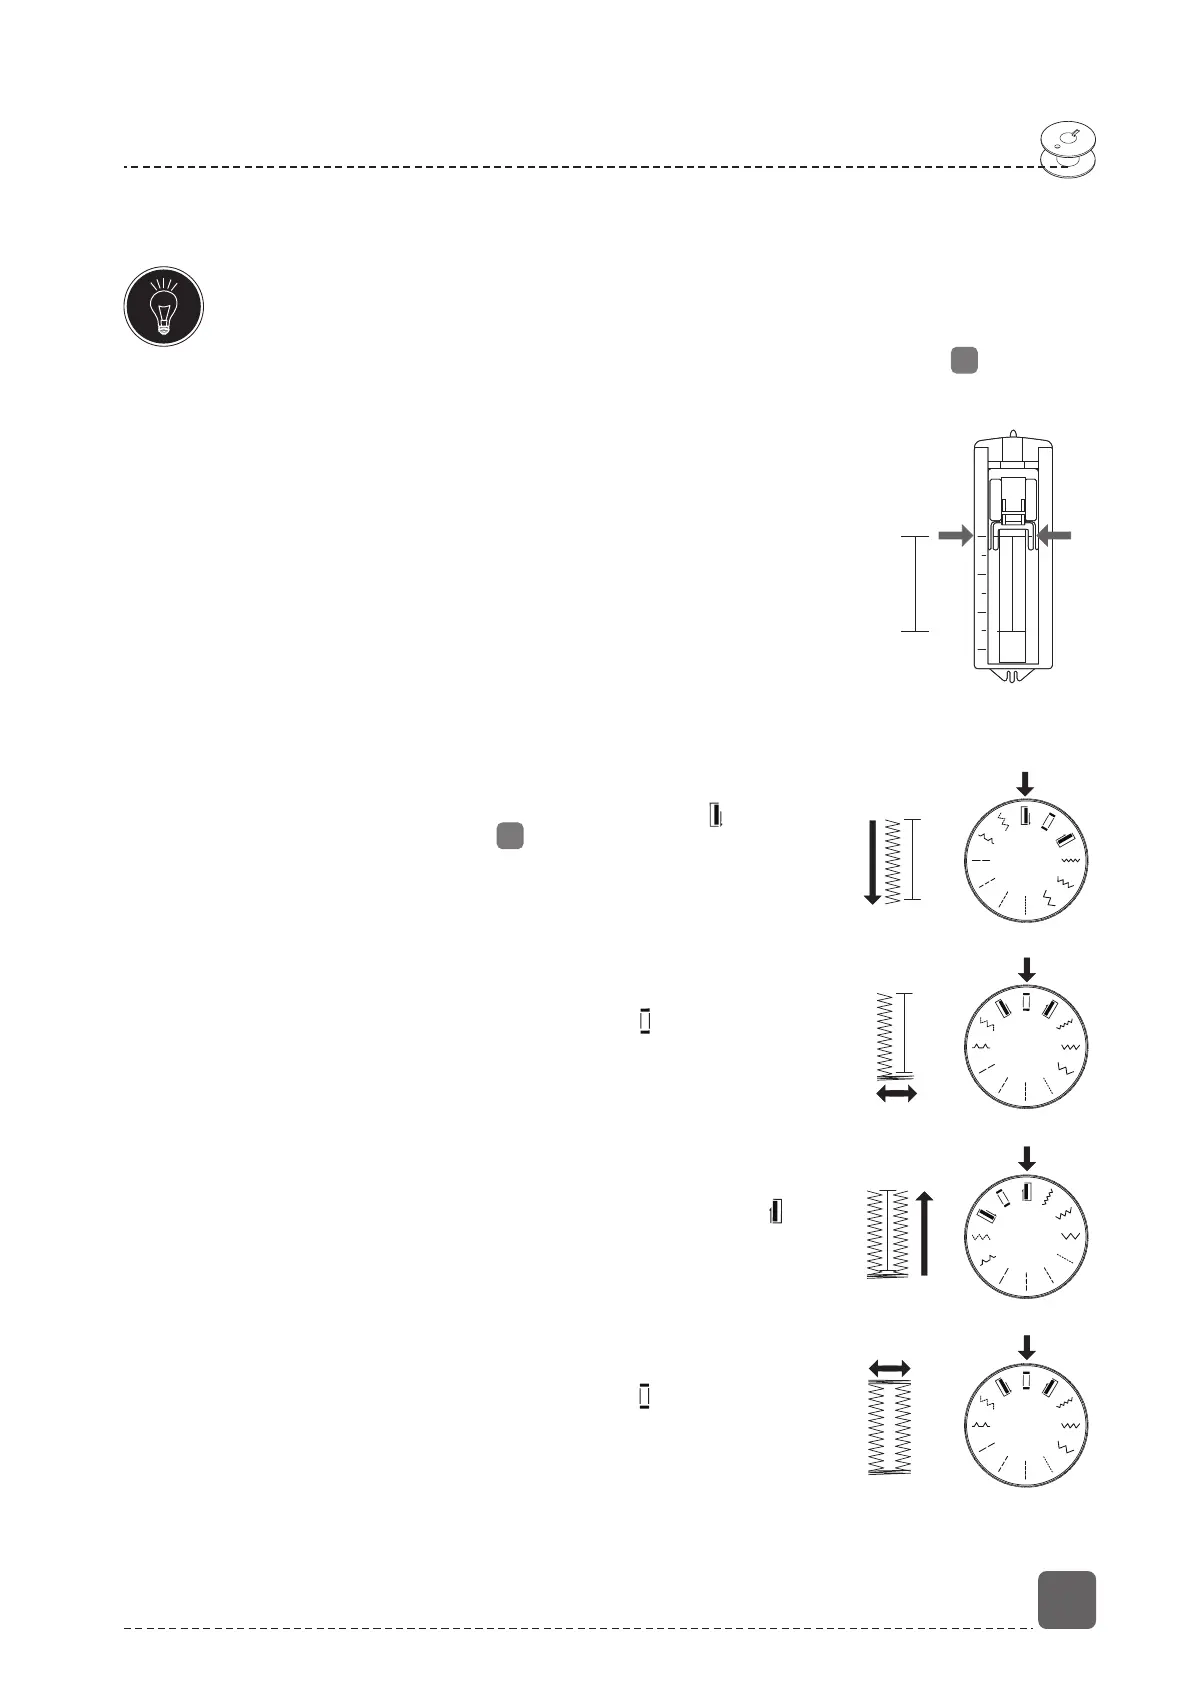
Buttonholes
Buttonholes
TIP
To determine the correct stitch length, we recommend you sew a test
buttonhole on a scrap of fabric.
Presser foot:………………………………Buttonhole presser foot
Program:…………………………………………Buttonhole programs
- Set the foot and needle to their highest position.
- Replace the foot with the buttonhole presser foot.
Please read section “Removing and fitting the
presser foot”.
- Using a pencil or tailor’s chalk, mark the place on
the fabric where you want to sew the buttonhole
and mark the required length of the buttonhole.
- As shown, line up the buttonhole foot with the slide
at the rear end of the buttonhole.
- Pass the upper thread through the opening on the
buttonhole sewing foot and pull both the upper and
lower thread to the left-hand side.
Procedure
- Select the program for the left-hand bar “ ”on the
program selection dial .
- Lower the foot and sew slowly until the bar is the
required length.
- Raise the needle to its highest position and change
to the program for the bottom bar “ ”.
- Sew a few stitches of the bottom bar.
- Raise the needle to its highest position again and
change to the program for the right-hand bar “ ”.
- Now sew the right-hand bar exactly the same length
as the bar on the left-hand side.
- Move the needle to its highest position and select
the program again for the top bar “ ”.
- Then sew a few stitches for the top bar as you did
for the bottom bar.
1
2
4
3
1
2
4
3
1
2
4
3
1
2
4
3