6.4.8 Tightness test on the leak detection system
(1) Check that all the shut-off valves between the leak detector and interstitial space are open.
(2) Connect the measuring gauge to three-way valve 21, position III.
(3) For the tightness test, the vacuum pump must have reached the "pump OFF" switching val-
ue. Wait for possible pressure compensation and then begin with the tightness test.
(4) It must be evaluated as positive if the values in the following table are observed. A higher
drop in pressure means increased stress on the wear parts.
(5) Test cock to position I, remove measuring gauge.
6.4.9 Setting up the operating condition
(1) Seal the housing
(2) Seal the shut-off valves (between leak detector and interstitial space) in the open position
for every interstitial space connected.
6.5. Alarm
(1) In case of alarm the "alarm" signal lamp lights up and the audible signal sounds.
(2) If available, close the shut-off valves in the connection line between interstitial space and
leak detector.
(3) Switch off the audible signal by pressing the "mute" button. The button will light up.
(4) Determine the cause of the alarm signal according to the table in chapter 3.5.1.
(5) Inform the installation company (detailing the cause of the problem if possible).
(6) The installation company has to determine and eliminate the cause.
(7) Carry out the functional test according to chapter 6.4, observing the conditions specified in
chapters 4 to 6.2.
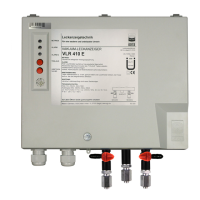
7. Marking
• Type
• Electrical data
• Manufacturer or manufacturer's mark
• Model year (month / year)
• Serial number
• Statutory marks