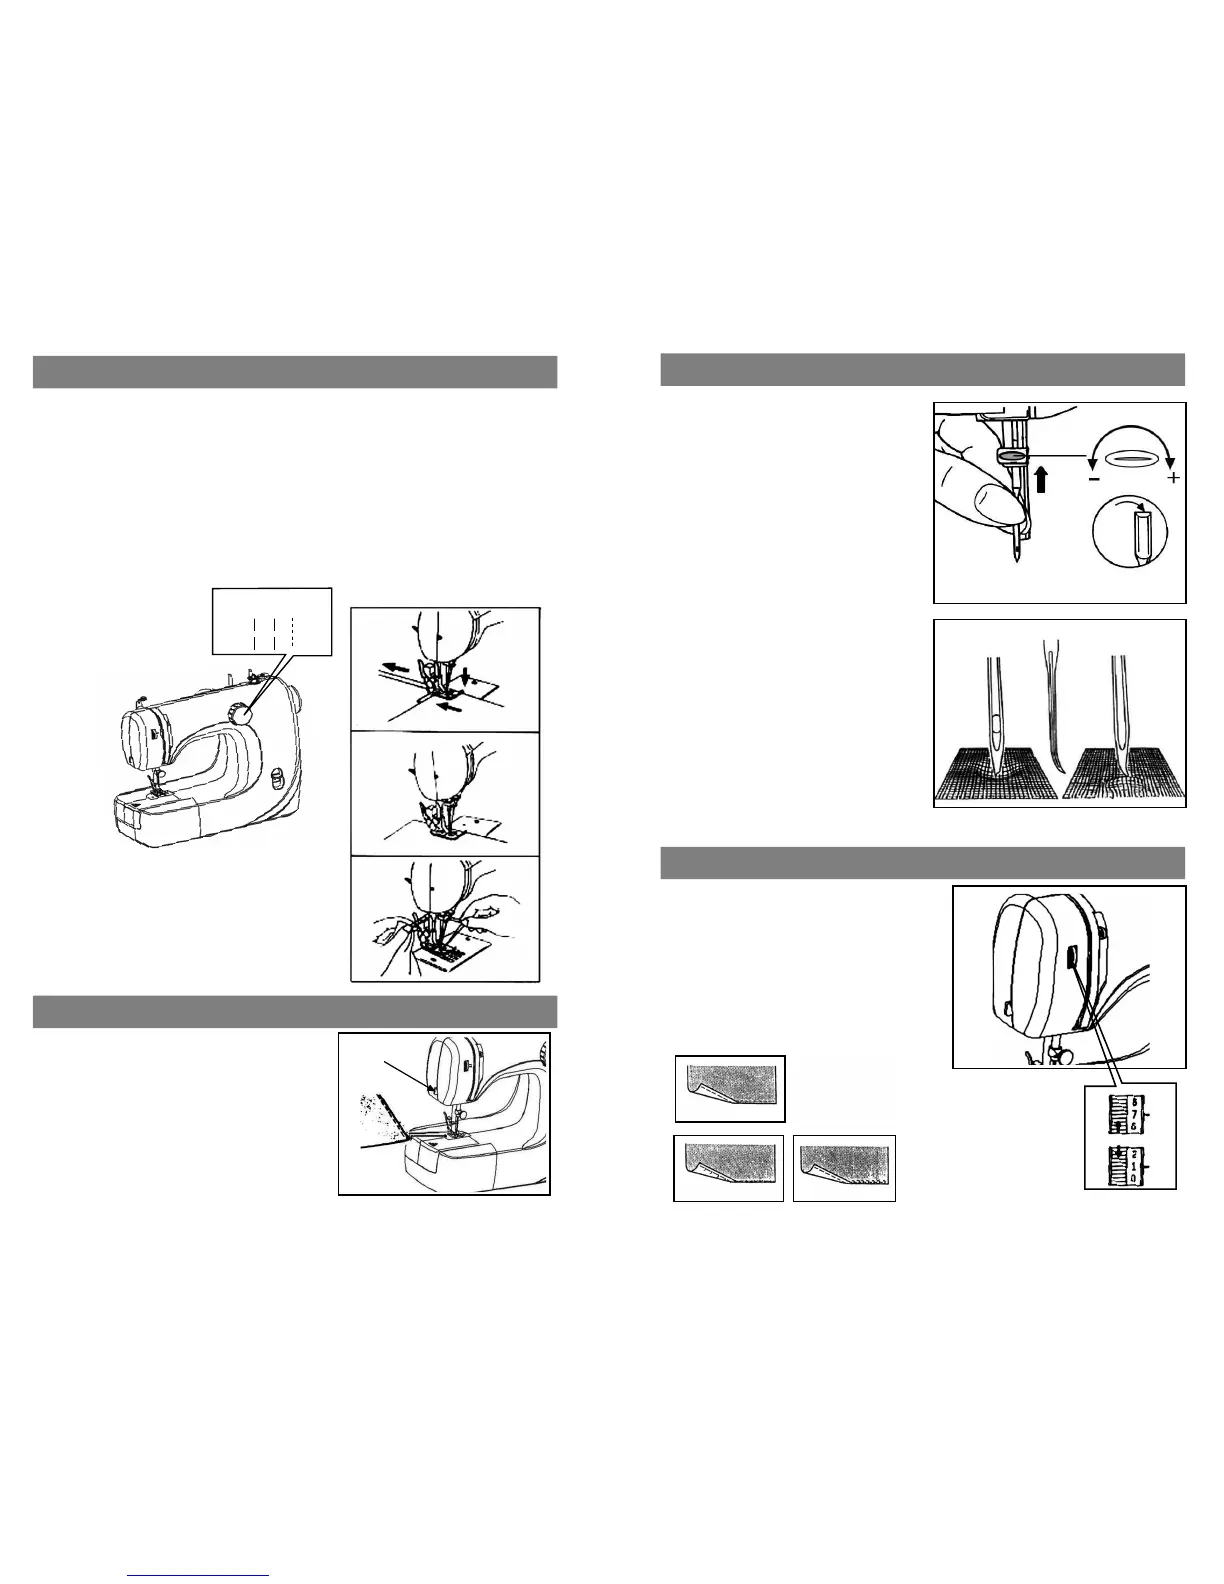
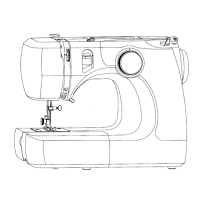
Straight stitching
1.There are three kinds of straight stitch for your choice. Turn the pattern
selector dial to the one you need.
2.Set the needle at the highest position by turning hand wheel
anticlockwise.Gently
pull both threads (about 10cm) towards rear ,raise
the presser foot ,place the fabric under the presser foot
3.Gently
press down the foot control to start sewing. Guide fabric gently
by hand.
4.Stop
the needle in its top position ,and thread can be pulled out easily.
5.Raise
the presser foot, and remove the fabric. Use thread cutter to cut
down the thread.
Notice :
1.When
turning the pattern selector dial, assure
the
needle tip is at the upper position, otherwise,
it will be bent or damaged ,or fail to sewing.
2.When selecting the pattern dial, set the position
corectl
y, otherwise, it will hurt the needle ,or sew
over the selected stitch trace. It will be different
from the selected pattern.
A
Pattern selector dial
9
Thread cutter
Cutting the thread:
Hold the threads behind the presser foot with
both hands, guide them to the lsit "A" and
press down.
1 2 3
Inserting the needle
1
2
Needles must be in perfect condition.
Needles with photo(2) can cause
problems:
A. bent needles
B. blunt needles
C. damaged points
Change
the needle regularly,especially
if it is showing signs of wear and
causing problems.
Insert the needle as illustrated as
follows:
A. Loose the needle clamp screw and
tighten again after inserting the new
needle.(1)
B. The flat side of the needle should
be
towards the back. Insert the needle
as far up as it will go.
Attention:
Turn power switch to "off"
position !
A
B
A
B
C
Thread tension
The lower thread tension is fixed ,it
needn’t adjust in generally .For the
upper thread ,turn the dial to the next
number
up, it will increase the tension.
If turn the dial to the next number down
,it is reduced.
A. normal thread tension
B. thread tension too loose
C. thread tension too tight
A
B
C
6