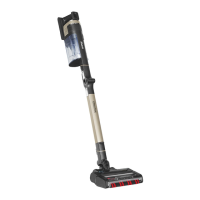
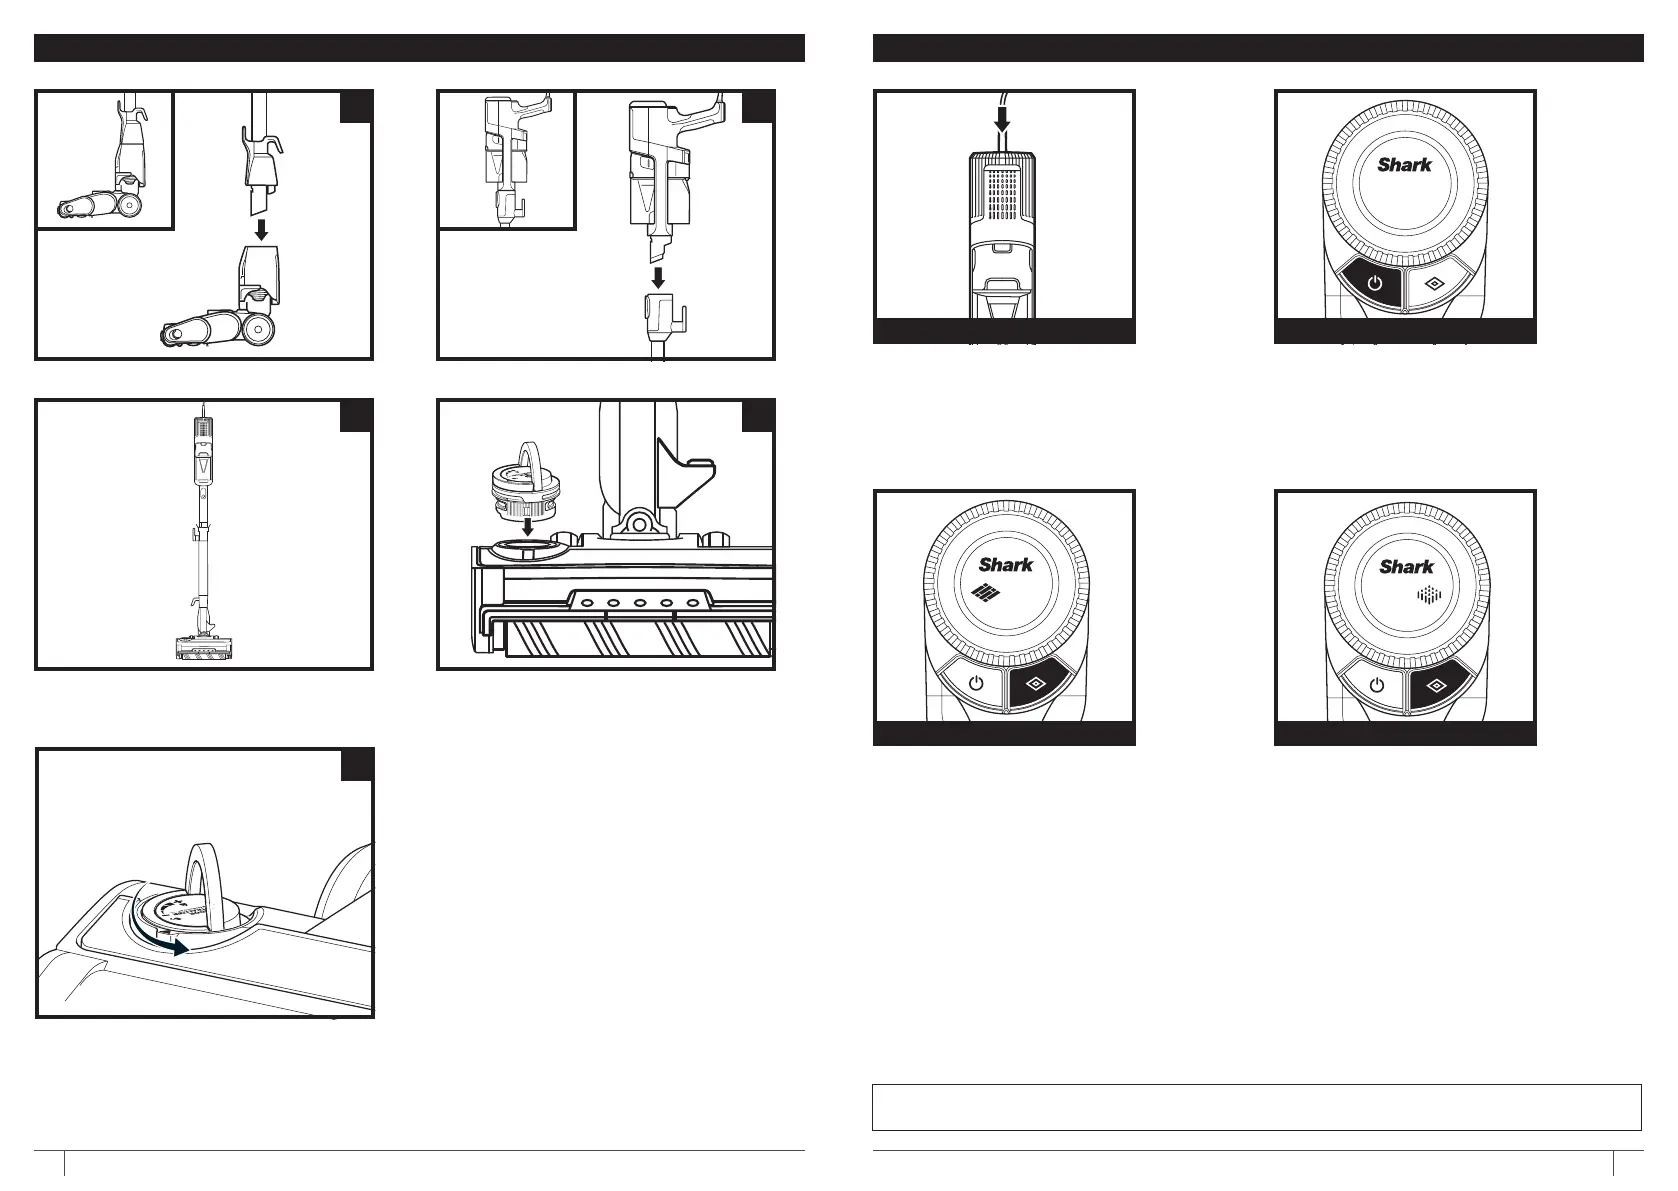
ASSEMBLY
1 2
3
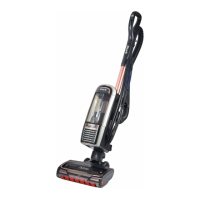
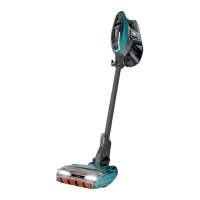
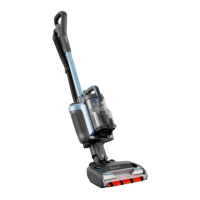
1. Insert Wand into Floor Nozzle. 2. Insert Handheld Vacuum into wand.
3. Ensure all connections click securely
into place.
(Click)
(Click)
More detailed Anti-Odour Technology assembly instructions and visuals are on pages 11 & 12.
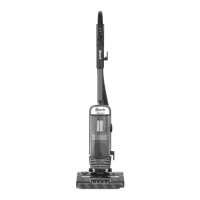
SETTINGS
NOTE: For deep cleaning per ASTM F 608 (embedded dirt in carpets) please use the Carpet setting.
NOTE: Select Carpet for stuck-on dust and debris.
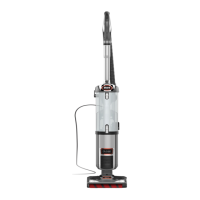
Power Button
Press the Power button to begin
vacuuming. Press again to turn
o power. Press the FLOOR TYPE
button to toggle between Bare
Floor and Carpet settings.
Carpet
Press the FLOOR TYPE button to
switch to Carpet setting. The brushrolls
spin faster to pick up debris below the
surface ofyour carpets.
CONTROLS
The control panel is located on the
back of the handheld vacuum.
POWER BUTTON
Bare Floor/Small Area Rugs
When powered on, the vacuum will
be in Bare Floor setting. In this setting,
the brushrolls spin slowly to clean bare
floors and small area rugs.
BARE FLOOR SETTING CARPET SETTING
5
6. To lock and engage the dial, rotate it
anticlockwise until it clicks into the desired
odour intensity setting.
(Turn to
Click)
4
5. Remove Anti-Odour Technology Dial from
aluminium can. Flip up the dial handle, align
the teal arrows, then insert the dial into the
nozzle.
9sharkclean.co.uk8 sharkclean.co.uk
 Loading...