7ww w.sharkclean.com
If the brush roll stops moving, it’s probably due
to the anti-jam feature. This feature protects
the motor from becoming overheated. If the
brush becomes overloaded, it will stop turning
and both speed indicator lights will stay on.
Turn off your unit by pressing the power button
once. See page 9 for instructions on removing
or cleaning the brush roll. Wait for 10 seconds
to let your unit cool down. Now press the
power button again and you’re ready to resume
cleaning!
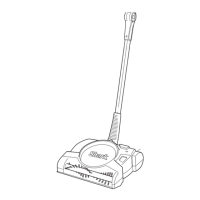
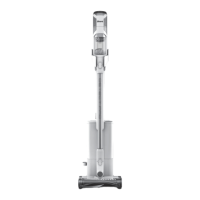
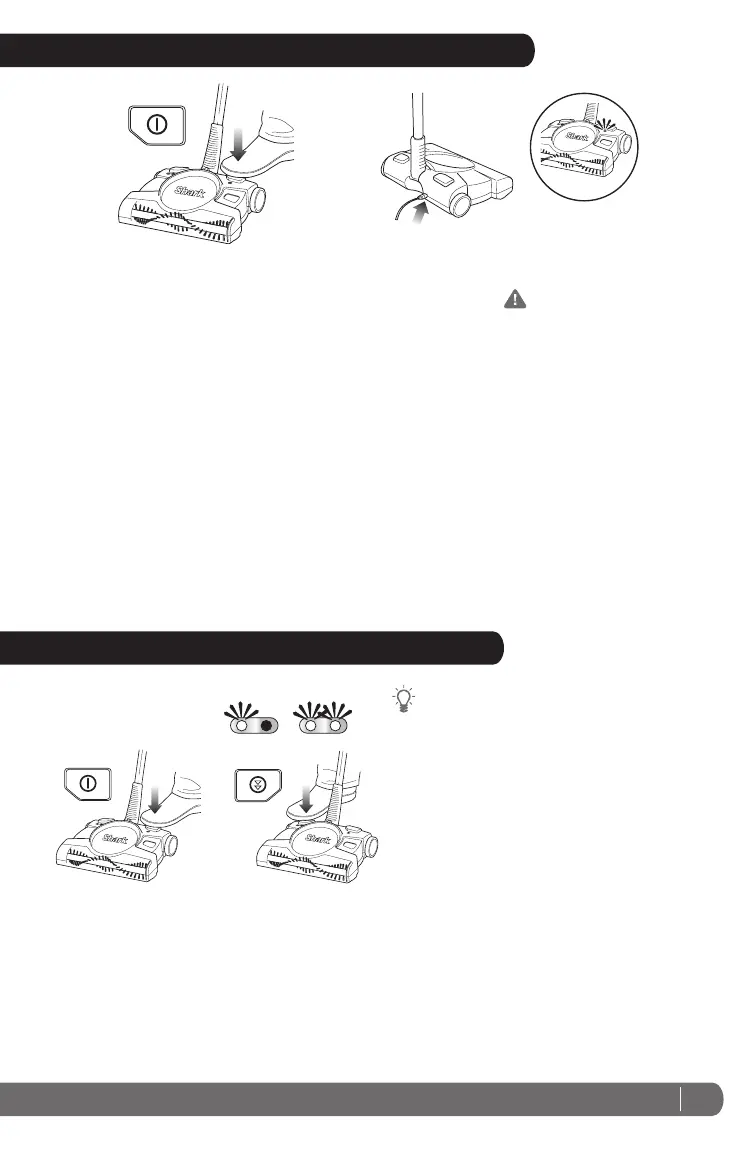
1 Always make sure that the unit
is turned off. (Fig. 3)
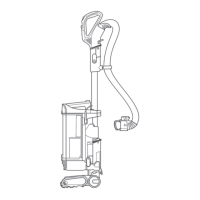
2 Insert the charger plug into the
hole on the back of the unit.
Plug the charger into a wall
outlet. The light next to the
power button will illuminate
when the unit is charging. If the
unit is plugged in and the light is
not illuminated, press the power
button once. The light should
now be illuminated indicating
that the unit is charging. The
light will turn off once the
charge is completed. (Fig. 4)
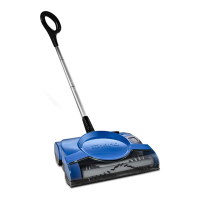
CHARGING YOUR CORDLESS FLOOR AND CARPET SWEEPER
3 Charge the battery for 7 hours
before initial use and 7 hours
for each recharge. Your cordless
floor and carpet sweeper is
powered by Ni-MH batteries
that need this time to build up
their charge.
4 For best battery performance,
remove the charging adapter
from the unit after the charging
period has completed. Storing
the unit with the adapter
attached and plugged in will
reduce the battery life.
IMPORTANT: Although many
adaptors look similar, it’s
important to use only the
adaptor that came with the unit
(XA2950).
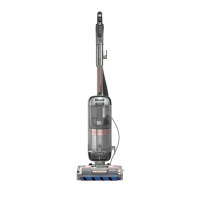
indicates the speed optimized to
clean bare floors and two lights
indicate the speed optimized to
clean carpets and larger debris
on bare floors. (Fig. 6)
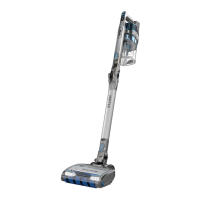
1 Press the power button to
start the unit. When finished
cleaning, press the power
button again to turn the unit off.
(Fig. 5)
USING YOUR CORDLESS FLOOR AND CARPET SWEEPER
2 You can adjust the speed of
the brush roll to suit the floors
that you are cleaning. Press the
button on the right (opposite
the power button) to switch
between speeds. One light
Fig. 5
Fig. 6
FLOOR CARPET
Fig. 3
Fig. 4
OFF
 Loading...