5 – 4
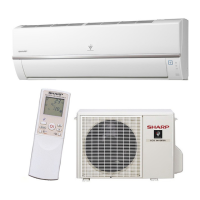
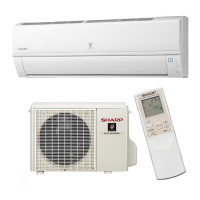
AY-XPC12PU
“ “ mark
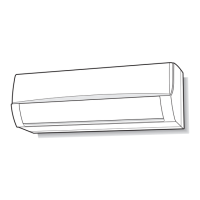
[7].DETACHING THE UNIT FROM THE MOUNTING PLATE
Push the “ “ marks at the bottom of the indoor unit to
release the hooks from the mounting plate, and pull the
unit toward you.
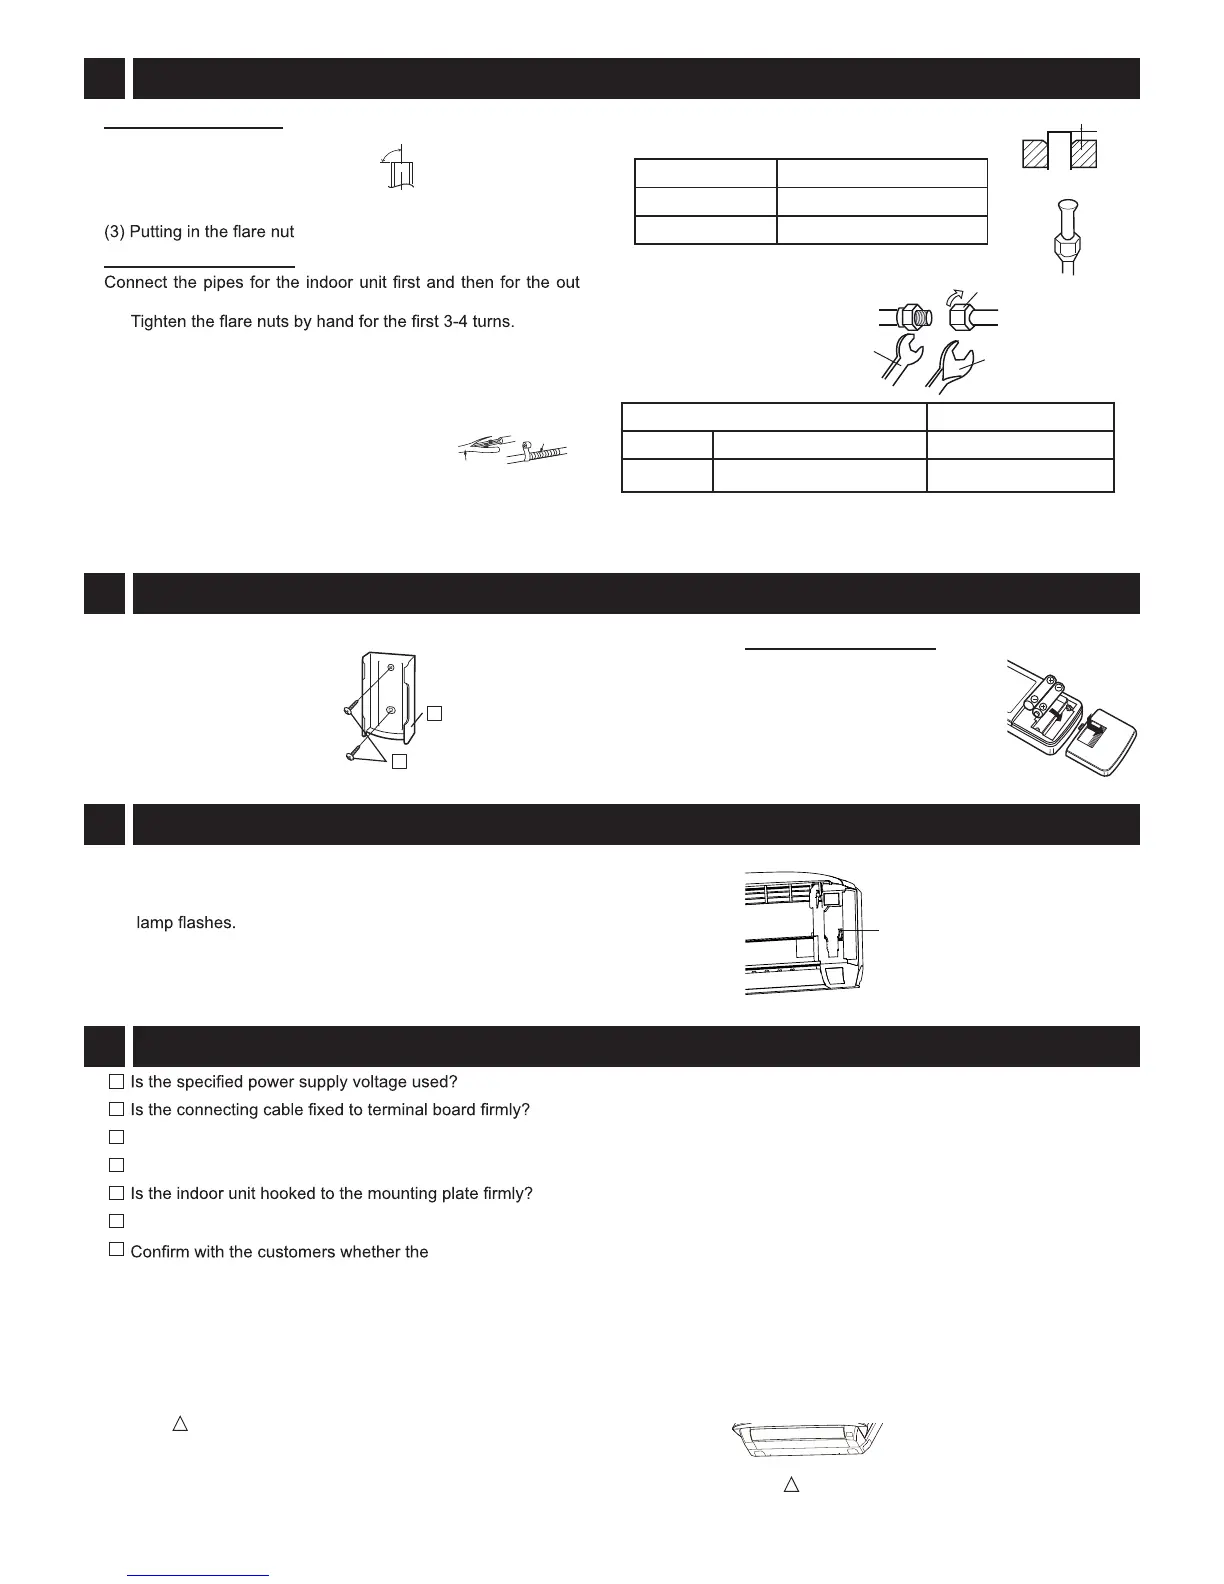
Flaring the pipe end
(1) Cutting with a pipe cutter
Cut at a right angle.
(2) Deburring
Allow no cuttings in the pipe.
5
CONNECTING THE REFRIGERANT PIPES
90°
Connecting the pipes
-
door unit.
(1)
(2) Use a wrench and torque wrench to tighten up the pipes.
Do not over tighten the pipes. It may be deformed or damaged.
(3) Wind coating tape around refrigerant pipes together with
drain hose and cable for general.
Lay the drain hose below the pipes.
The thermal insulation should cover both
the gas and liquid pipe. As insulation, use
polyethylene foam 6 mm or thicker.
7
TEST RUN
(1) Start the operation with the remote control.
(2) To start test run in cooling, hold down the AUX button on the unit
for over 5 seconds until a beep sound is heard and an operation
(3) Make sure the system runs well.
To stop the operation, press the AUX button again.
8 ITEMS TO CHECK
Is the earth wire connected properly arranged?
Is the drainage properly?
Is there any gas leakage at the pipe connection?
5°F/-15°C AUTO OFF function will be used or not.
EXPLANATION TO CUSTOMER
Ask the customer to carefully read the operation manual.
.
F the remote control holder
to the wall with the short
screws.
6L
5 SHORT
Loading the batteries
(1) Slide and open the cover.
(2) Insert the batteries.
(3) Replace the cover.
(4) T button
using a thin stick.
6
HANGING THE REMOTE CONTROL
Liquid pipe
Gas pipe
Insulation
Drain hose
Cable
A
(4) Flaring
Flare processing dimensions(A)
AlooT
R410A tool 0-0.02 in (0 - 0.5 mm)
Conventional tool 0.04-0.06 in (1.0 - 1.5 mm)
(5) Checking
To be ared perfectly circular.
Flare nut not missing.
Flare nut
Wrench
Torque wrench
Flare nut tightening torque
euqroTezis epiP
Liquid side
1/4" (ø 6.35 mm) 11.8±2 ft·lbs·m)
Gas side
3/8" (ø 9.52 mm)
28±3 ft·lbs (·m)
AUX