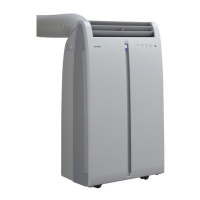
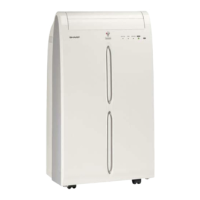
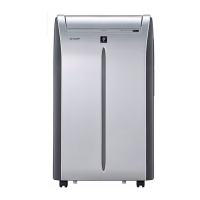
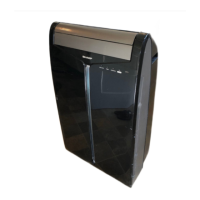
CVP09LX
2 – 2
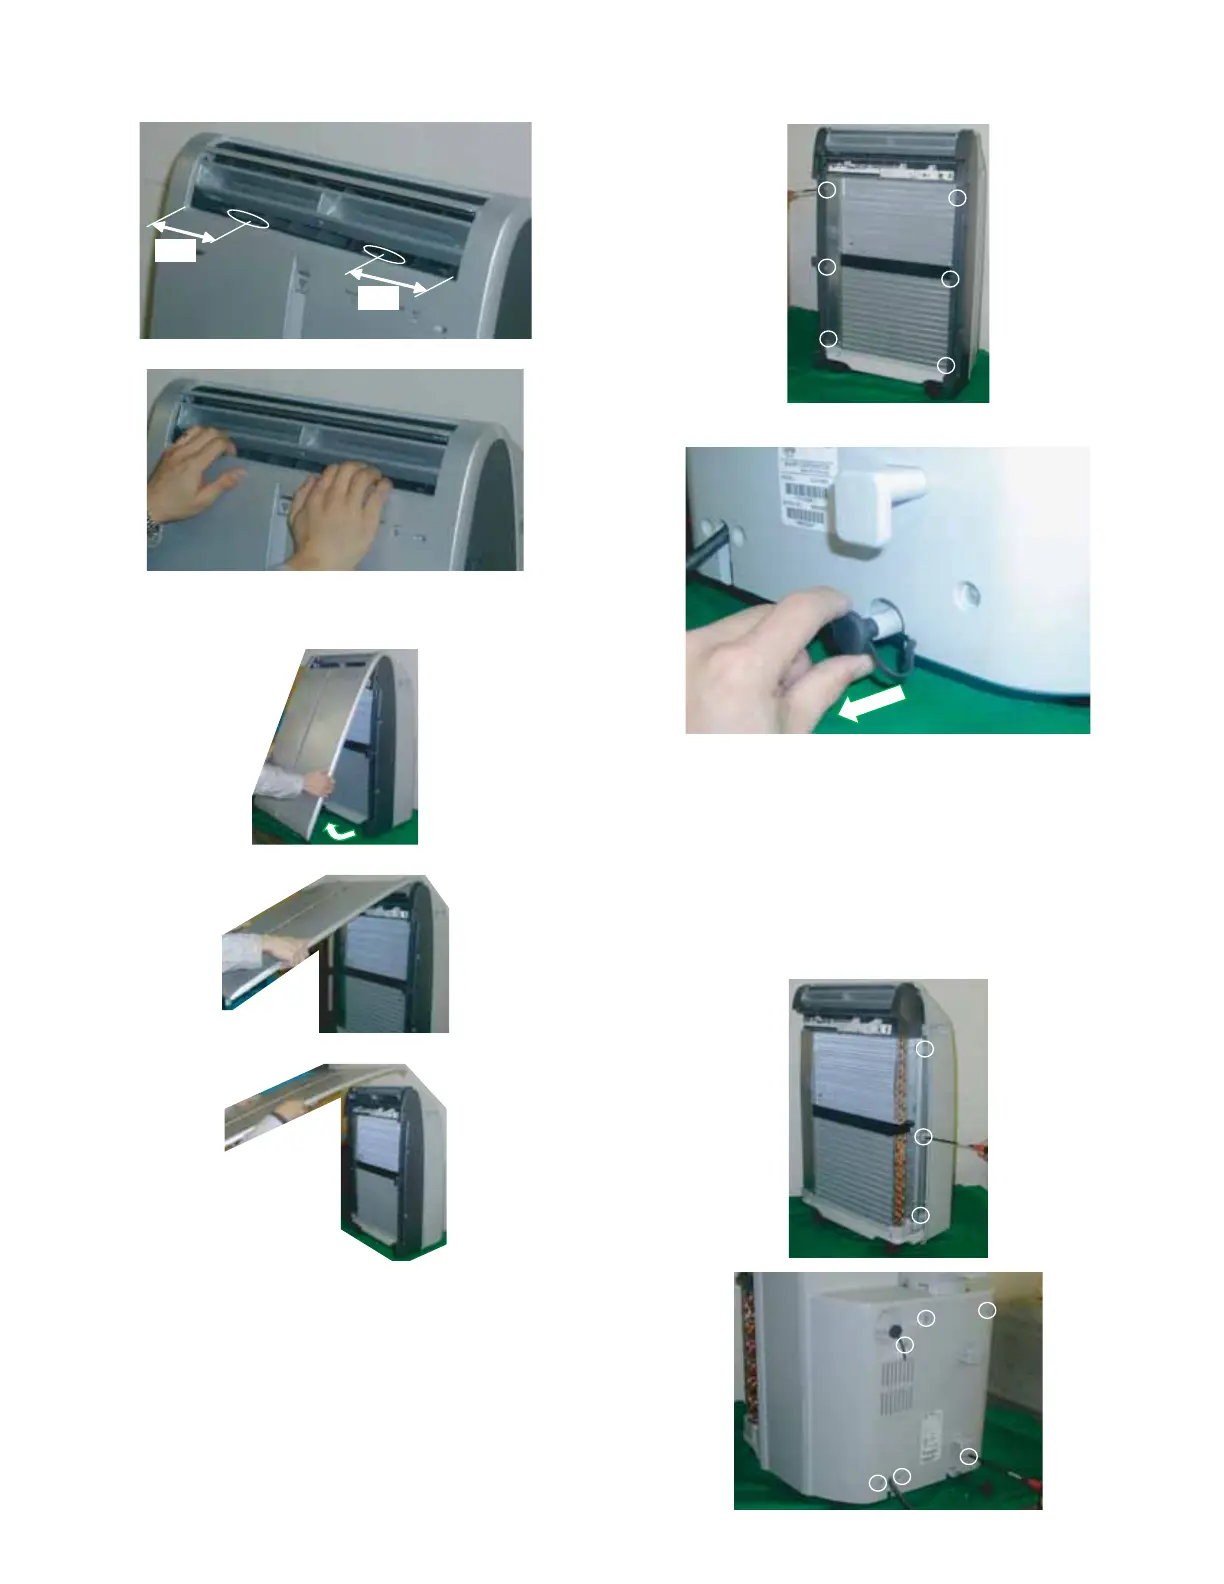
5. Push down the orifice (at position of illustration), as shown in below
figure, to unhook 2 hooks of front panel.
6. Remove the front panel by pulling it at the lower corner toward you
as shown in a figure, and next lift it up and pull it toward you.
7. Unscrew 6 screws holding the side panel L and R.
Remove side panel L and R.
8. Remove the stopcock from the drainpipe nozzle.
* Drain stopcock replacement
• Please check that the stopcock is fully inserted into the
drainage nozzle and drainpipe nozzle when operating at
cooling mode, and after drainage.
• Applying small amount of soapsuds to the stopcock will help
it make easier, if it is difficult to fully insert the stopcock.
9. Unscrew 12 screws holding the cabinet.
6 screws are on each sides.
6 screws are on back side of unit.