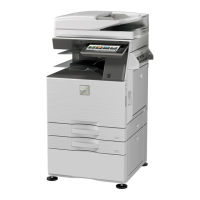
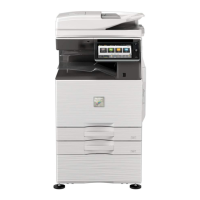
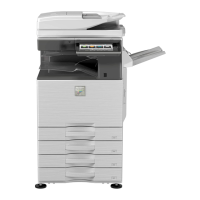
BEFORE USING THE MACHINE
11
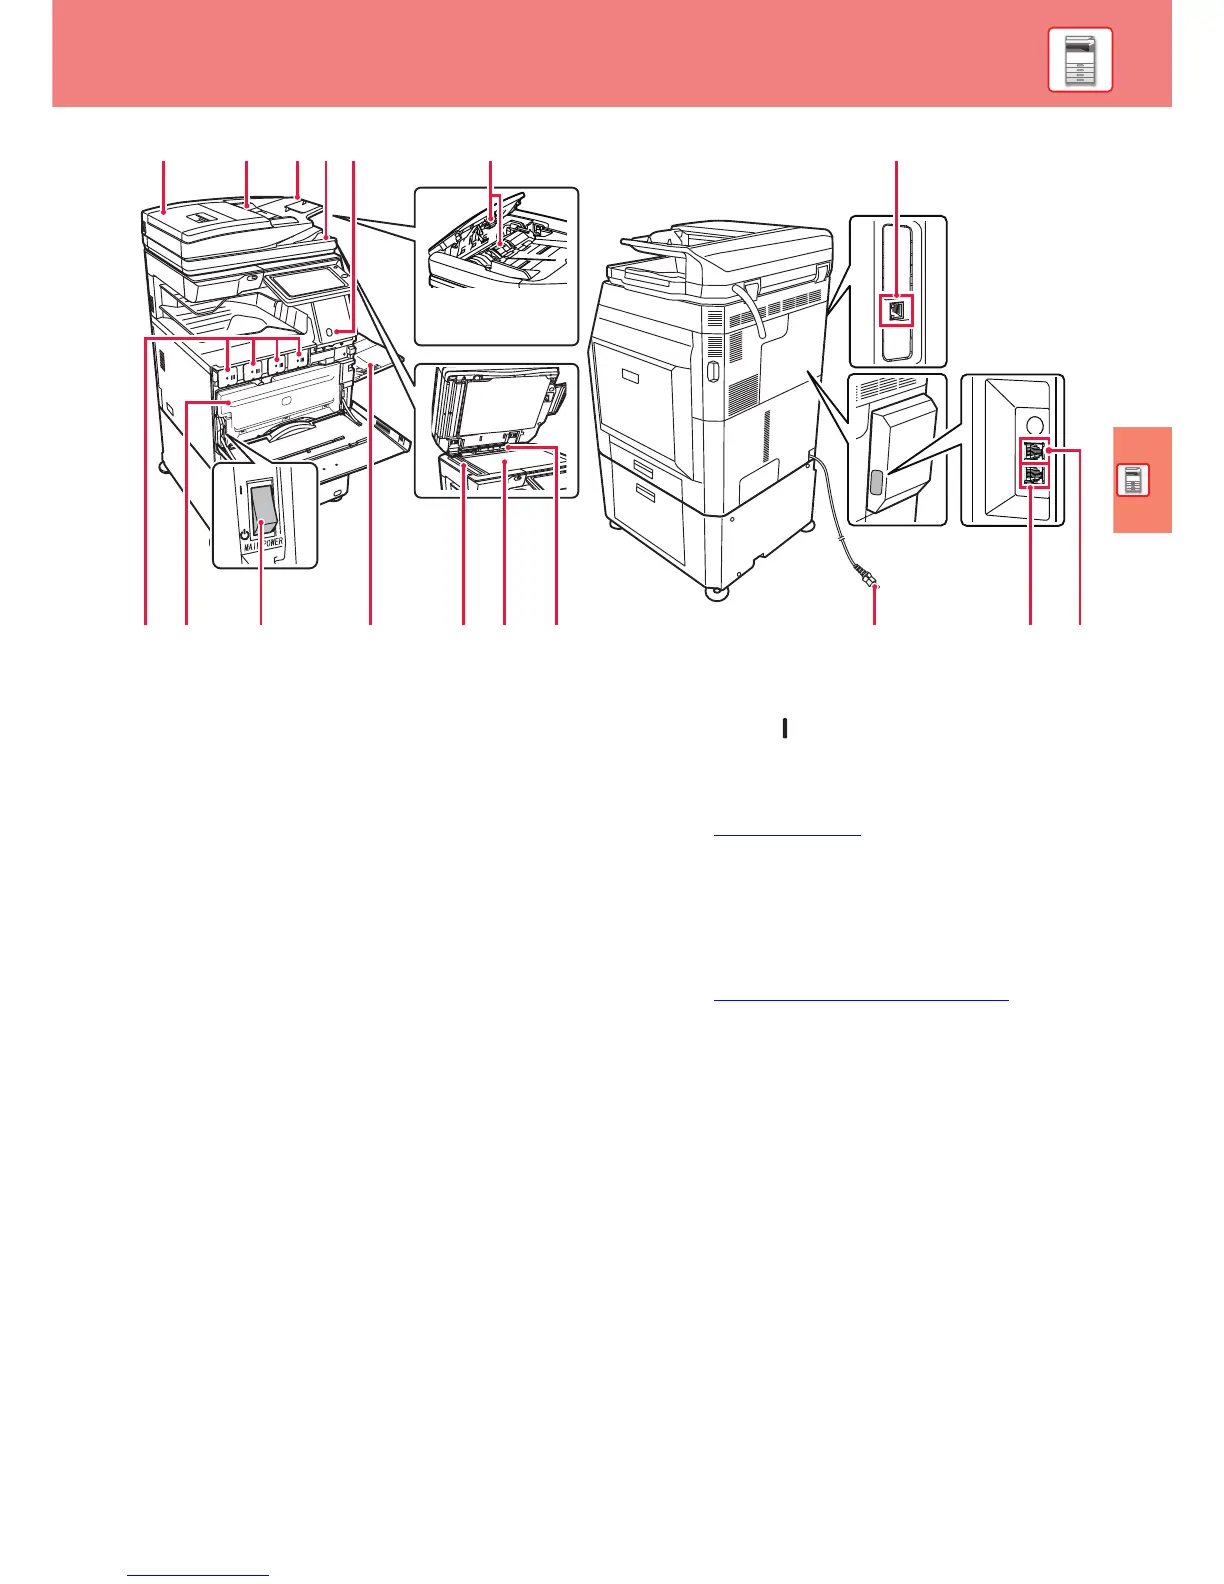
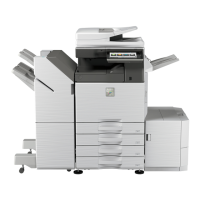
(1) Document feeding area cover
Open this cover to remove an original misfeed or clean the
paper feed roller.
On the MX-3050N/MX-3060N/MX-3550N/MX-3560N/MX-4050N/
MX-4060N, this cover is also opened to clean the paper feed
roller.
(2) Original guides
These guides help ensure that the original is scanned correctly.
Adjust the guides to the width of the original.
(3) Document feeder tray
Place the original.
Originals must be placed face up.
(4) Original exit tray
The original is discharged to this tray after scanning.
(5) Motion sensor*
2
This sensor detects the presence of a person that approaches
the machine, and automatically wakes the machine from sleep
mode (Motion Sensor Mode Only).
(6) Paper feed roller
This roller rotates to automatically feed the original.
(7) LAN connector
Connect the LAN cable to this connector when the machine is
used on a network.
Use a shielded LAN cable.
(8) Toner cartridge
This cartridge contains toner.
When the toner in a cartridge runs out, replace with new one.
(9) Waste toner box
This container collects excess toner that remains after printing.
(10) Main power switch
Use this button to turn the machine's power on and off.
When using the fax or Internet fax functions, always keep this
switch in the " " position.
(11) Bypass tray
Use this tray to feed paper manually.
When loading paper larger than A4R or 8-1/2" x 11"R, pull out
the extension guide.
► Bypass tray (page 18)
(12) Scanning area
Originals placed in the automatic document feeder are scanned
here.
(13) Document glass
If you want to scan books or other thick originals that cannot be
fed through the automatic document feeder, place them on this
glass.
► USING THE DOCUMENT GLASS (page 15)
(14) Original size detector
This unit detects the size of an original placed on the document
glass.
(15) Power plug
(16) Telephone line socket (LINE)*
1
When the fax function of the machine is used, the telephone line
is connected to this socket.
(17) Extension phone socket (TEL)*
1
When the fax function of the machine is used, an extension
phone can be connected to this socket.
*1 Peripheral device. For more information, see the User's Manual.
Equipped standard or not available in some countries and regions. Not available on some models. Contact your dealer or nearest authorised
service representative.
*2 Can only be used on the MX-3060N/MX-3070N/MX-3560N/MX-3570N/MX-4060N/MX-4070N.