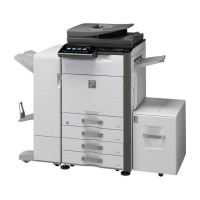
MX-5141FN MX-4140N/4141N/5140N/5141N (MAIN UNIT) 2 – 2
2. Installation
Note before installation
* When connecting the main unit with the optional STAND/1 X 500
SHEET PAPER DRAWER or STAND/2 X 500 SHEET PAPER
DRAWER, first unpack and install the PAPER DRAWER then
unpack the main unit and securely place the main unit on the
PAPER DRAWER before installing the main unit.
A. Lock release
(1) Tray rotation plate lock release
1) Pull out the tray. Turn the fixing material and remove it.
Remove the caution label.
Attach the removed fixing material to the position shown in the
figure for future use.
Close the tray which was pulled out.
(2) Scanner (2/3 mirror unit) lock release
1) Remove the optical unit fixing screw, and remove the note
label.
B. Developing (each color) installation
Be careful not to attach fingerprints or oily dirt on the DV roller sur-
face.
1) Open the front cabinet, and remove the waste toner box.
2) Check that the lock is released as shown in (A).
Loosen the blue screw, and open the drum positioning unit.
* When the lock is not released, use a screwdriver to turn the
screw (B) counterclockwise so that it is fit as (A).
3) Open the DV lock lever, and release the fixing screw.
(1position for each color)
4) Pinch the knob and remove the development unit.

 Loading...