MX-M1204 MX-M904/M1054/M1204 (MAIN UNIT) 2 – 6
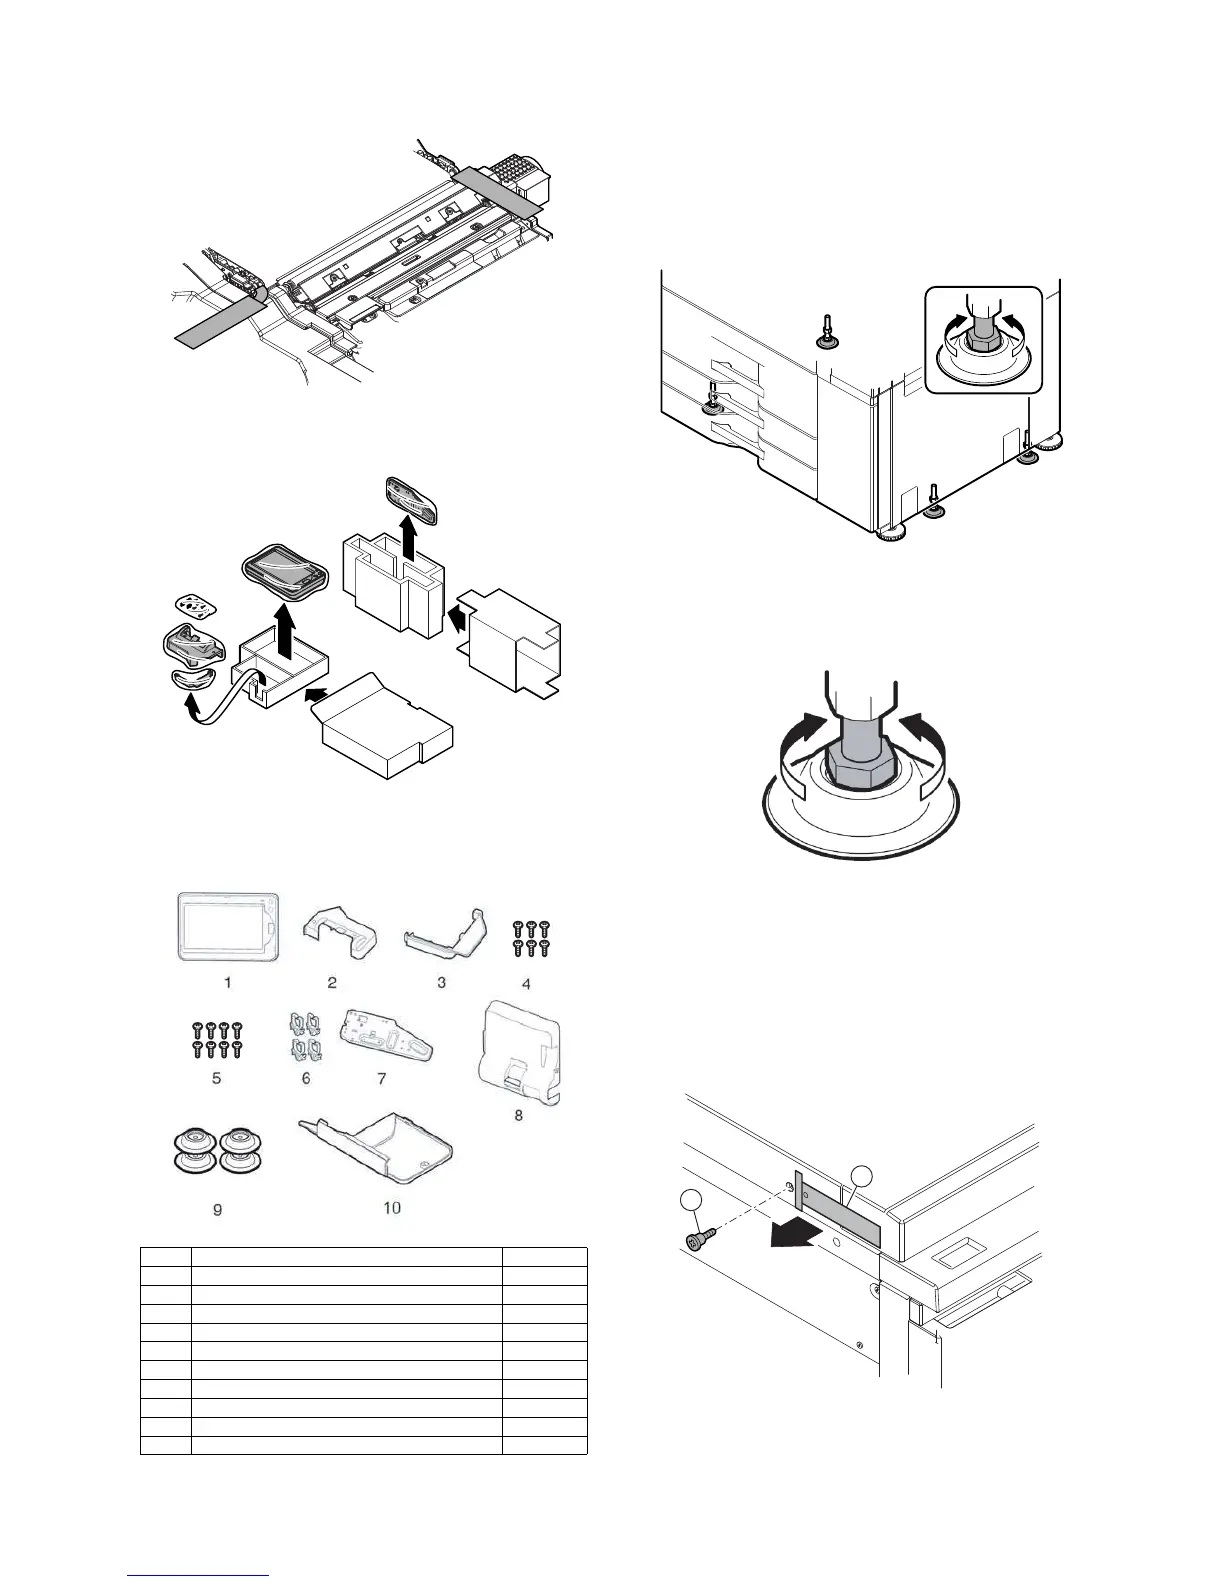
7) Remove the protection material and the caution label.
C. Included parts removal
1) Remove the included parts.
D. Included parts check
1) Check to confirm that all the parts are provided.
4. Installation
A. Machine height and tilt adjustments
1) Put the height adjuster plate (Packed items No.9 x4) under the
adjuster bolt at the bottom of the machine.
Turn the adjuster bolt to adjust the height and the tilt of the
machine.
MEMO: When the adjuster bolt is turned counterclockwise, the
height is decreased. When turned clockwise, the height is
increased. (Common to the options the height of which is
adjusted by the adjuster bolt.)
NOTE: Lower the height of the MX-CF11 to the lowest position
before adjusts the level between the MX-CF11 and the
main body.
Adjust the height of the top surface of main body refer-
ence to the top surface of the MX-CF11.
B. Lock release
(1) Scanner (2/3 mirror unit) lock release
1) Remove the scanner lock screw (a) and the caution label (b).
No. Name Quantity
1 Operation panel 1
2 Panel cover B 1
3 Panel cover below 1
4 Screw 3 x 6 6
5 Screw 4 x 8 8
6 Clamp 4
7 Panel support plate unit 1
8 Panel cover A 1
9 Height adjuster plate 4
10 Lower cover 1
LowHigh
a
b