Supplied Components
Preparing the Remote Control Unit
1. Press the cover gently and slide it in the direction of the arrow.
2. Seetheinstructionsinthecompartmentandputinthesuppliedbatteries(R-6(“AA”size)x2)withtheirplus(+)andminus(-)
sides oriented correctly.
3. Closethecover.
If any component should be missing, please contact your dealer.
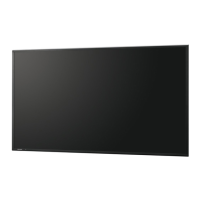
LiquidCrystalDisplayMonitor:1
Remote control unit: 1
Cableclamp:2
Power cord: 1
R-6battery(“AA”size):2
CD-ROM(UtilityDiskforWindows):1
Setup Manual (this manual): 1
Verticalsticker(Operationpanel):1
Verticalsticker(Logo):1
Terminal label: 1
UsedwheninstallingtheexpansionboardPN-ZB01(optional).
CoverSharplogo:1
Place this sticker onto the SHARP logo to cover the logo.
* SharpCorporationholdsauthorshiprightstotheUtilityDiskprogram.Donotreproduceitwithoutpermission.
* For environmental protection!
Donotdisposeofbatteriesinhouseholdwaste.Followthedisposalinstructionsforyourarea.