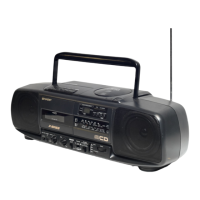
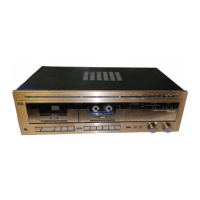
DISASSEMBLY
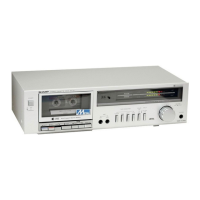
(Photographs of RT-31H)
Prior to the disassembly, be sure to remove the AC supply
cord from a wall outlet and the input/output plugs from the
rear of the set. Take out a cassette tape, if loaded in the
cassette compartment,
=
REMOVAL OF CABINET
(See Figures
2-1
and
Z-2)
From the cabinet, remove four screws two each at its
right and left sides, and one screw at its rear surface.
Then take the cabinet off.
Figure 2-l
n
REMOVAL OF BOTTOM PLATE
(See Figure 2-3)
Turn the set upside down, remove two screws from the
bottom plate, and take the bottom plate off by shifting
it in the arrow direction.
n
REMOVAL OF FRONT PANEL
(See Figures 2-4 and 2-5)
1
8
Remove four screws from the front panel.
2 Push down three stoppers at the upper surface of the
front panel, See that the front panel is now free from
the stoppers.
@
Pull the front panel frontwards.
Figure 2-4
n
REMOVAL OF MECHANISM BLOCK
(See Figures 2-6 and
3-l)
Note:
Be sure to open the cassette compartment lid before
disassembling the mechanism block,
1
8
Remove two screws from the bottom of the set.
2 Remove two screws from the rear of the mechanism
block.
@
Detach the tape counter belt from the tape counter.
4 Remove the record/playback selector switch rod.
8
5 Remove four sockets from the mechanism block P.W.
board. Then separate the mechanism block from the set.
Figure 2-2
Figure 2-3
Figure
2-5
Figure
2-6
-2-