- 4 -
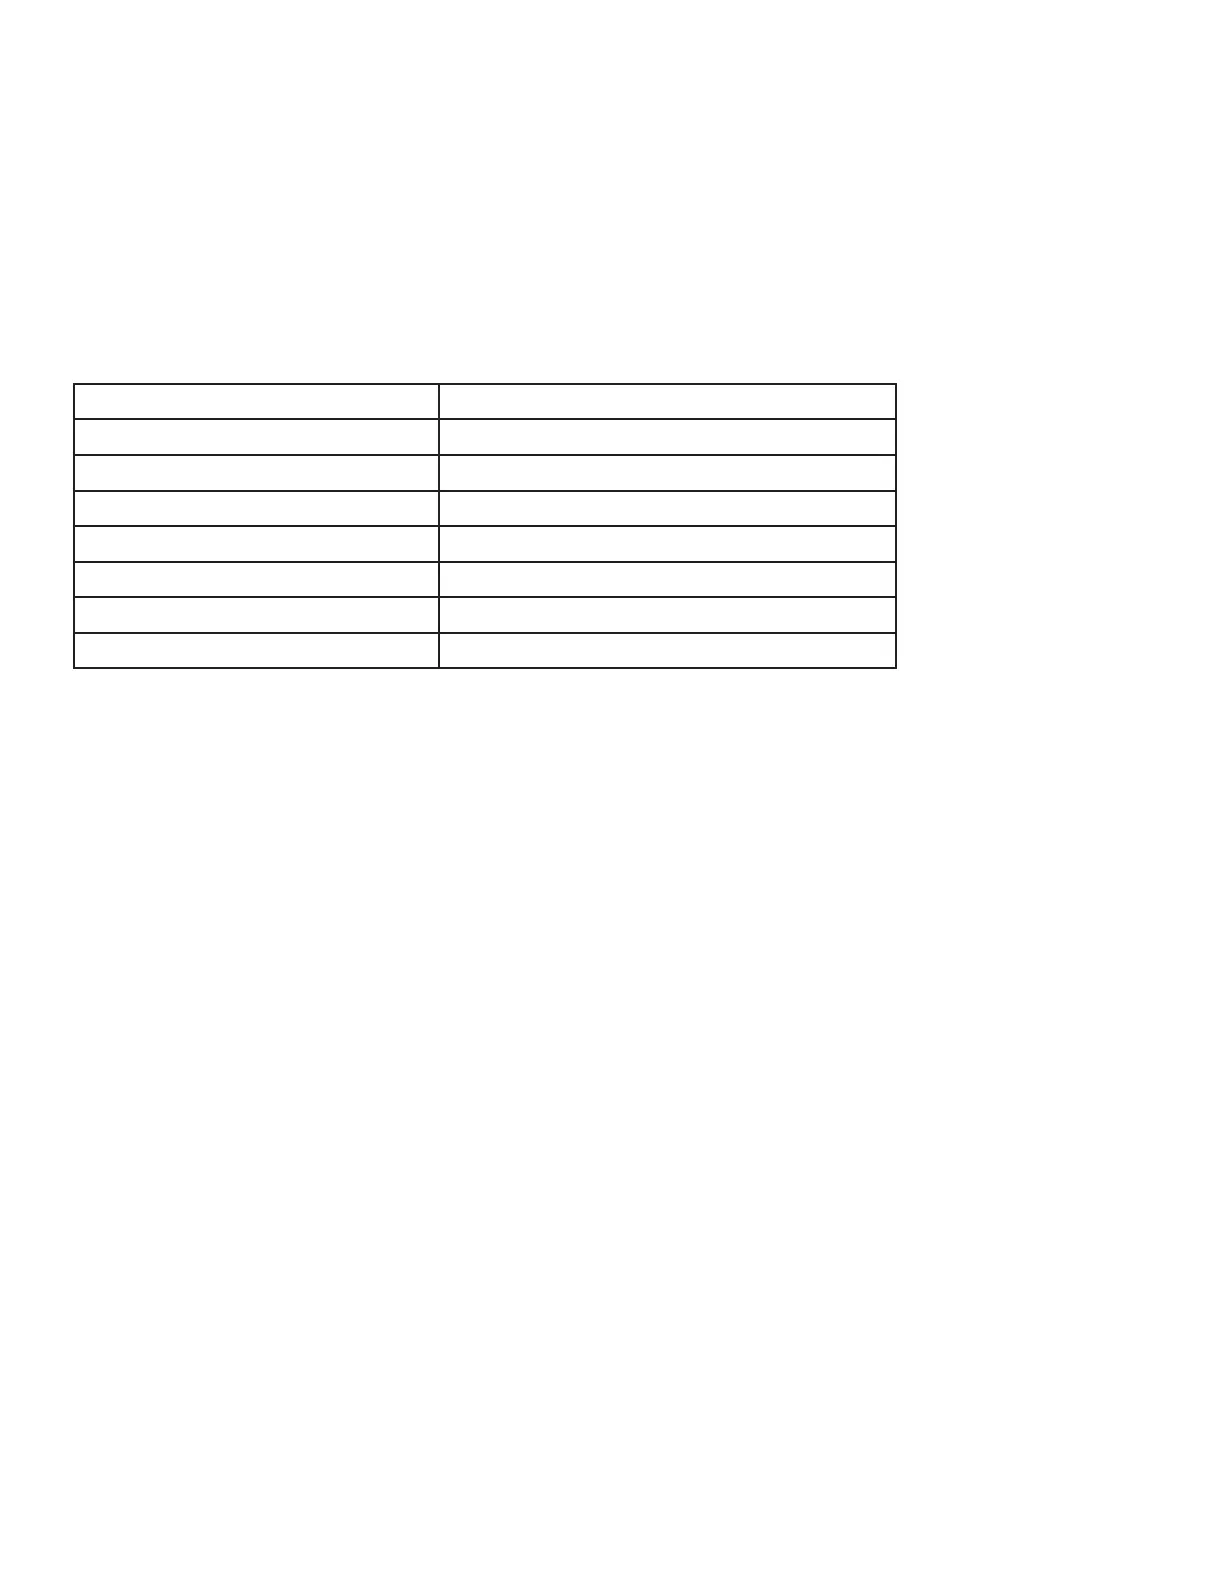
SOLAR PANEL SPECIFICATIONS
IPCE 19%
Working Voltage (Vmp) 5V±5%
Working Current (Imp) 400mA±5%
Open Circuit Voltage (VOC) 7.2V±5%
Short-Circuit Current (ISC) 480mA±5%
LED INDICATOR LIGHT STATUS
Green light on continuously Camera on
Red light fast blinking Pairing mode
Green light fast blinking Network connecting
Green light on continuously Network connected
Reg light slow blinking Abnormal status (may need to be reset)
Yellow light on continuously Firmware updating
Red light on continuously Battery charging
Green light on continuously Battery fully charged
NOTES BEFORE INSTALLATION
1. Keep this device out of reach of children and pets.
2. Make sure the camera has been fully charged (DC 5V/2A). It is recommended to charge the
camera indoors first using the included type-C charging cord. Once set up, you can plug the
type-C charging cord directly into the solar panel for continuous hassle-free charging.
3. Working temperature: -5°F to 120°F
4. Do not expose the camera lens to direct sunlight.
5. The camera is rated IP65 waterproof for use in the rain or snow. However, do not submerge the
camera in water.
PLEASE NOTE:
• This device will not connect to a 5G (5GHz) Wi-Fi frequency. You must have a 2.4GHz router or a
dual-band (2.4GHz + 5G) router and enable both bands. Consult your router instructions for details.
• Strong lights may interfere with scanning the QR code.
• Avoid placing this device behind furniture or near a microwave oven.
• Keep this device within your Wi-Fi network range.
 Loading...