- - 9 - -
Installation
Before you Install
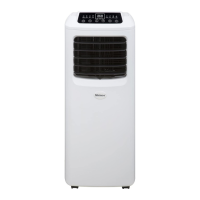
Install in a flat and dry place, and keep a buffer of least
20in around the air conditioner to enable smooth
circulation of air.(as shown in Fig.5)
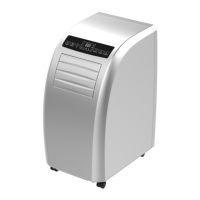
Exhaust Hose Assemply
Connect the exhaust pipe assembly with the round joint
(as shown in Fig.6).
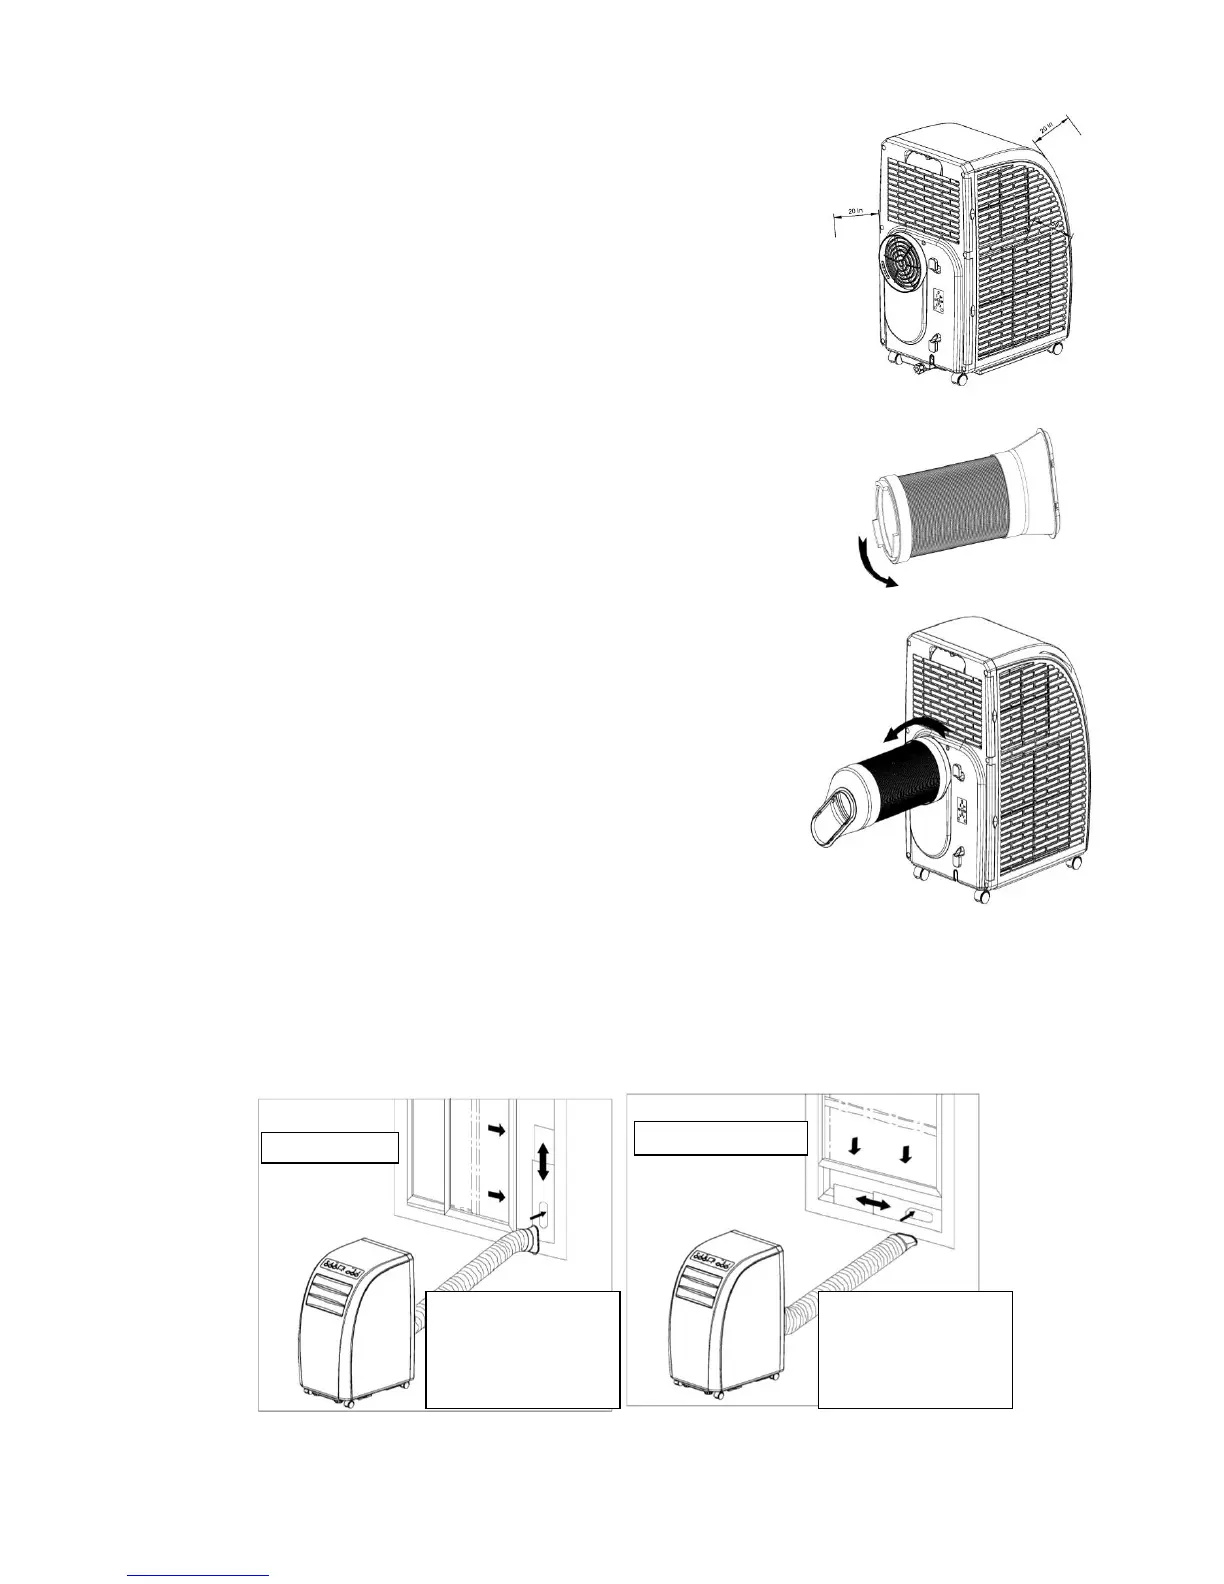
Fix the round end of the connected exhaust pipe assembly
to the air outlet of the air conditioner (as shown in Fig.7)
Connect the oblate joint of the connected exhaust pipe
assembly to the window sealplate.
Install sealplate on the nearest window. Try to keep at least
a 50cm buffer also around the window to ensure unrestricted
exhaust of air.
Things to Note
The exhaust hose is 24in~67in long (including
adapter). We recommend trying to keep the exhaust
hose as short as possible to prevent a large buildup of
hot air in the exhaust.
The exhaust hose included is specifically designed in
accordance with the specification of this air conditioner.
Please do not use any other exhaust hoses of different
lengths or materials as this could lead to inefficiencies
or failure in operational use.
Installation of Window Sealplate
The design of the window sealplate was made to be universal and should work
with most standard horizontal or vertical windows. (the installation methods
are shown in Fig.8 and Fig.9)
 Loading...