LBL 61876 rev. E, March 2018 EN 10
Picture or additional info if
applicable
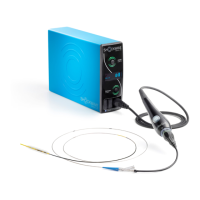
Step 4 – Confirm Battery Capacity
If the battery has been charging for at least twelve hours, as indicated in Section 5.3, the battery capacity shown in the BATTERY CAPACITY
display should be full as shown.
Step 5 – Check Diagnostics
When powered on, the IVL Generator will perform an array of built in tests designed to detect certain malfunctions. If an error is detected, an
error message will be displayed. If there are no error messages, these tests passed successfully.
If an error message is displayed, refer to Troubleshooting, Section 7.0.
Normal
Step 6 – Initiate the Output Test
This test is initiated manually by depressing and holding the THERAPY ON/OFF button and releasing this button when the THERAPY STATUS
indicator comes on green. Pressing this button for three seconds is required.
Step 7 – Confirm Output Test Result
The output test requires approximately 15 seconds to complete. During this time the THERAPY STATUS indicator will remain on green. Upon
successful completion of this test, the IVL Generator will sound four beeps. If an error is detected, an error message will be displayed. If the
display remains blank with only the battery symbol, this test has passed successfully.
This is the final step of the recommended inspection and test procedure.
Do not immerse IVL Connector Cables in water or other fluids. Avoid spilling any fluids on the IVL Generator. Spilled liquids may cause the IVL Generator to perform
inaccurately or malfunction.
6. Maintenance
This section describes the maintenance that clinical and / or biomedical staff should be familiar with performing on a regular basis. Recommendations for regular maintenance
and maintenance intervals are noted below.
NOTE: The battery is self-discharging and requires periodic recharges even during storage so that the battery will not discharge to an unacceptably low voltage level,
which could ultimately result in battery damage. There are no user serviceable parts within the IVL Generator. Do not open the IVL Generator enclosure. Refer all
such servicing needs to your Shockwave Medical representative.
6.1 Daily Maintenance
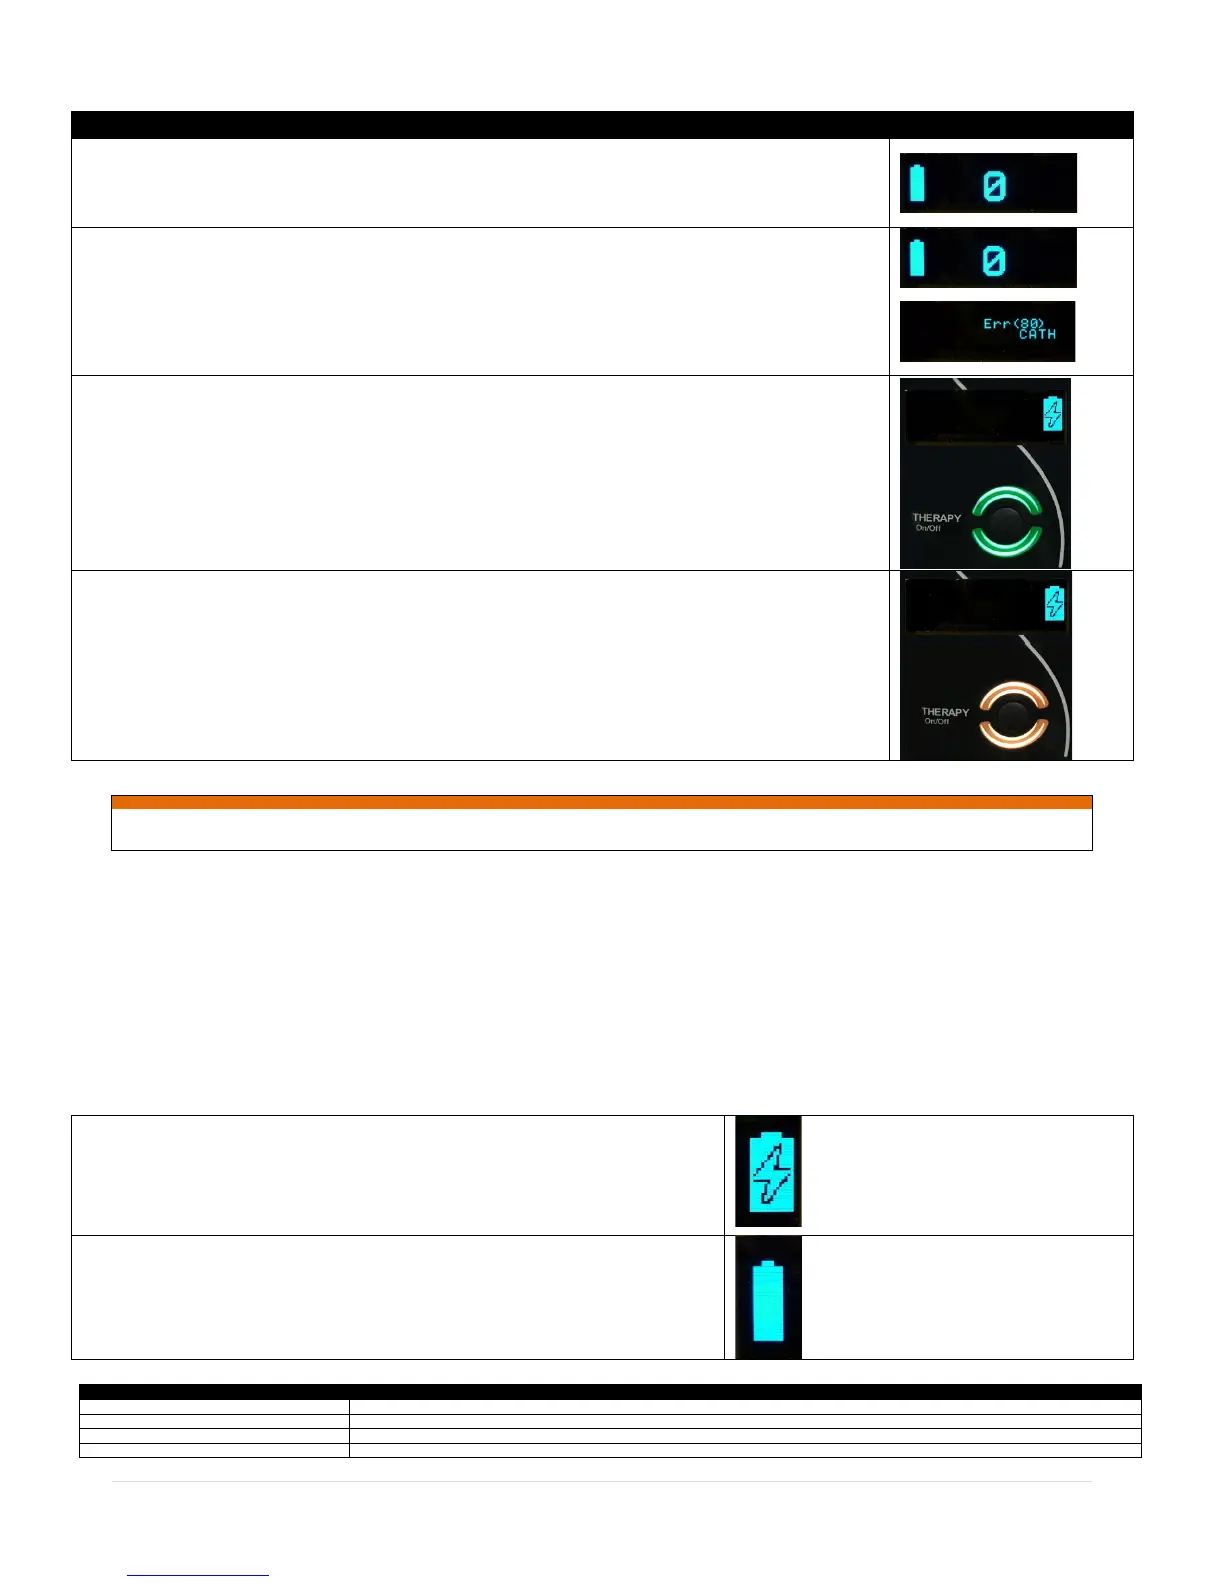
6.1.1 Charging and Testing the Internal Battery
The IVL Generator operates from an internal battery. Charging the IVL Generator at the end of each day is recommended so that the battery will be fully charged
for cases occurring the following day. Twelve (12) hours of charge time will restore the battery to full charge.
The Charger Module must be connected to AC Mains and to the Generator CHARGER CONNECTOR per Sections
5.2 - 5.3.
Confirm the BATTERY CHARGING indicator is displayed.
If the battery has been charging for at least twelve hours the battery capacity shown in the BATTERY CAPACITY
display should indicate full as shown.
See the table on the next page for battery capacity information.
Four or more treatment cases
Two or more treatment cases
Less than two treatment cases; recharge as soon as practical