Templates
Making Spindle
Templates
The spindle template should
be
4" longer
than the finished product
(a
2" exten-
sion from each end
line)_
For spindle di-
ameters
of
up
to
and including 4" , the
width
of
the template should
be
half the
maximum diameter
of
the workpiece
plus
2".
(See
Figure
2.)
For spindle di-
ameters
of
from over 4" to 8
",
the back
(straight) edge
of
the template can
be
no more than 2" from the template cen-
terline. The
front
(profile) edge can
protrude
2"
-4
" outward from the center-
line. Drawing perpendicular lines from the
start or end of the spindle contours
to
the centerline is optional, but they may
help you
to
better visualize the finished
spindle profile.
If you're making a template for table
legs with a square at the top,
be
sure
to
measure the distance from the center
of
the
stock
to one corner
of
the square.
This dimension must
be
incorporated
into your template
to
keep from cutting
off
the corners.
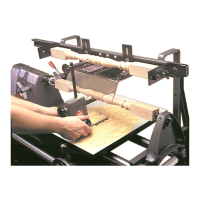
When turning long spindles
with
repeat symmetrical designs from the
ends to the middle, you can get by with
a half template. Just turn one half
of
the workpiece,
"flip"
it end for end and
then turn the other half.
Pieces longer than lathe capacity,
such as bedposts or clothes trees, can
be
made in sections. Design a template
for each section so that the sections
will join in an inconspicuous location
such as at a V-groove
or
where two
beads meet.
END
LINE
.
,
,
,
I
1/4" DIA.
I
,
,
HOLE
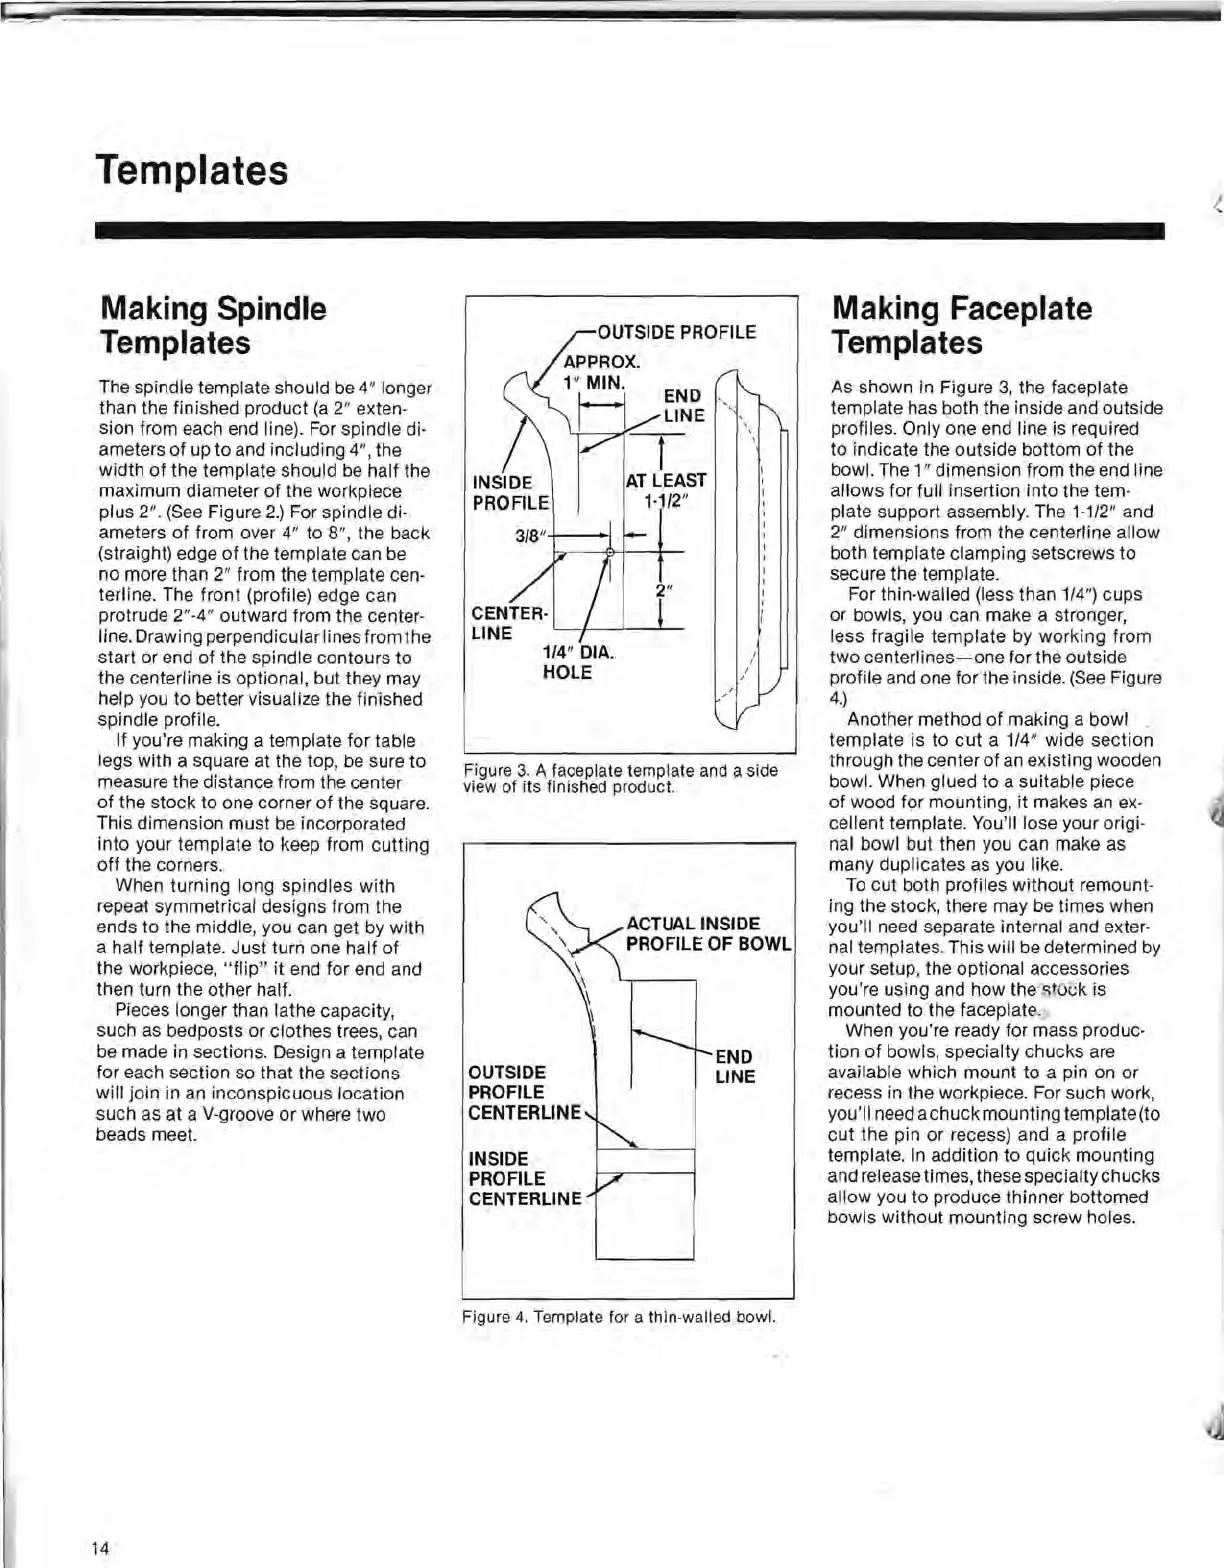
Figure 3. A faceplate template and a side
view
of
its finished product.
OUTSIDE
PROFILE
CENTERLINE
INSIDE
PROFILE
CENTERLINE
ACTUAL INSIDE
PROFILE
OF
BOWL
END
LINE
Making Faceplate
Templates
As shown in Figure
3,
the faceplate
template has both the inside and outside
profiles. Only one end line is required
to indicate the outside bottom
of
the
bowl. The 1" dimension from the end line
allows for full insertion
into
the tem-
plate support assembly. The 1-1/2" and
2" dimensions from the centerline allow
both template clamping setscrews
to
secure the template.
For thin-walled (less than
1/4
") cups
or bowls, you can make a stronger,
less fragile template by working from
two
centerlines-one
for the outside
profile and one for the inside.
(See
Figure
4.)
Another method of making a bowl _
template is to
cut
a 1/4" wide
section
through the center
of
an
existing wooden
bowl. When glued
to
a suitable piece
of
wood for mounting, it makes
an
ex-
cellent template. You'll lose your origi-
nal bowl but then you can make as
many duplicates as you like.
To
cut both profiles without remount-
ing the stock, there may be times when
you'll need sepcuate internal and exter-
nal templates. This will be determined by
your setup, the optional accessories
you're using and how the
~t6
J
k
is
mounted to the faceplate.
When you're ready for mass produc-
tion
of
bowls, specialty chucks are
available which mount to a pin on or
recess in the workpiece. For such work,
you'll need a
chuck
mounting template (to
cut
the pin
or
recess) and a profile
template.
In
addition
to
quick mounting
and release times, these specialty chucks
allow you
to
produce thinner bottomed
bowls without mounting screw holes.
Figure
4.
Template for a thin-walled bowl.
14
 Loading...