Page 25
845180 SHOPSMITH MARK V
c. Return the Rip Fence to the Work-
table. Slide it toward the Allen
Wrench until it contacts the Allen
Wrench at the infeed end.
d. Only tighten the Base Knob.
e. Slide the Miter Gauge back and
forth, adjusting the Fence until the
Allen Wrench makes consistent con-
tact along the entire length of the
Rip Fence. Again, remember to not
scratch the Fence.
f. When alignment is reached, lock
the Handle. Slide the Miter Gauge
back and forth along the Fence to
double check that the Fence did not
move when you locked the Handle.
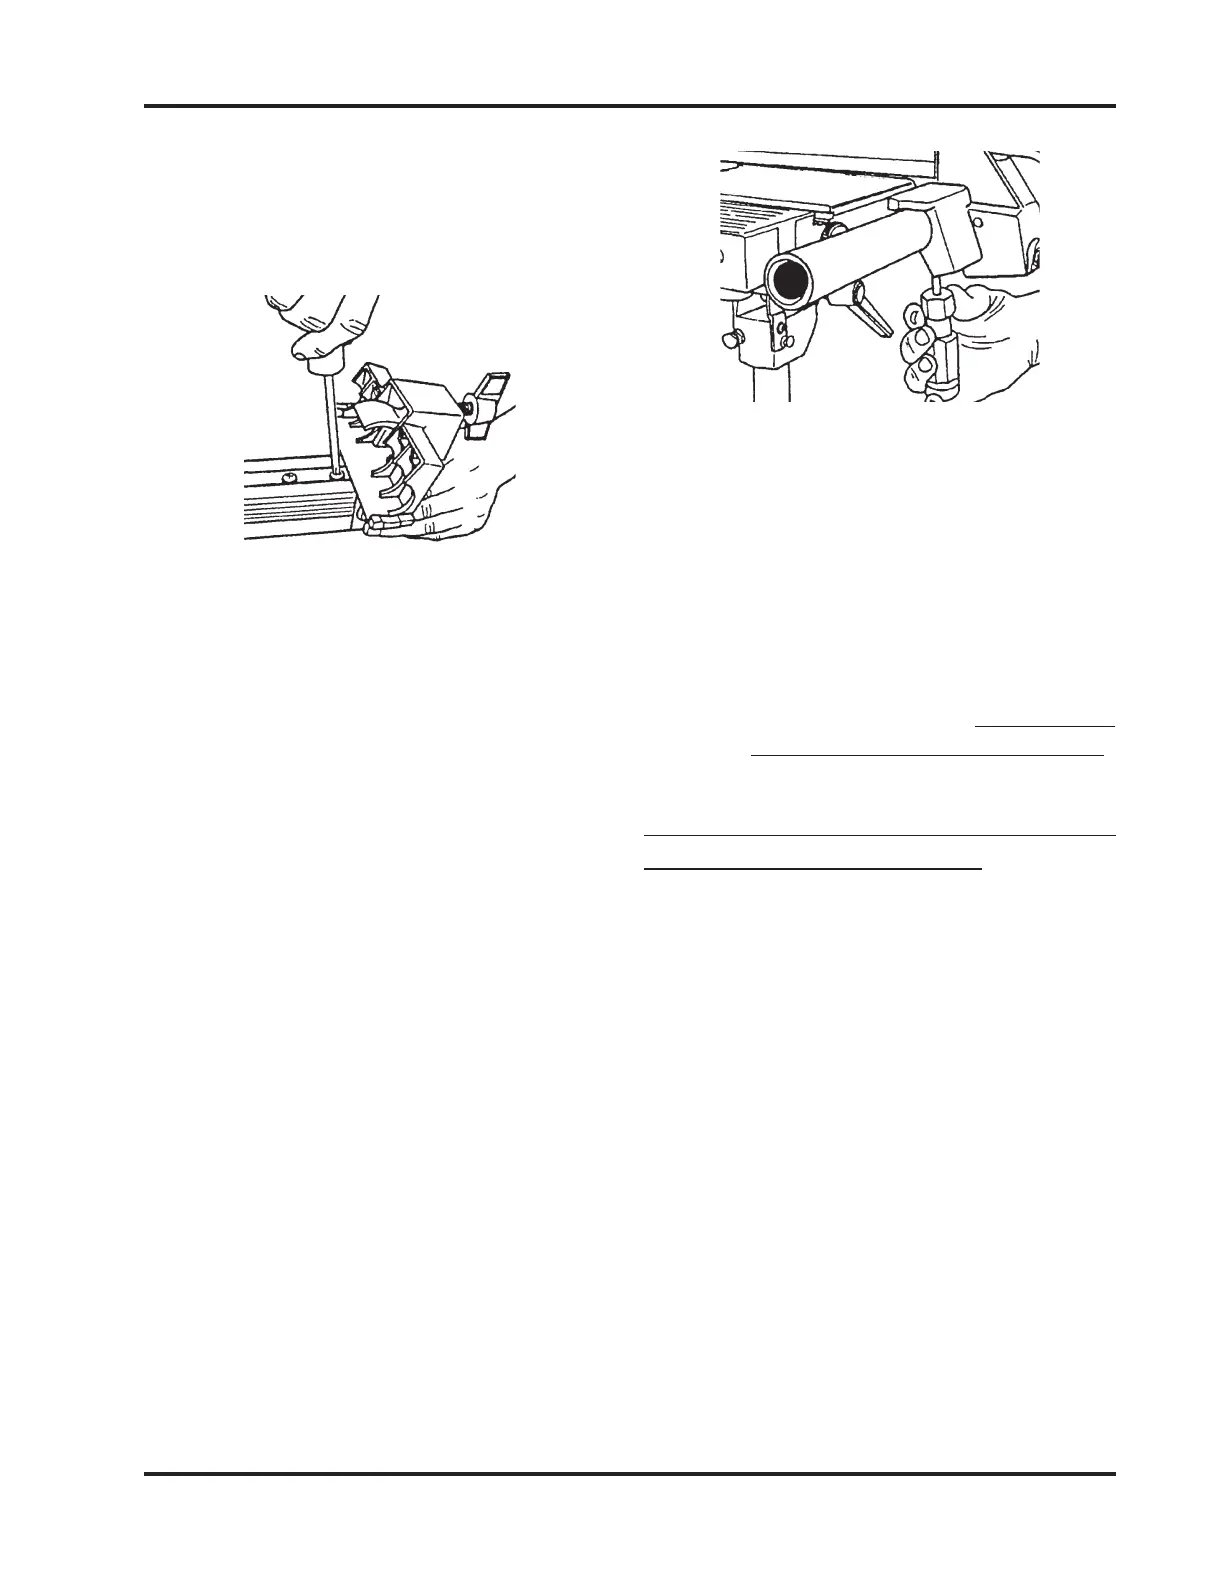
g. Reach under the Table and use the
Large Phillips Screwdriver to
tighten the Screw closer to the Base.
See Figure 84.
Figure 83
Figure 84
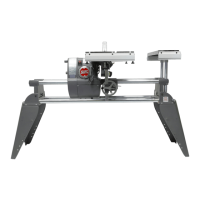
b. Use a Large Phillips Screwdriver to
loosen the Screw nearest the Fence
Base, so it is just tight enough to
require firm pressure to align the
Fence. See Figure 83.
h. Carefully unlock the Handle and
the Base Knob on the Base and lift
the Rip Fence from the Table.
i. Tighten the other Adjustment
Screw.
j. To recheck the alignment, repeat
Steps 3 through 6g. (It is very im-
portant to recheck the alignment!)
ALIGN THE RIP FENCE PARALLEL
WITH THE WORKTABLE
(MARK V MODEL 520 - PRO FENCE)
1. Place the Miter Gauge in the Left Slot of
the Worktable on the infeed side. Place
the Pro Fence on the right side of the Saw
Table.
2. Insert the Long 5/32" Allen Wrench
through the Miter Gauge and secure it
using the Short 5/32" Allen Wrench and
a Set Screw borrowed from the Tool
Rest.
3. Move the Fence toward the Allen Wrench
until it just touches it.
4. Lock the Lower Fence Lock Handle first,
then lock the Upper Fence Lock Handle
to secure both ends of the Pro Fence.